
My two oldest children were born in New York, a few years before bagels made inroads into the Midwest. Fortunately, when we moved to Wisconsin I was able to find bagels in the frozen foods section of the grocery store.
Our first home in the Milwaukee area was a duplex, shared by another couple who had spent some time on the East Coast, and when they came over to greet us one Saturday morning, they were surprised when my three-year-old asked for a bagel. “Most kids in Wisconsin would ask for a donut!” they laughed.
Even though my second-born was only six weeks old when we moved here, she’s very proud of her East Coast “heritage.” A few years later, when Panera opened up, her favorite thing to order was an asiago cheese bagel with salmon cream cheese. Not a normal choice for a four-year-old, maybe, but I thought it fitting for a child born in New York and growing up in cheese country!
Despite our family’s affinity for bagels, I’ve never made them. I do, however, have a recipe tucked away in my “someday” recipe folder that I’ve been meaning to try for years. So when this challenge came up, I dug it out and decided to try it.
Savory Bagels
The Signature challenge for episode 2 of the 2012 season of The Great British Baking Show is for two kinds of bagels—12 sweet and 12 savory. I decided to use the bagel recipe I had saved from a book called Baking Bread (I’m afraid the author’s name is lost to posterity.) for the savory ones. The recipe was for egg bagels with instructions for turning them into pumpernickel by substituting some of the flour for rye flour. That’s what I wanted to try.
I looked at other bagel recipes online and found them much more involved than this one. Most have you make the dough and form the bagels before resting them in the fridge overnight, and then boil and bake them the next day. Boiling (or poaching) the uncooked bagel is what creates the shiny skin on the outside, keeping the dough from rising too much so it’s nice and chewy on the inside. My egg bagel recipe, while still requiring the boiling method, did not include the step of making a sponge with a little bit of flour, water and yeast before adding the rest of the flour, and it didn’t call for keeping the bagels refrigerated overnight. It was more like a normal yeast roll recipe with the added step of boiling the bagels before baking them.
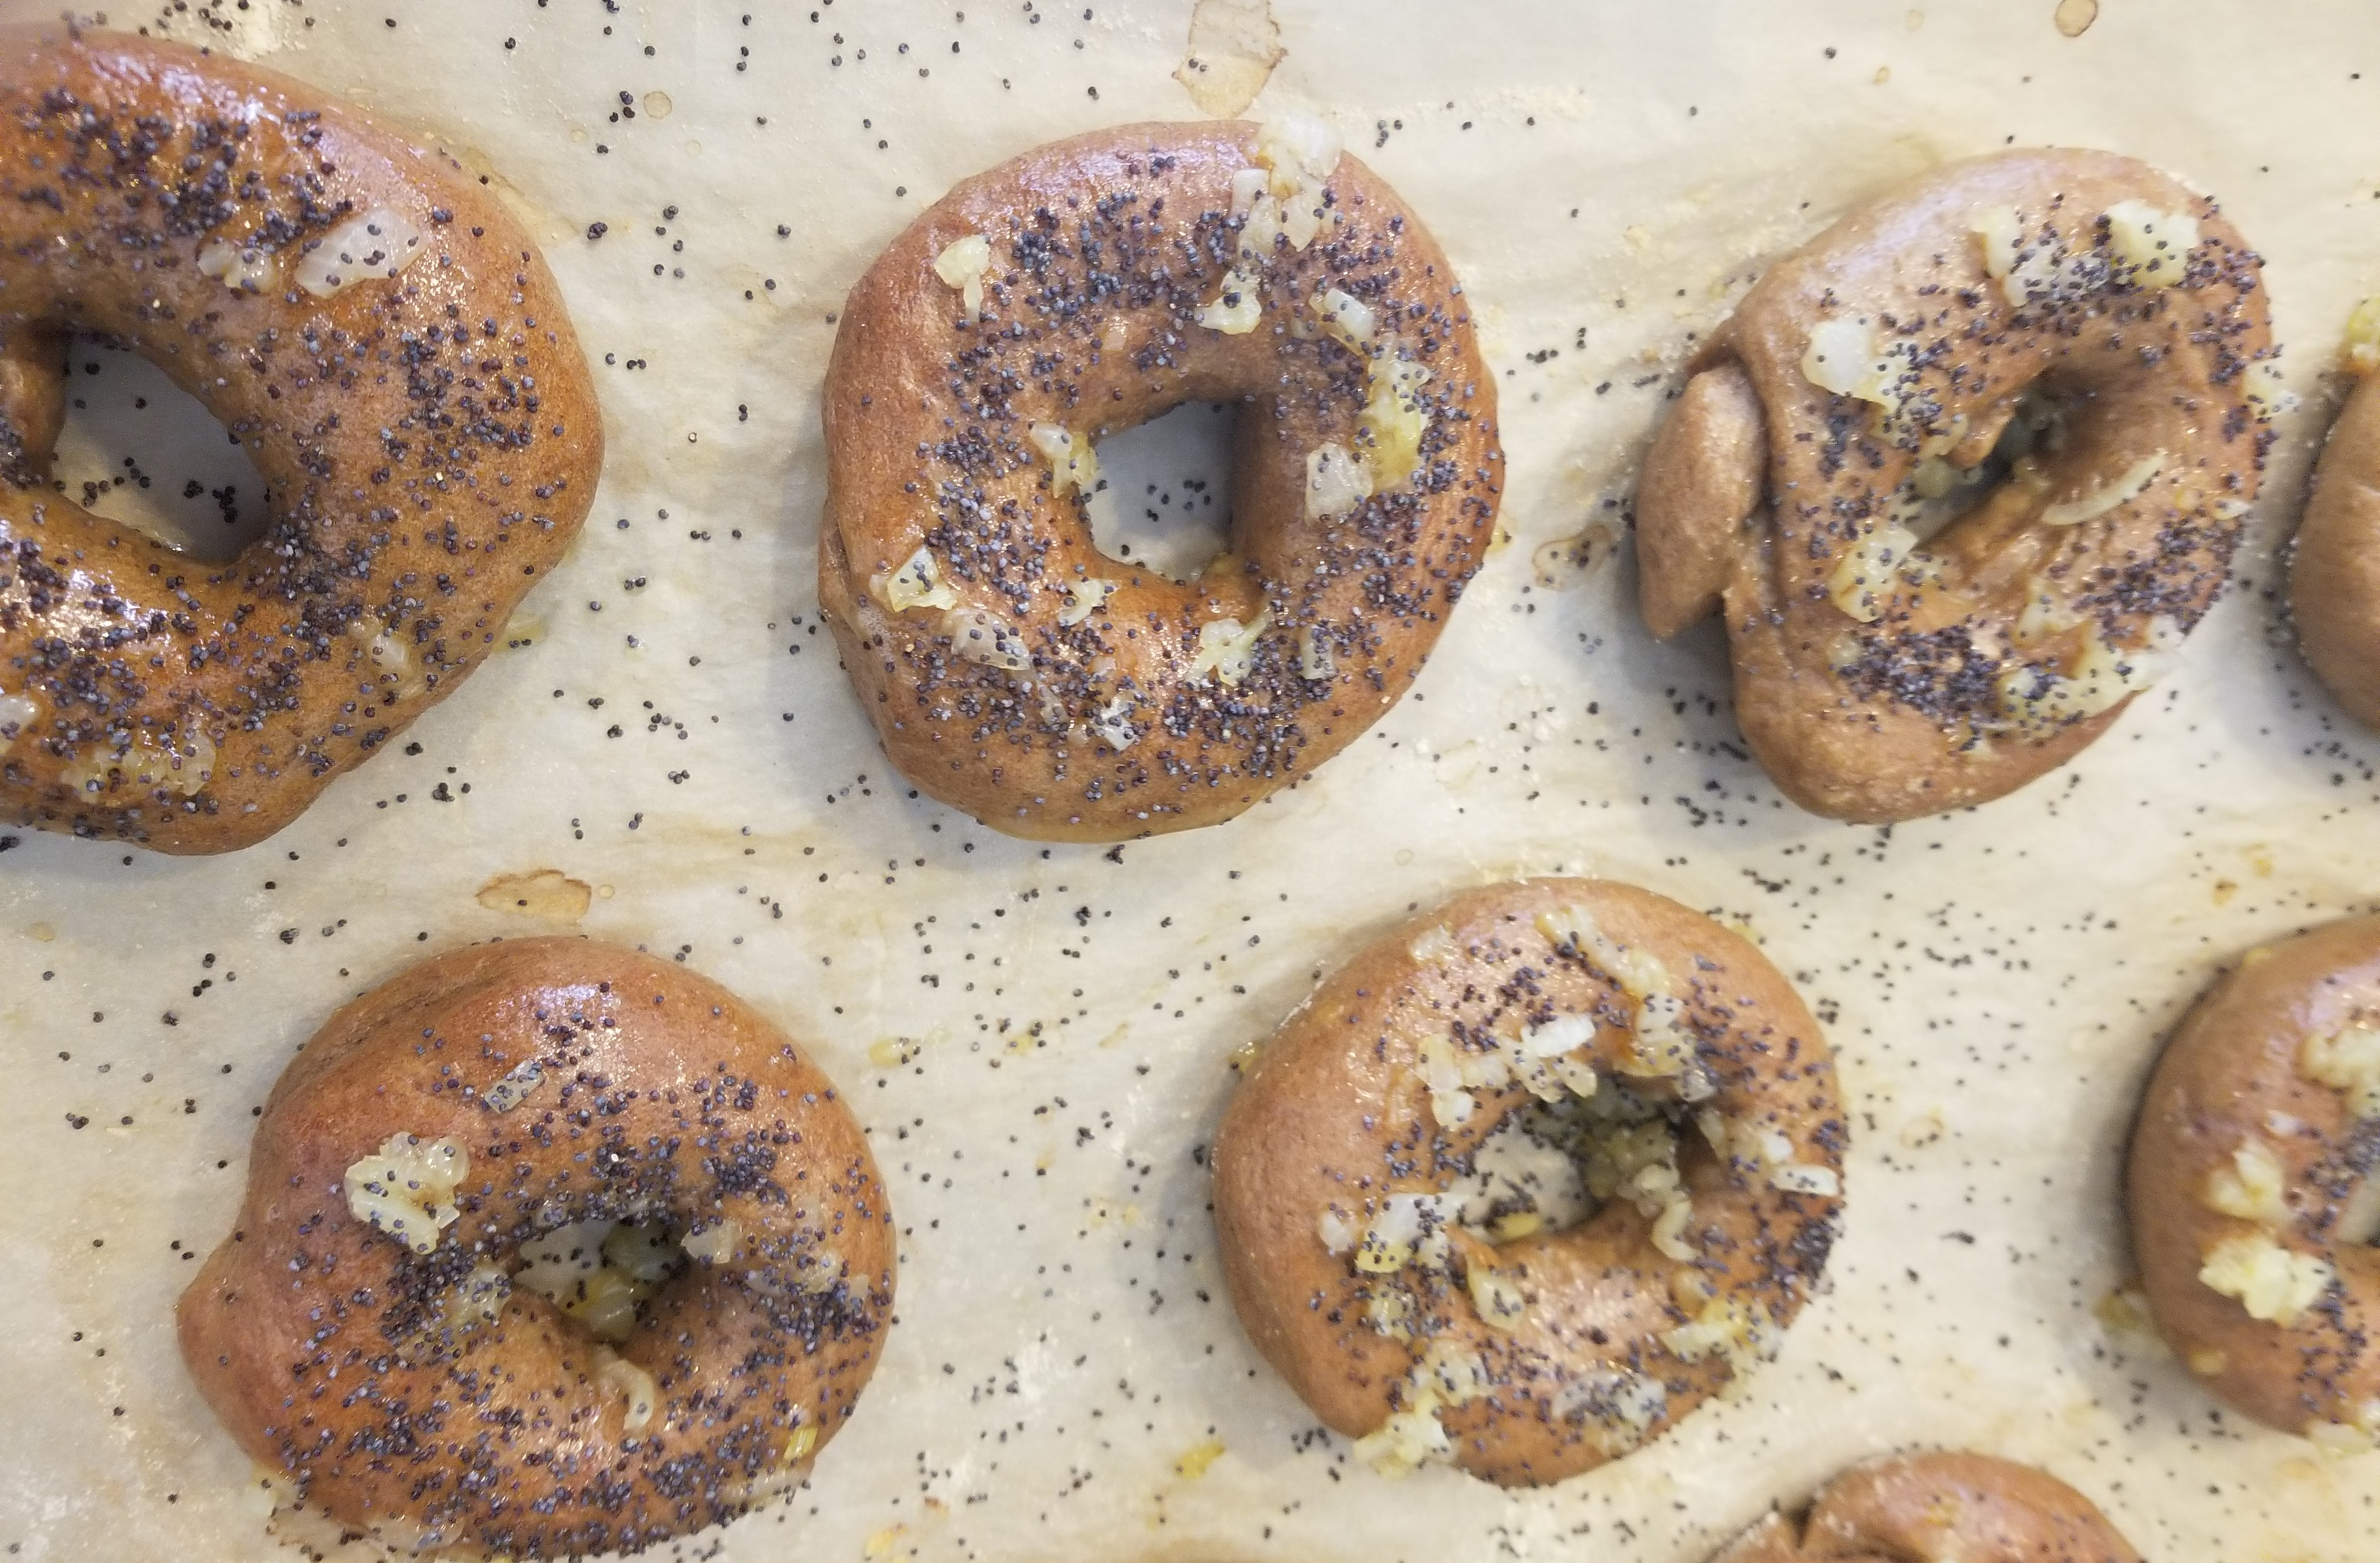
In the end, I was unimpressed with both the flavor and the texture of my pumpernickel bagels. No offense to the recipe’s author (perhaps I did something wrong), but the texture was not as chewy as a bagel should be, and the rye flavor just didn’t come through as strongly as I would have liked. I also followed the recipe’s instructions for topping the bagels with sautéed onions (my husband doesn’t care for the more traditional caraway seeds), and they simply blackened when baked, even though I put them on halfway through the baking time.
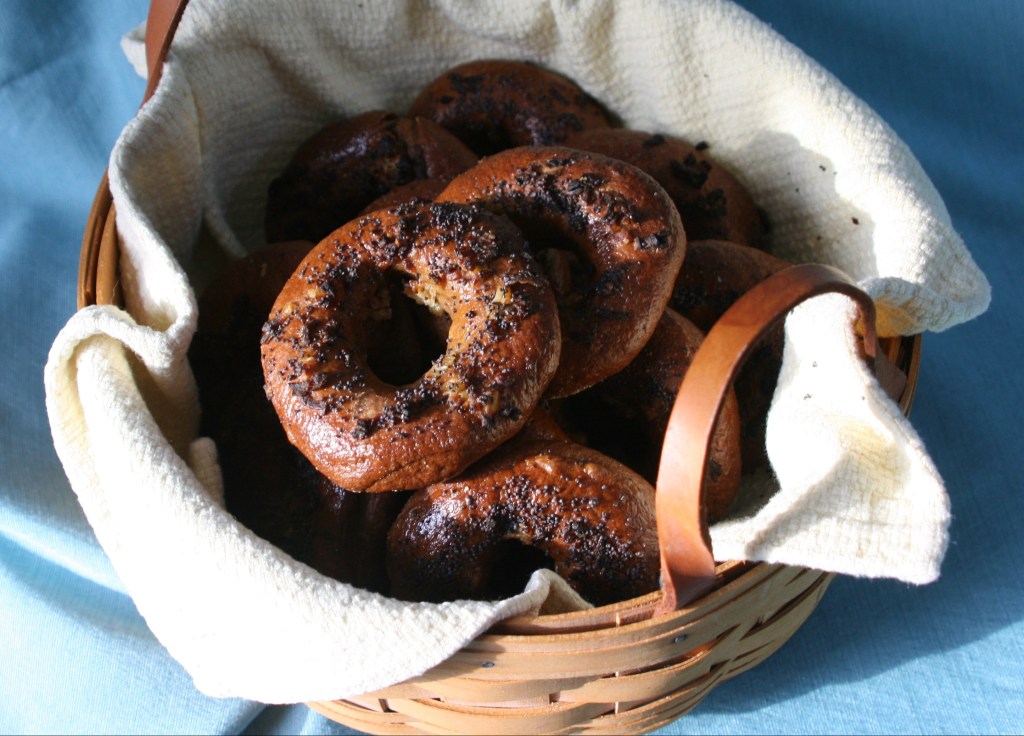
Although the flavors had melded together a little better 24 hours after I made them, the bagels still weren’t as pumpernickely as I would have liked. So I ended up with burnt-onion-topped, not-very-chewy, not-very-flavorful pumpernickel bagels. While I am sharing some photos here, I’ve decided not to share the recipe, since I wouldn’t want you to be as disappointed as I was.
Sweet Bagels
For my sweet bagels, I went with one of the more complicated recipes I found online. In fact, it gives very detailed instructions with lots of photos, so those of us who are novice bagel bakers can tell if we’re doing it right! The website, ChefSteps.com, will also translate the recipe from grams to ounces at the click of a button, but don’t worry, I’ll turn those weights into cups and teaspoons for you below! I did alter the recipe from plain bagels into cranberry orange spice bagels, but I’ll note all the ingredients I added as “optional” so you can vary it to your own tastes.
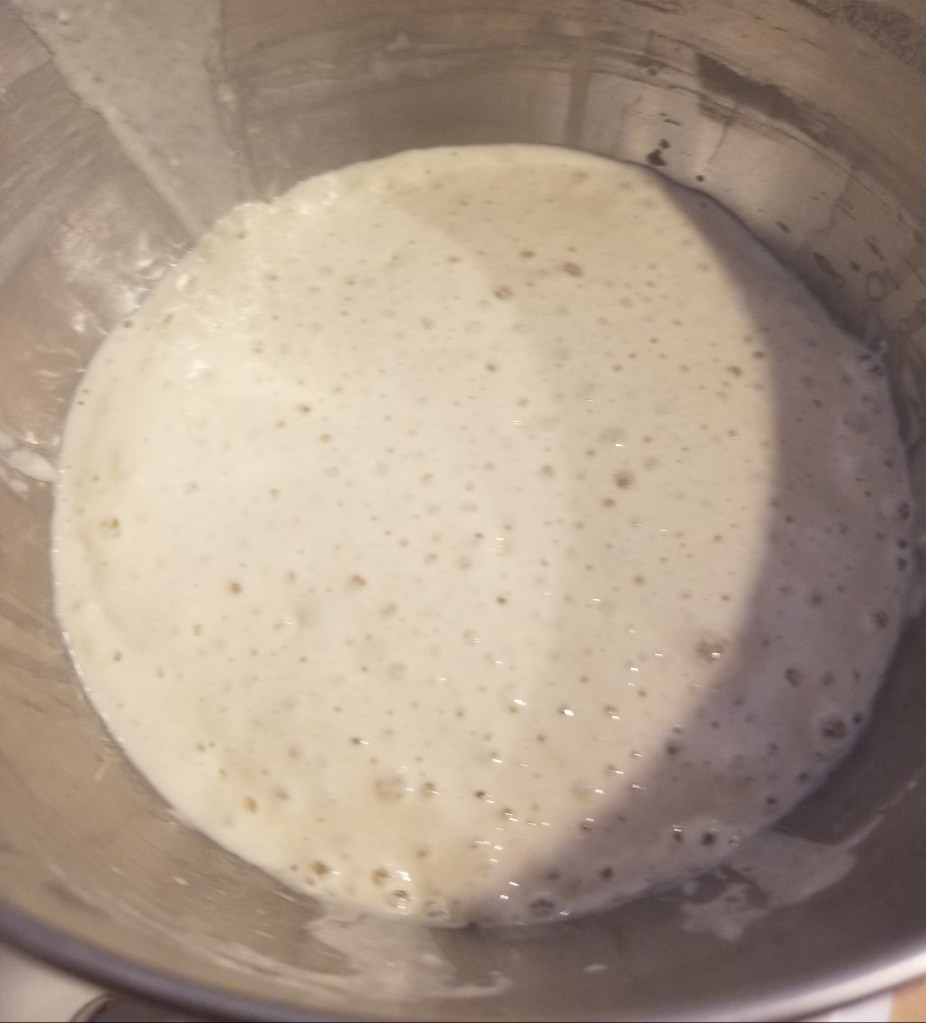
As I mentioned earlier, this recipe involves creating a “sponge” with the yeast, a little bit of flour and water. After mixing them together to make a thin batter, you have to wait two to three hours for the sponge to develop a bubbly texture like the foam on a root beer float.
Once the sponge is nice and bubbly, you add the rest of the ingredients to form a thick dough. Although the recipe calls for using the dough hook of a stand mixer, mine wasn’t incorporating all the cranberries and flour very well, so I finished off the mixing by kneading it by hand.
After resting it in the fridge for 20 minutes, you cut the dough into equal portions and form them into balls, keeping the dough covered the whole time so it doesn’t form a crust. Rest the dough balls in the refrigerator for 20 more minutes before forming them into rings.

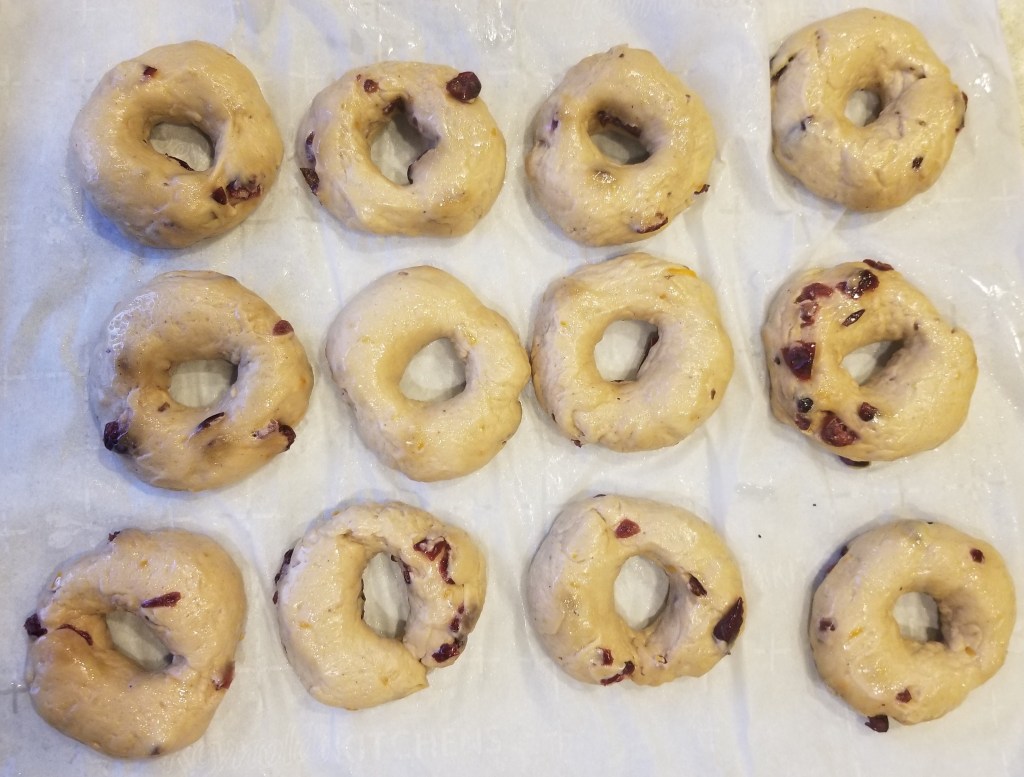
There were two methods for forming the bagels demonstrated by The Great British Bake Off contestants. There’s the pinch-and-spin method, in which the ball of dough is pinched in the middle to make a hole and then spun around on a finger to create a ring with a large hole. The other method, more traditional apparently, involves rolling the ball into a rope, bringing the ends together to form a ring, and then rocking It back and forth on a hard surface to seal the ends together.
I used the pinch-and-spin method, but I wasn’t patient enough to get very even rings. Either that or the cranberries made them too lumpy to look uniform. I think next time I’ll try the traditional method.
Once they’re all formed (again, keeping them covered when you’re not working with each bagel), they have to prove again at room temperature for 20-40 minutes. This next step I found very interesting and kind of fun: You’ll know they’ve proven enough when they float! Fill a bowl with cool water. Drop one bagel (gently!) into the bowl, and if it floats within 10 seconds, it’s done proving. I had to try this a couple times, and when it didn’t work I thought I’d ruined everything, but after 10 more minutes I tried again, and it worked! (Helpful hint: If it doesn’t float the first time, pat it dry and put it back on the covered tray. I used a different bagel each time I tried the float test so I wouldn’t waterlog any one bagel.)
Now the bagels have to rest in the refrigerator overnight, apparently to allow the enzymes in the dough to release flavors. The contestants on GBBS didn’t have the time for this step; they were only given four hours to complete their bagels. And, you’ll recall, my first attempt at bagels didn’t include this step either, and we saw how that turned out. So I don’t know how the GBBO bakers did it, but apparently several of them pulled it off well enough to satisfy Paul Hollywood!
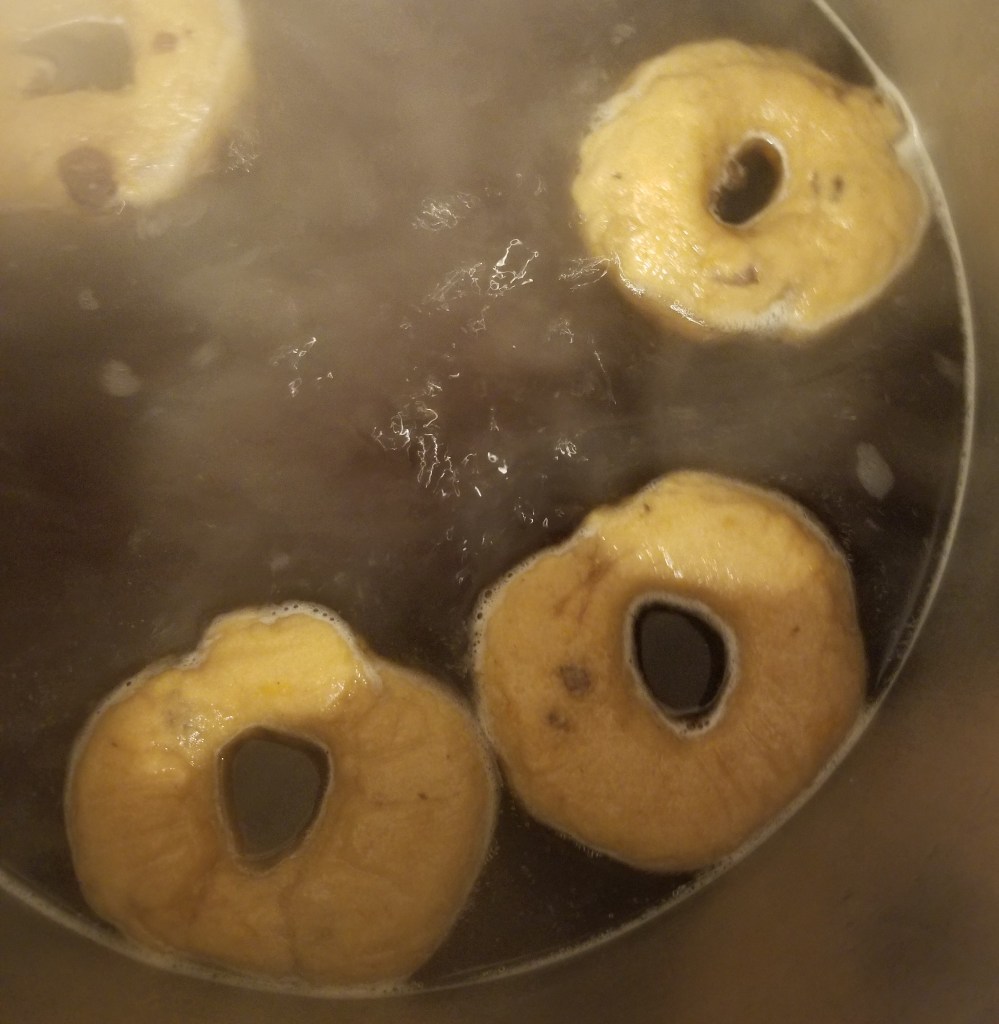
Mine were in the refrigerator about 24 hours. (They say they can stay refrigerated for up to two days.) Before pulling them out, I prepared a big pot of boiling water, adding a little bit of malt syrup—which I found at a health food store—and baking soda. Both help the bagels brown during baking, and the syrup adds a little sweetness to the dough. Once the water was boiling, I carefully plopped three or four bagels in at a time, boiled them on each side for about a minute, then pulled them out with a small strainer and placed them on a wire rack while poaching the rest.
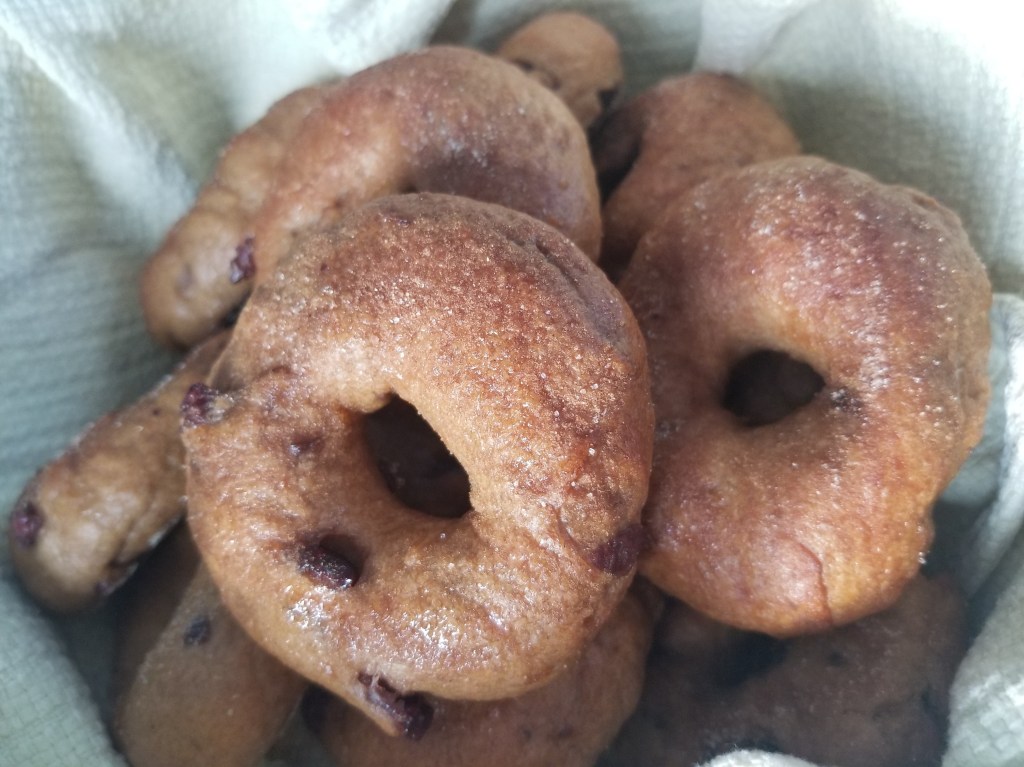
I lined my baking sheets with parchment paper and sprinkled a little cornmeal flour on it to make sure the bagels wouldn’t stick. I also sprinkled the tops of my bagels with a cinnamon-sugar mix. They baked at 425°F for 7 minutes, then I turned the baking sheets 180 degrees for even browning and baked them another 7 minutes. They smelled delicious and tasted even better! Nice and chewy inside, and they toast to an even crisp on the outside as well. Nothing goes better with a schmear of cream cheese than a freshly toasted bagel!
Cranberry Orange & Spice Bagels
Ingredients
- 1½ c. water (plus more for boiling)
- 4¾ c. bread flour (divided)
- 1 t. active dry yeast
- 1¾ t. salt
- 2 T. sugar
- 1½ t. cinnamon (optional)
- ½ t. nutmeg (opt.)
- ¼ t. cardamom (opt.)
- 1 T. orange zest (opt.)
- ¾ c. dried cranberries (opt.)
- 4 T. barley malt syrup (divided)
- 2½ t. baking soda
- Additional cinnamon and sugar for topping
Directions
- In a stand mixer bowl, combine 1½ c. water, 1¾ c. of the flour and the yeast. Cover the bowl with plastic wrap or a damp cloth and leave it at room temperature until it doubles in size and makes frothy bubbles that collapse when you tap the bowl on the countertop. This takes two to three hours. (Look for foam that resembles the head on a root beer float. If you don’t see this yet, give it a bit more time.)
- In a different bowl, combine the remaining 3 c. of flour with the salt, sugar, spices, orange zest and cranberries.
- Attach the bowl containing the sponge (from Step 1) to the stand mixer and fasten on the dough hook. Set the mixer to low. Add 2 T. of the malt syrup to the sponge, and then gradually spoon the dry ingredients into the mixer bowl and let the dough mix until it becomes stretchy and smooth and pulls away from the sides of the bowl, about 15 to 20 minutes. (I finished it off by kneading it by hand, but let the mixer do most of the work. It will be a very stiff dough.)
- Cover the bowl with a damp cloth and let the dough cool in the fridge for 20 minutes.
- Line two baking sheets with parchment paper and coat with nonstick spray. Cover them with plastic wrap. Working quickly to keep the dough cool, divide it into 12-15 equal portions and set them on the pan, tucking them underneath the plastic wrap to keep any crust from forming.
- Form the portions into balls, tucking the loose ends underneath and then pinching them to seal and rolling them till smooth. There’s a video on how to do it here: [https://www.chefsteps.com/activities/amazing-chewy-bagels-from-scratch] When you finish each piece, return it to its spot under the plastic wrap on the baking sheet.
- Cool the dough balls in the refrigerator for 20 minutes.
- Working with one ball at a time, use two fingers to pinch a hole through the center of the dough, turning it while you work. Once you break through the dough, stick both your index fingers through the hole from opposite directions and spin them around each other, slowly stretching out the hole until you can fit three fingers through it. Return the shaped dough to its covered spot on the pan.
- Allow the rings to prove at room temperature for 20-40 minutes, until a test ring floats when set in a bowl of water. (If the test ring sinks, or doesn’t rise to the surface within 10 seconds, prove a bit longer.)
- Wrap the baking sheets tightly with plastic wrap, and leave them in the refrigerator overnight.
- The next day, in a large pot, add remaining 2 T. malt syrup and baking soda to 4-5 quarts of water. Bring to a boil over high heat.
- Heat oven to 425°F, and mix remaining cinnamon and sugar for topping.
- Working in batches of 3-4 bagels at a time, gently drop the bagels into the hot water and boil for 60 seconds, then flip them with a strainer or fork and boil for another 60 seconds. Transfer them, smooth sides up, to a wire rack over a baking sheet. Sprinkle with cinnamon and sugar.
- Transfer the bagels to a parchment paper–lined baking sheet, and put it on the center rack of the preheated oven. NOTE: If you have a convection oven, use the fan for better browning.
- Bake for 7 minutes, turn the tray around to ensure even cooking, and continue baking until bagels have a nice, brown color—about 7 more minutes. Allow to cool before devouring!
Next week: Tarte tatin
Discover more from Here's the Dish
Subscribe to get the latest posts sent to your email.

The Orange Cranberry Spice Bagels sound delicious! The sponge and resting times really do make a difference. It did with me too.
LikeLiked by 1 person