
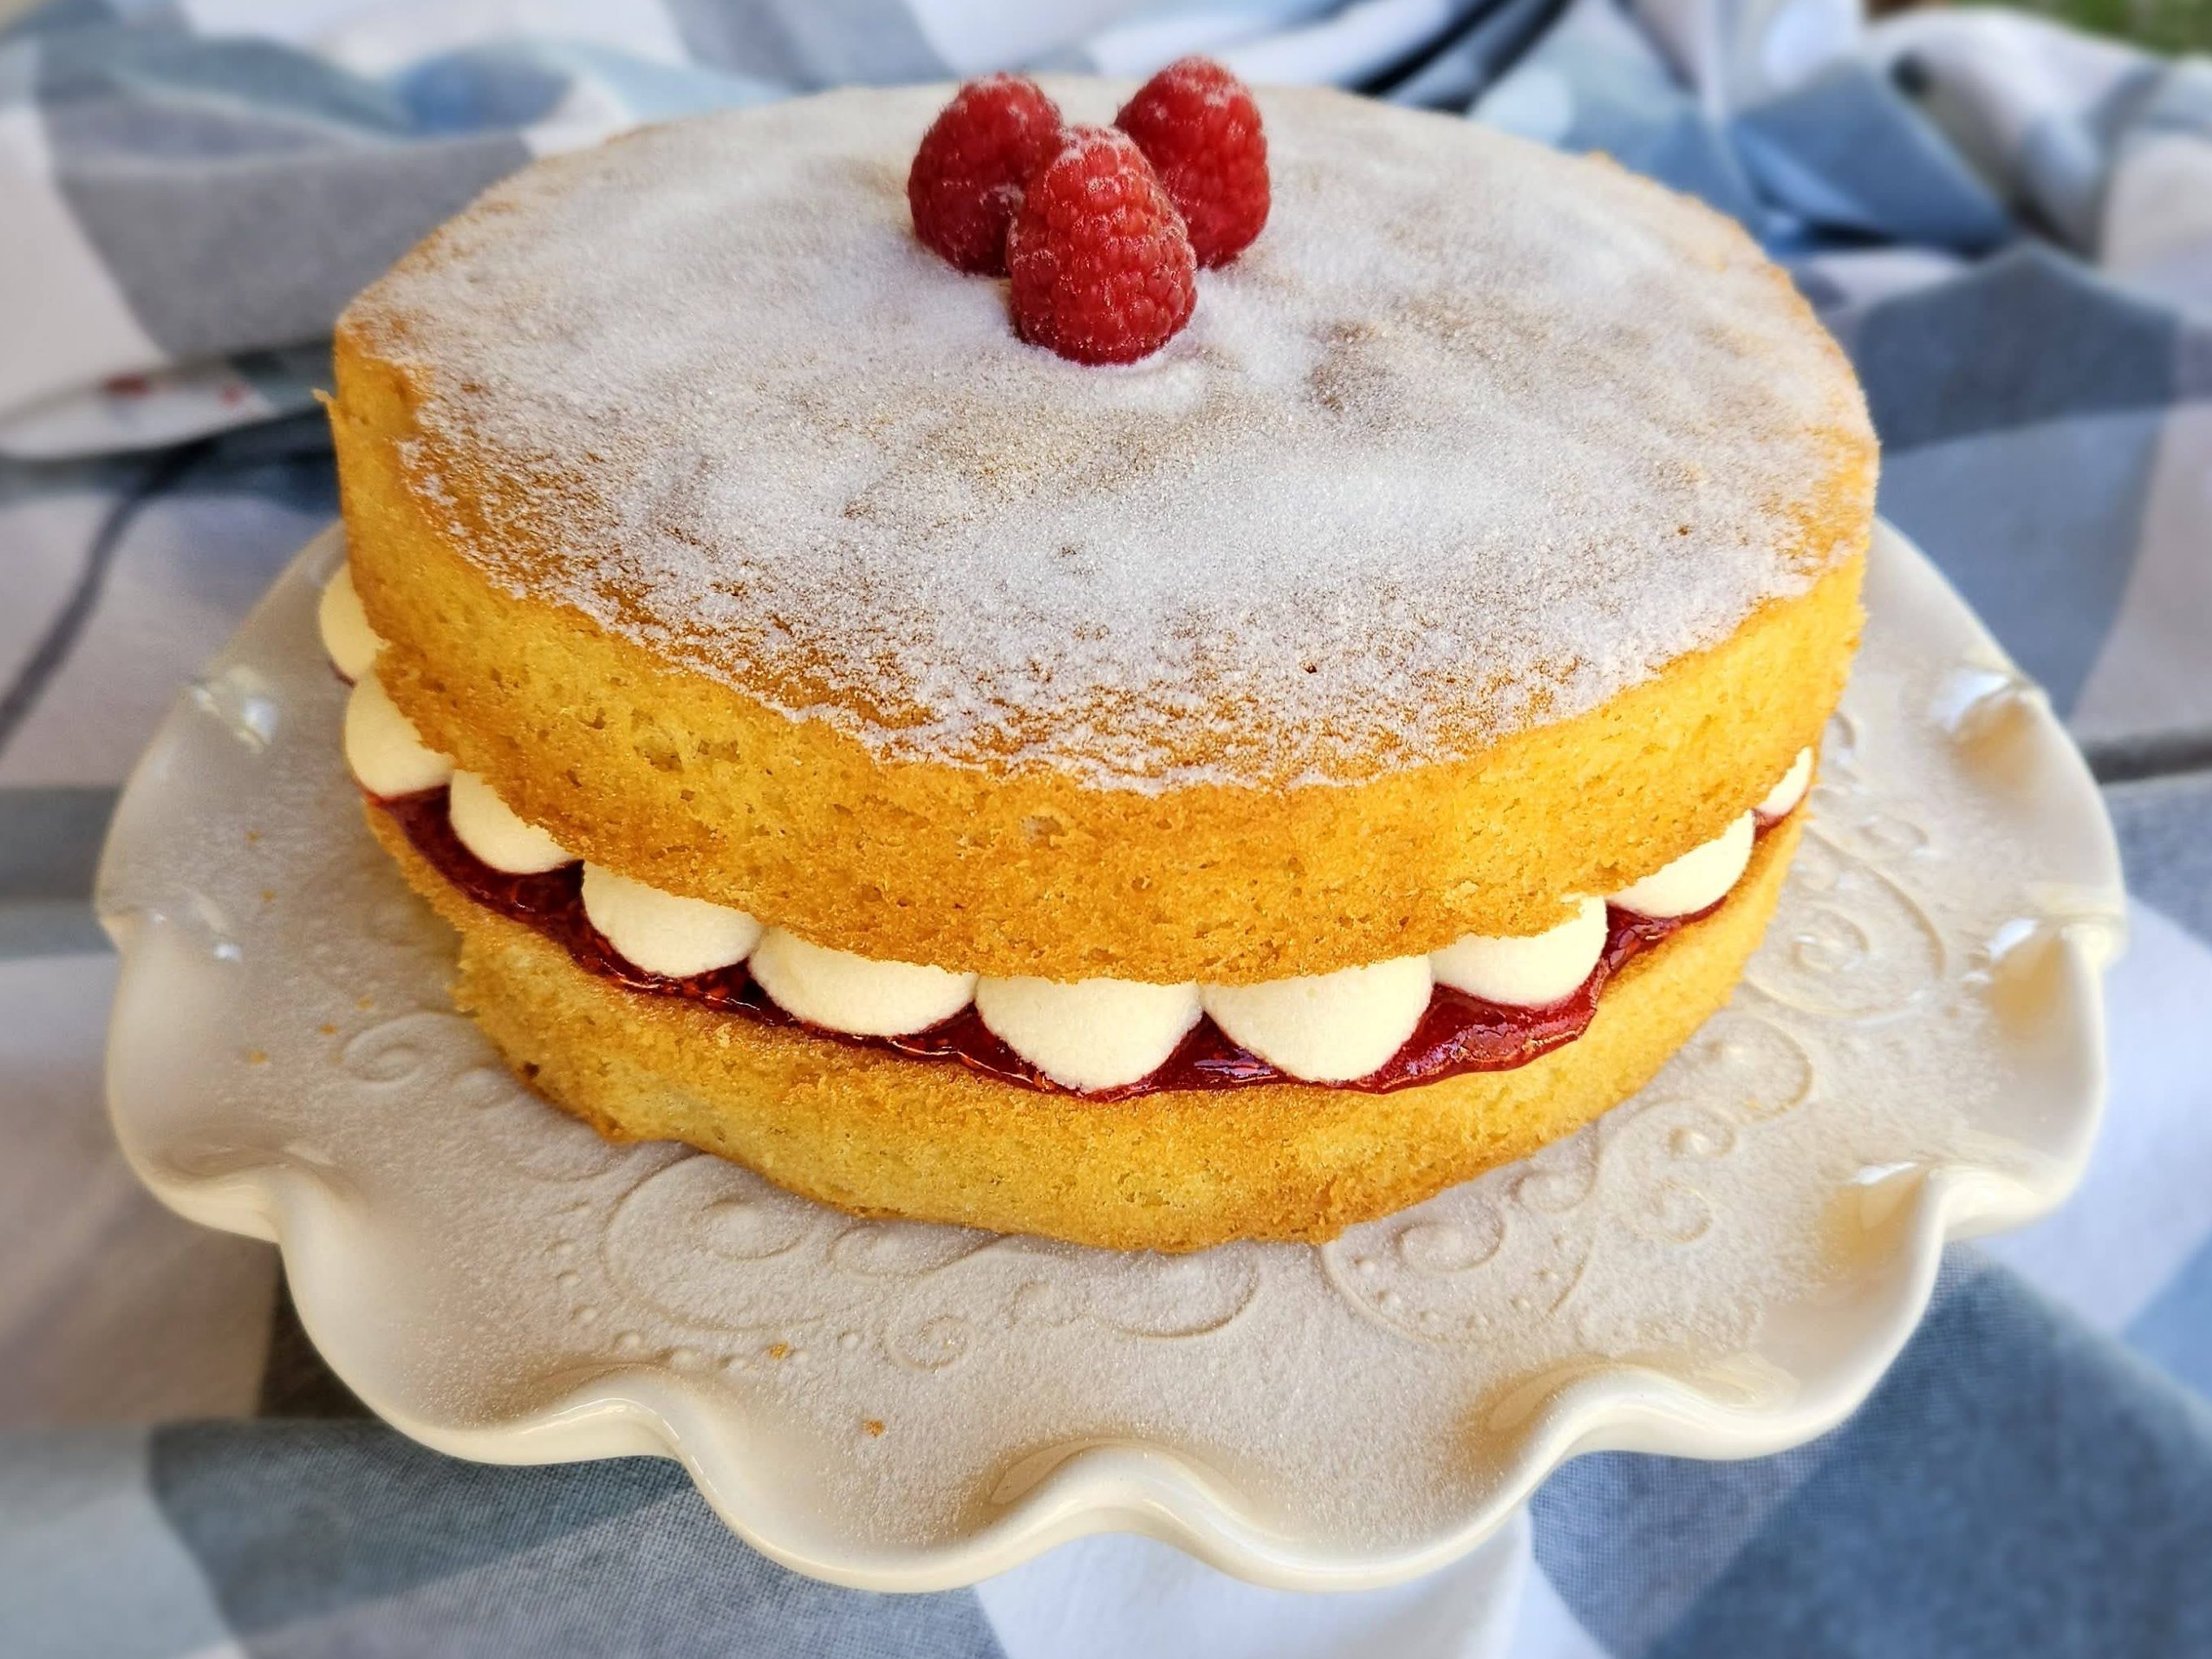
What could be a more iconic British bake than the Victoria sandwich? Named after Queen Victoria herself, this light sponge sandwiched with jam and buttercream (or whipped cream) was said to be Her Majesty’s favorite and was often served at tea time.

The first recipe for Victoria sandwiches appeared in Mrs. Beeton’s Cookery and Household Management, an 1874 cookbook written by Isabella Beeton. By this time in history, afternoon tea was a well-established social custom, likely borne of necessity with the Industrial Revolution, when many people moved from rural farms to urban areas to work in factories, and the main meal of the day was switched from noon to evening. It became fashionable, at least among the upper class, to serve dinner later and later, often not until 8 or 9 in the evening. Naturally, therefore, one became quite peckish in the late afternoon, so a light snack was in order.
It may be more legend than fact, but the invention of afternoon tea is often credited to one of Queen Victoria’s ladies-in-waiting, Anna Maria Russell, the Duchess of Bedford. She described experiencing a “sinking feeling” in the afternoons and asked her servants to bring tea and a light snack to her dressing room around 4 o’clock. Soon, she began inviting her friends to join her, and a delightful ritual was born.

According to food historian Tasha Marks, afternoon tea could be considered a radical feminist act. Because it was often served at home, women could wear dresses with less boning and corsetry. Away from the public eye and Victorian-era scrutiny, they could entertain mixed company without their husbands present. This practice “was therefore liberating, both socially and practically,” she writes. “… [A]fternoon tea was a place where women took centre stage and were able to exchange ideas, opinions and a healthy dose of gossip.”
Queen Victoria took to the idea as well, although her tea parties were decidedly more formal affairs. It is said that she enjoyed a light cake with buttercream and fresh raspberries with her tea, which is how the Victoria sandwich got its name. But it’s possible the iconic cake started out in the children’s nursery. Early on, most cakes served at tea contained fruits and seeds, which, it was believed, were unsuitable for children. (Perhaps they posed a choking hazard?) So the Victoria sponge may have first been served in the nursery before moving to the queen’s table.
Although Mrs. Beeton’s original recipe doesn’t call for baking powder, it was the invention of this leavening agent by Alfred Bird that brought us the lighter version we know and love today.
It’s fitting that this was the final technical challenge for the 2016 season of Bake Off, as the Victoria sponge is often used as a standard of baking for the home cook. The Women’s Institute — an organization that was formed in 1915 to encourage women in rural areas of Britain to become more involved in food production during World War I and is now the largest women’s volunteer organization in the UK — holds an annual Victoria sandwich baking competition. In a 2015 article in the publication WI Life, Mary Gwynn writes, “As a competition cake, it is the ultimate test for bakers — the simple ingredients and method allow no hiding place for sloppy techniques or poor quality ingredients.” Because the sponge can be temperamental and sensitive to changes in oven temperature, it’s even used to test the performance of new ovens by manufacturers in the UK.

Because this was the final technical, the bakers in the Great White Tent were given no instructions with the recipe, just the ingredients and 1½ hours. Not being as familiar with Victoria sandwiches as the average British baker, I allowed myself the use of Mary Berry’s recipe, but I did challenge myself to stick to the time limit, which I don’t usually do.
So with the timer ticking away, I set about to make the best Victoria sandwich I could muster, and I’m proud to say I finished with one minute to spare!

I have a few thoughts on Mary’s recipe, as well as the outcome. She uses the all-in-one method, eschewing the traditional creaming method. The creaming method involves beating the butter and sugar together until fluffy and lighter in color, mixing in the eggs one at a time, and then folding in the rest of the dry ingredients. The all-in-one method simply calls for all ingredients to be added to the bowl at the same time, and everything is mixed together in one go.
In this side-by-side test, Jacqueline Bellefontaine found that the all-in-one method did result in a higher rise on her cakes, but when it came to the taste test, most of her tasters preferred the cakes made with the creaming method, which resulted in a slightly lighter texture.
The only caveat I would give when using the all-in-one method is to make sure your butter is very soft. Even though I left mine out overnight (from frozen), when I mixed all the ingredients together, I could still see bits of butter that hadn’t homogenized with the rest of the batter. When using the all-in-one method, you have to be careful not to overmix the batter so the gluten in the flour doesn’t get too developed, which would make the cake more dense and chewy. But when you use the creaming method, you can beat the butter and sugar together as long as you like, since the flour hasn’t been added yet.
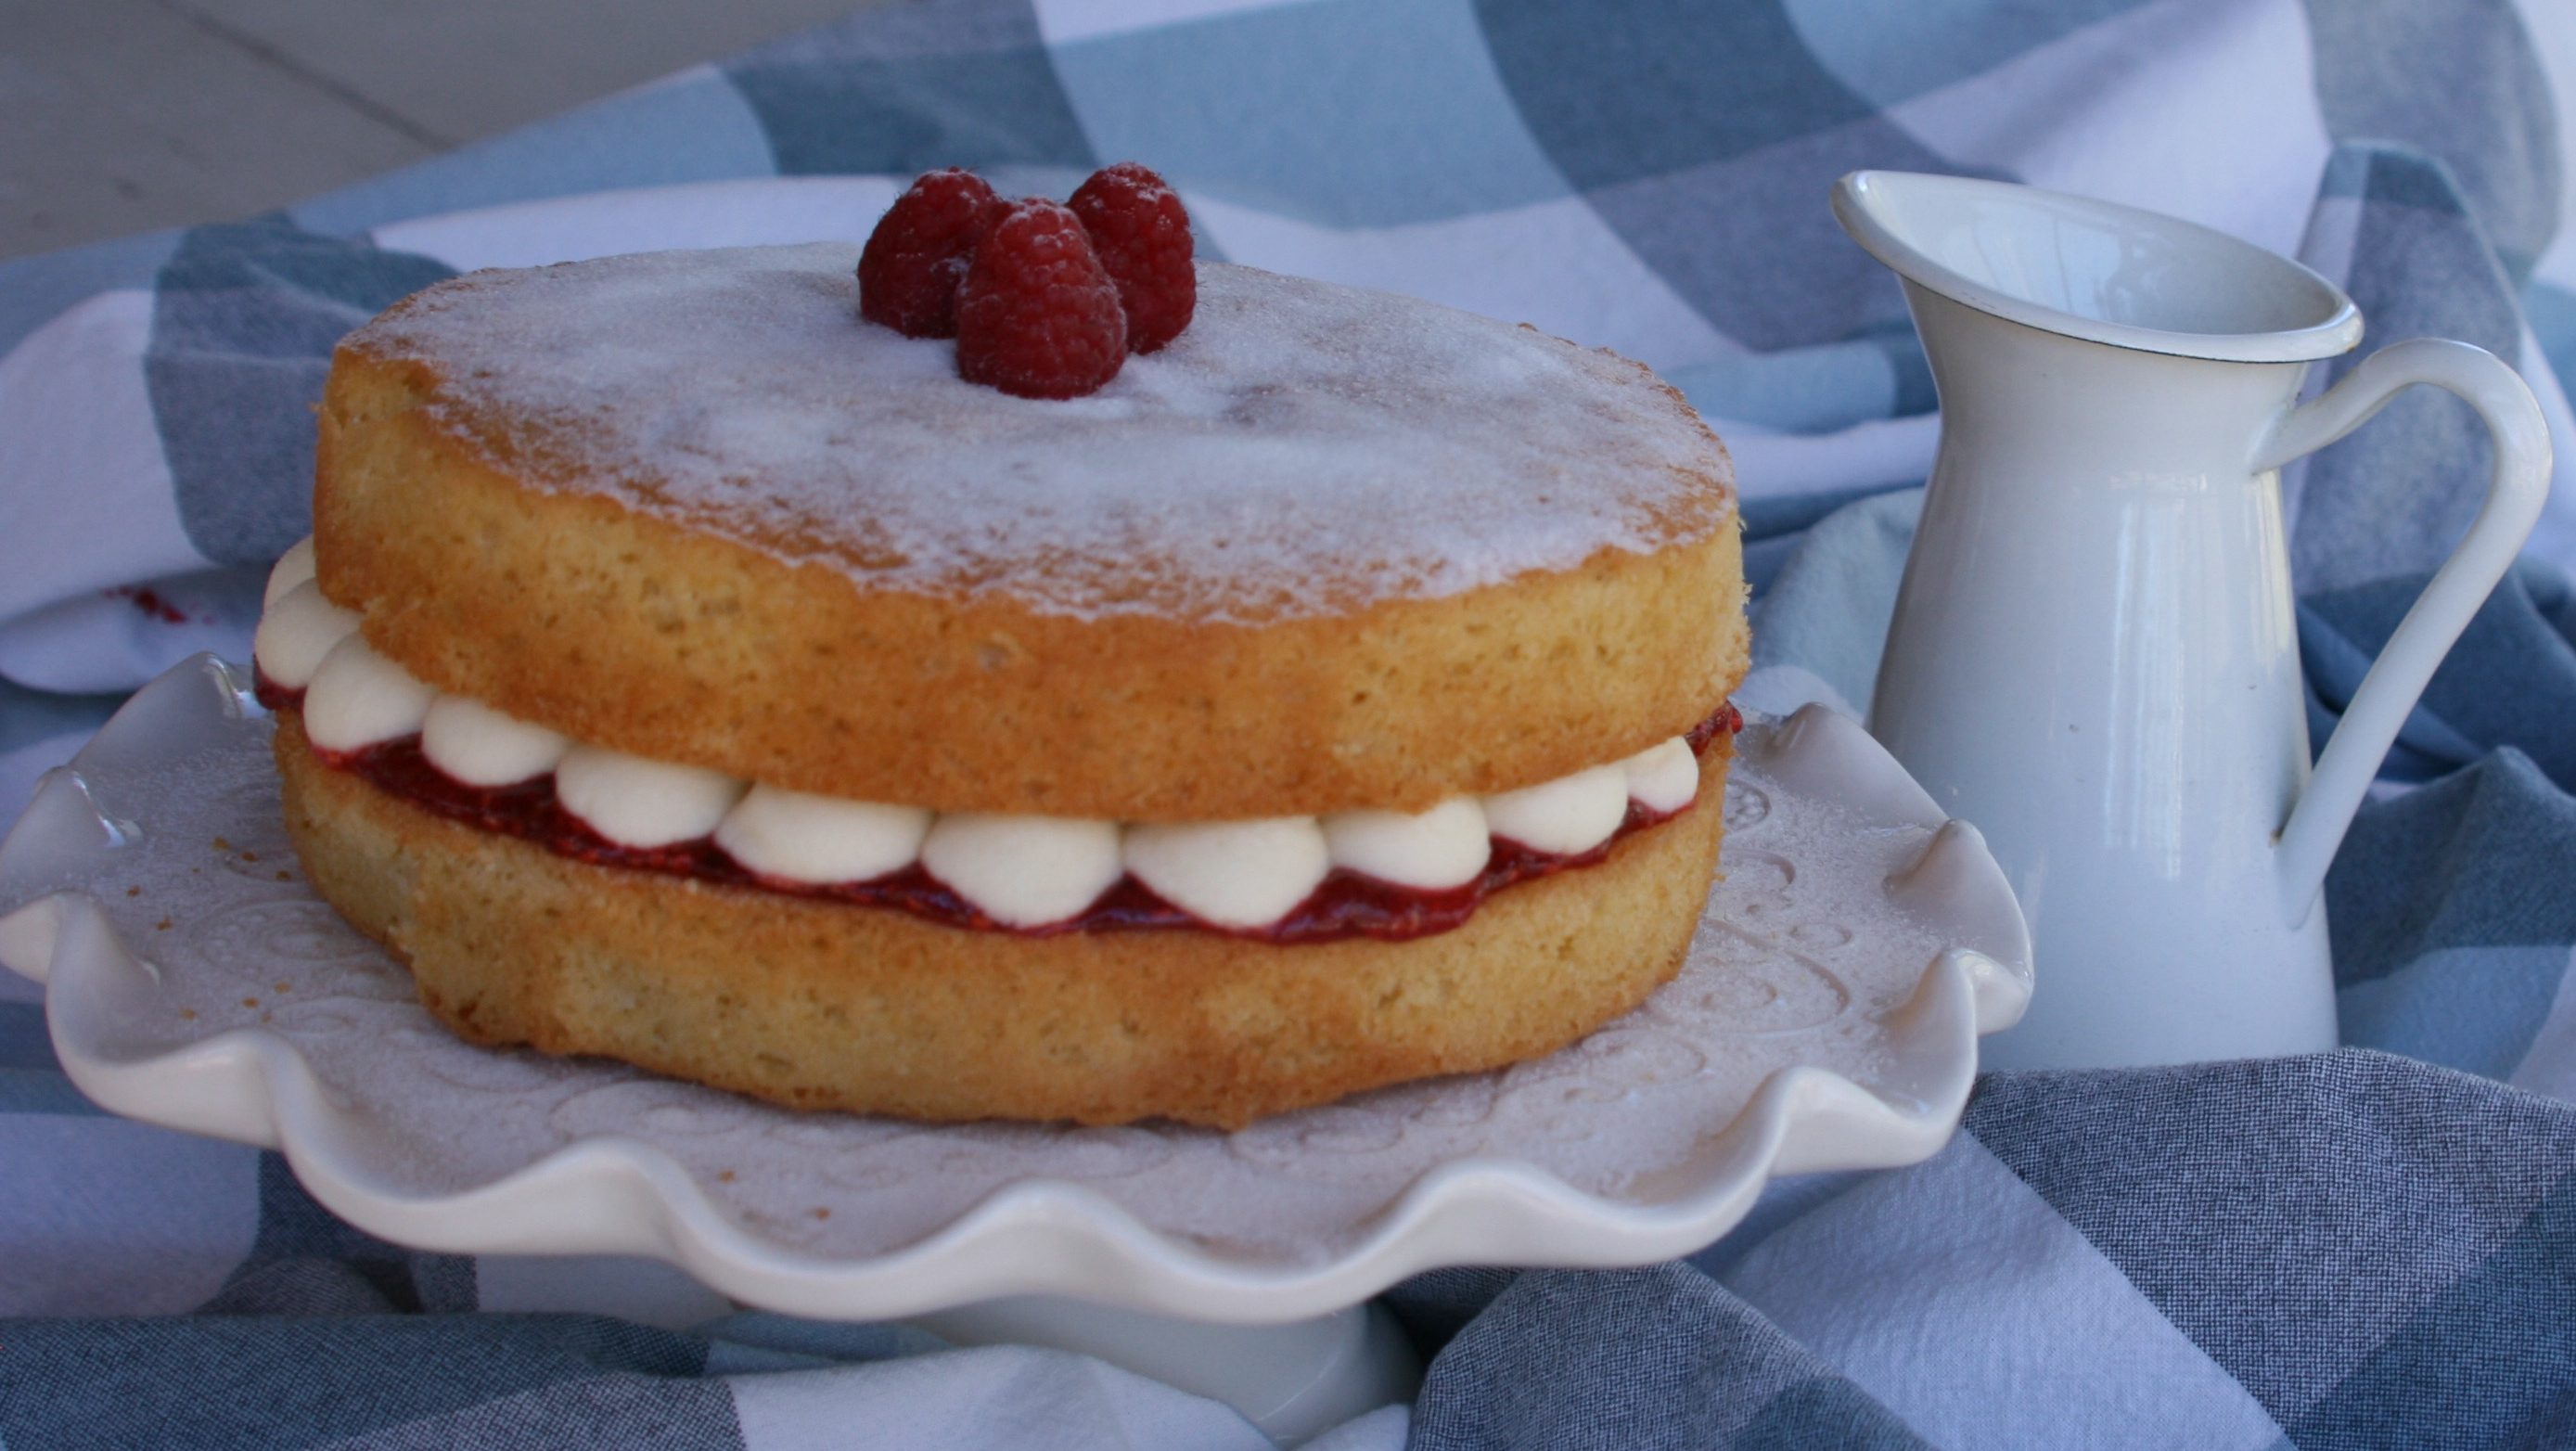
Even so, once baked, my cake was light and airy. Without the addition of vanilla or other flavorings, Mary’s recipe really lets the butter flavor shine through. It’s also not overly sweet, so the fillings enhance the cake without being overpowered. I think my favorite part is the sprinkling of caster sugar on top, which gives it a slight crunch when you bite into it.
You’ll find Mary’s original recipe here, but I’ve adapted it for American bakers below.
NOTE (12/2/23): Now that I’ve finished baking through the 2016 season, I will be taking a hiatus for the holidays and then going through a kitchen remodel. I’m really excited about coming back next spring with a brand-new kitchen to start baking through the 2017 season of The Great British Bake Off. So please stay tuned!


Mary Berry’s Victoria Sandwich
(Adapted for American bakers)
For the sponge:
- 4 large eggs (room temperature)
- 1 1/8 c. superfine (baker’s) sugar, plus extra for sprinkling
- 1¾ c. all-purpose flour
- 3½ t. baking powder
- 1 c. unsalted butter (very soft), plus extra for greasing
For the jam:
- 7 oz. raspberries, fresh or frozen
- 1¼ c. granulated sugar
- ¾ t. powdered pectin (I use Sure-Jell)
For the buttercream:
- 7 T. unsalted butter, softened
- 1 2/3 c. powdered sugar, sifted
- 2 T. milk
Directions
- Preheat the oven to 350°F. Grease and line two 8-inch round cake pans. (HINT: I like to use the butter wrappers to rub around the inside of the pans.) Cut a circle of parchment paper just to fit inside the pans and place one in the bottom of each pan.
- Break the eggs into a large mixing bowl. Add the sugar, flour, baking powder and soft butter. Mix together until well combined. (NOTE: An electric mixer will make short work of it, but be careful not to overmix!) As soon as everything is blended together, stop mixing. The batter should be of a soft dropping consistency. (That means the batter should easily drop off a spoon by itself.)
- Divide the mixture evenly between the two pans, scraping the bowl with a spatula to get all the batter. Gently smooth the surface of the cake batter with the spatula.
- Place the pans on the middle shelf of the oven and bake for 25 minutes. (NOTE: Don’t open the oven door for at least the first 20 minutes or the cakes could fall.) Cakes are done when they are golden-brown and coming away from the edge of the pan. Press the surface gently — they should be springy to the touch. And a toothpick inserted in the center should come out clean.
- While the cakes are baking, make the jam: Put the raspberries in a small, deep-sided saucepan and crush them with a potato masher. Add the sugar and bring to a boil over low heat until the sugar has dissolved. Increase the heat and leave to boil rapidly for 4 minutes. Remove pan from the heat and carefully pour jam into a shallow container to cool and set.
- When cakes are done, remove from the oven and leave them in the pans for 5 minutes, then run a palette or butter knife around the inside edge of the pan and carefully turn the cakes out onto a cooling rack. (HINT: To avoid leaving a rack mark on the top of the cake, put a clean dish towel over the pan, place one hand on the tea towel and use the other hand to turn the pan upside down onto the towel in your hand. Then you can turn the cake right side up onto the wire rack.) Set aside to cool completely.
- To make the buttercream, beat the butter in a large bowl until soft. Add half the powdered sugar and beat until smooth. Add remaining powdered sugar and one tablespoon milk, and beat the mixture until creamy and smooth. Add the remaining tablespoon of milk if the buttercream is too thick to pipe. Spoon the buttercream into a piping bag fitted with a plain, ¼-inch nozzle.
- To assemble, choose the layer with the best top, then put the other layer, top down, onto a serving plate. Spread with the jam, then pipe the buttercream in “kisses” on top of the jam, moving from the outer circle to the center. Place the other layer, top side up, on top of the buttercream, and sprinkle with caster sugar to serve. The cake will keep for 2-3 days in an airtight container at room temperature.
Up Next: Series 8 (Collection 5 on Netflix)
Discover more from Here's the Dish
Subscribe to get the latest posts sent to your email.
