
The elements of this challenge required some sussing out. Hosts Mel and Sue described it as a “marzipan centerpiece, which the Tudors called a marchpane.” They said the marzipan had to be three-dimensional, made from scratch and entirely edible. From the final products presented by the bakers in the Great White Tent, however, I surmised that the judges also wanted the base of the centerpieces to be cake, any molds or templates had to be handmade, and they seemed to require that the marzipan decorations be either baked, grilled (under the broiler) or blowtorched.
But before we get into the particulars of this bake, a bit of history…
The Tudor period in England covers the reigns of five monarchs from 1485 to 1603: Henry VII, Henry VIII, Edward VI, Mary I and Elizabeth I. It was a tumultuous period, marked by the Reformation, as well as by a rising population and economic growth, but inflationary pressures and low wages resulted in a widening gap between the rich and poor.
While the poor subsisted on bread and whatever meat they could catch or hunt (rabbits, pigeons, blackbirds, pheasants, etc.), the rich were known for their elaborate banquets. (Side note: Henry VII first instituted Yeoman Warders to guard the Tower of London. They were soon dubbed Beefeaters because they were partially paid in beef!)
In addition to having fresh meat every day, another status symbol for the wealthy was the use of exotic ingredients from distant lands, like spices from China, India and Africa; citrus, olive oil and almonds from the Mediterranean; and sugar from Cyprus. And that’s where marchpane comes in.
Marzipan’s roots date as far back as 1150 from the area of Spain once known as Al-Andalus, but the first written record of marzipan in England is from 1492. The early form of marzipan known as marchpane was made of three simple ingredients — ground almonds, sugar and rosewater. What we know as marzipan today usually has egg added to it, which makes it more soft and pliable.
In Tudor times, marchpane was often molded with intricate designs, baked until hardened, iced and gilded, and then assembled into elaborate centerpieces to impress the guests at royal feasts. More humble iterations would consist of a disk of marzipan, about an inch thick, that was embossed by pressing it with a decorative plate, then baked and painted with colored glazes. These may have been served atop a thin cake base, but as time went on the cake got thicker and the marzipan thinner, eventually morphing into the traditional English Christmas cake of today, which is covered with a thin layer of marzipan before being coated with royal icing.
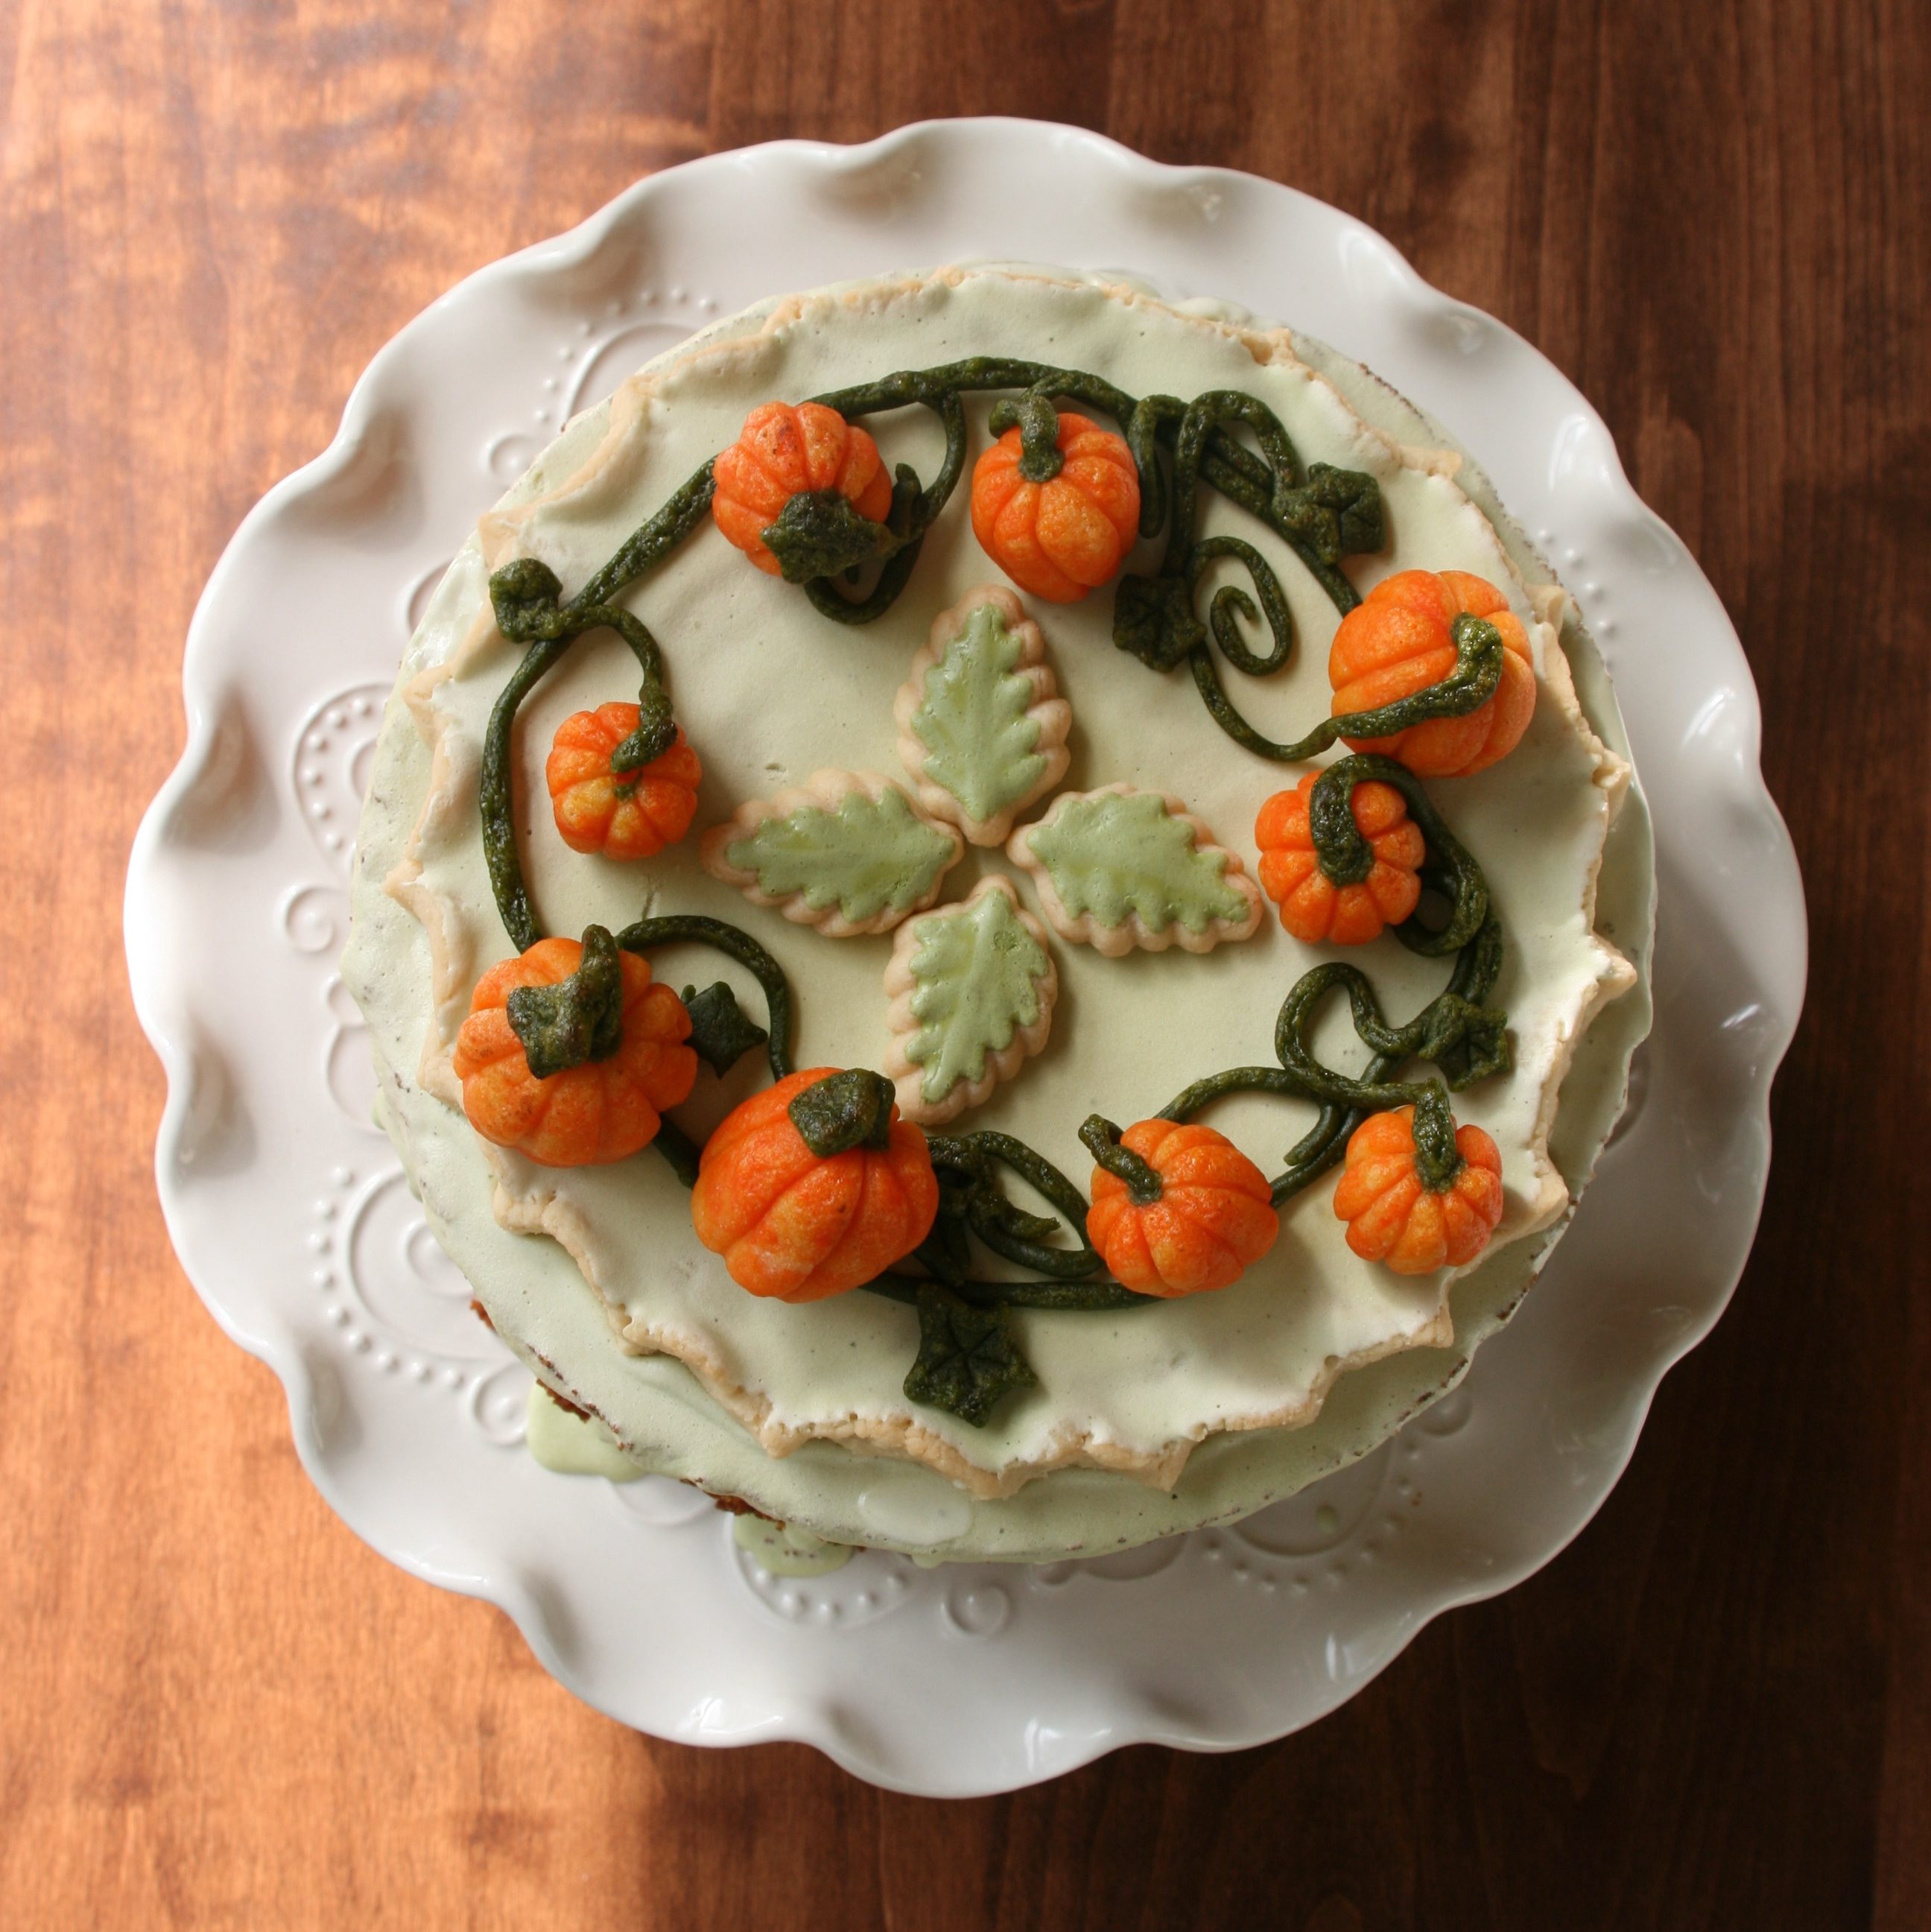
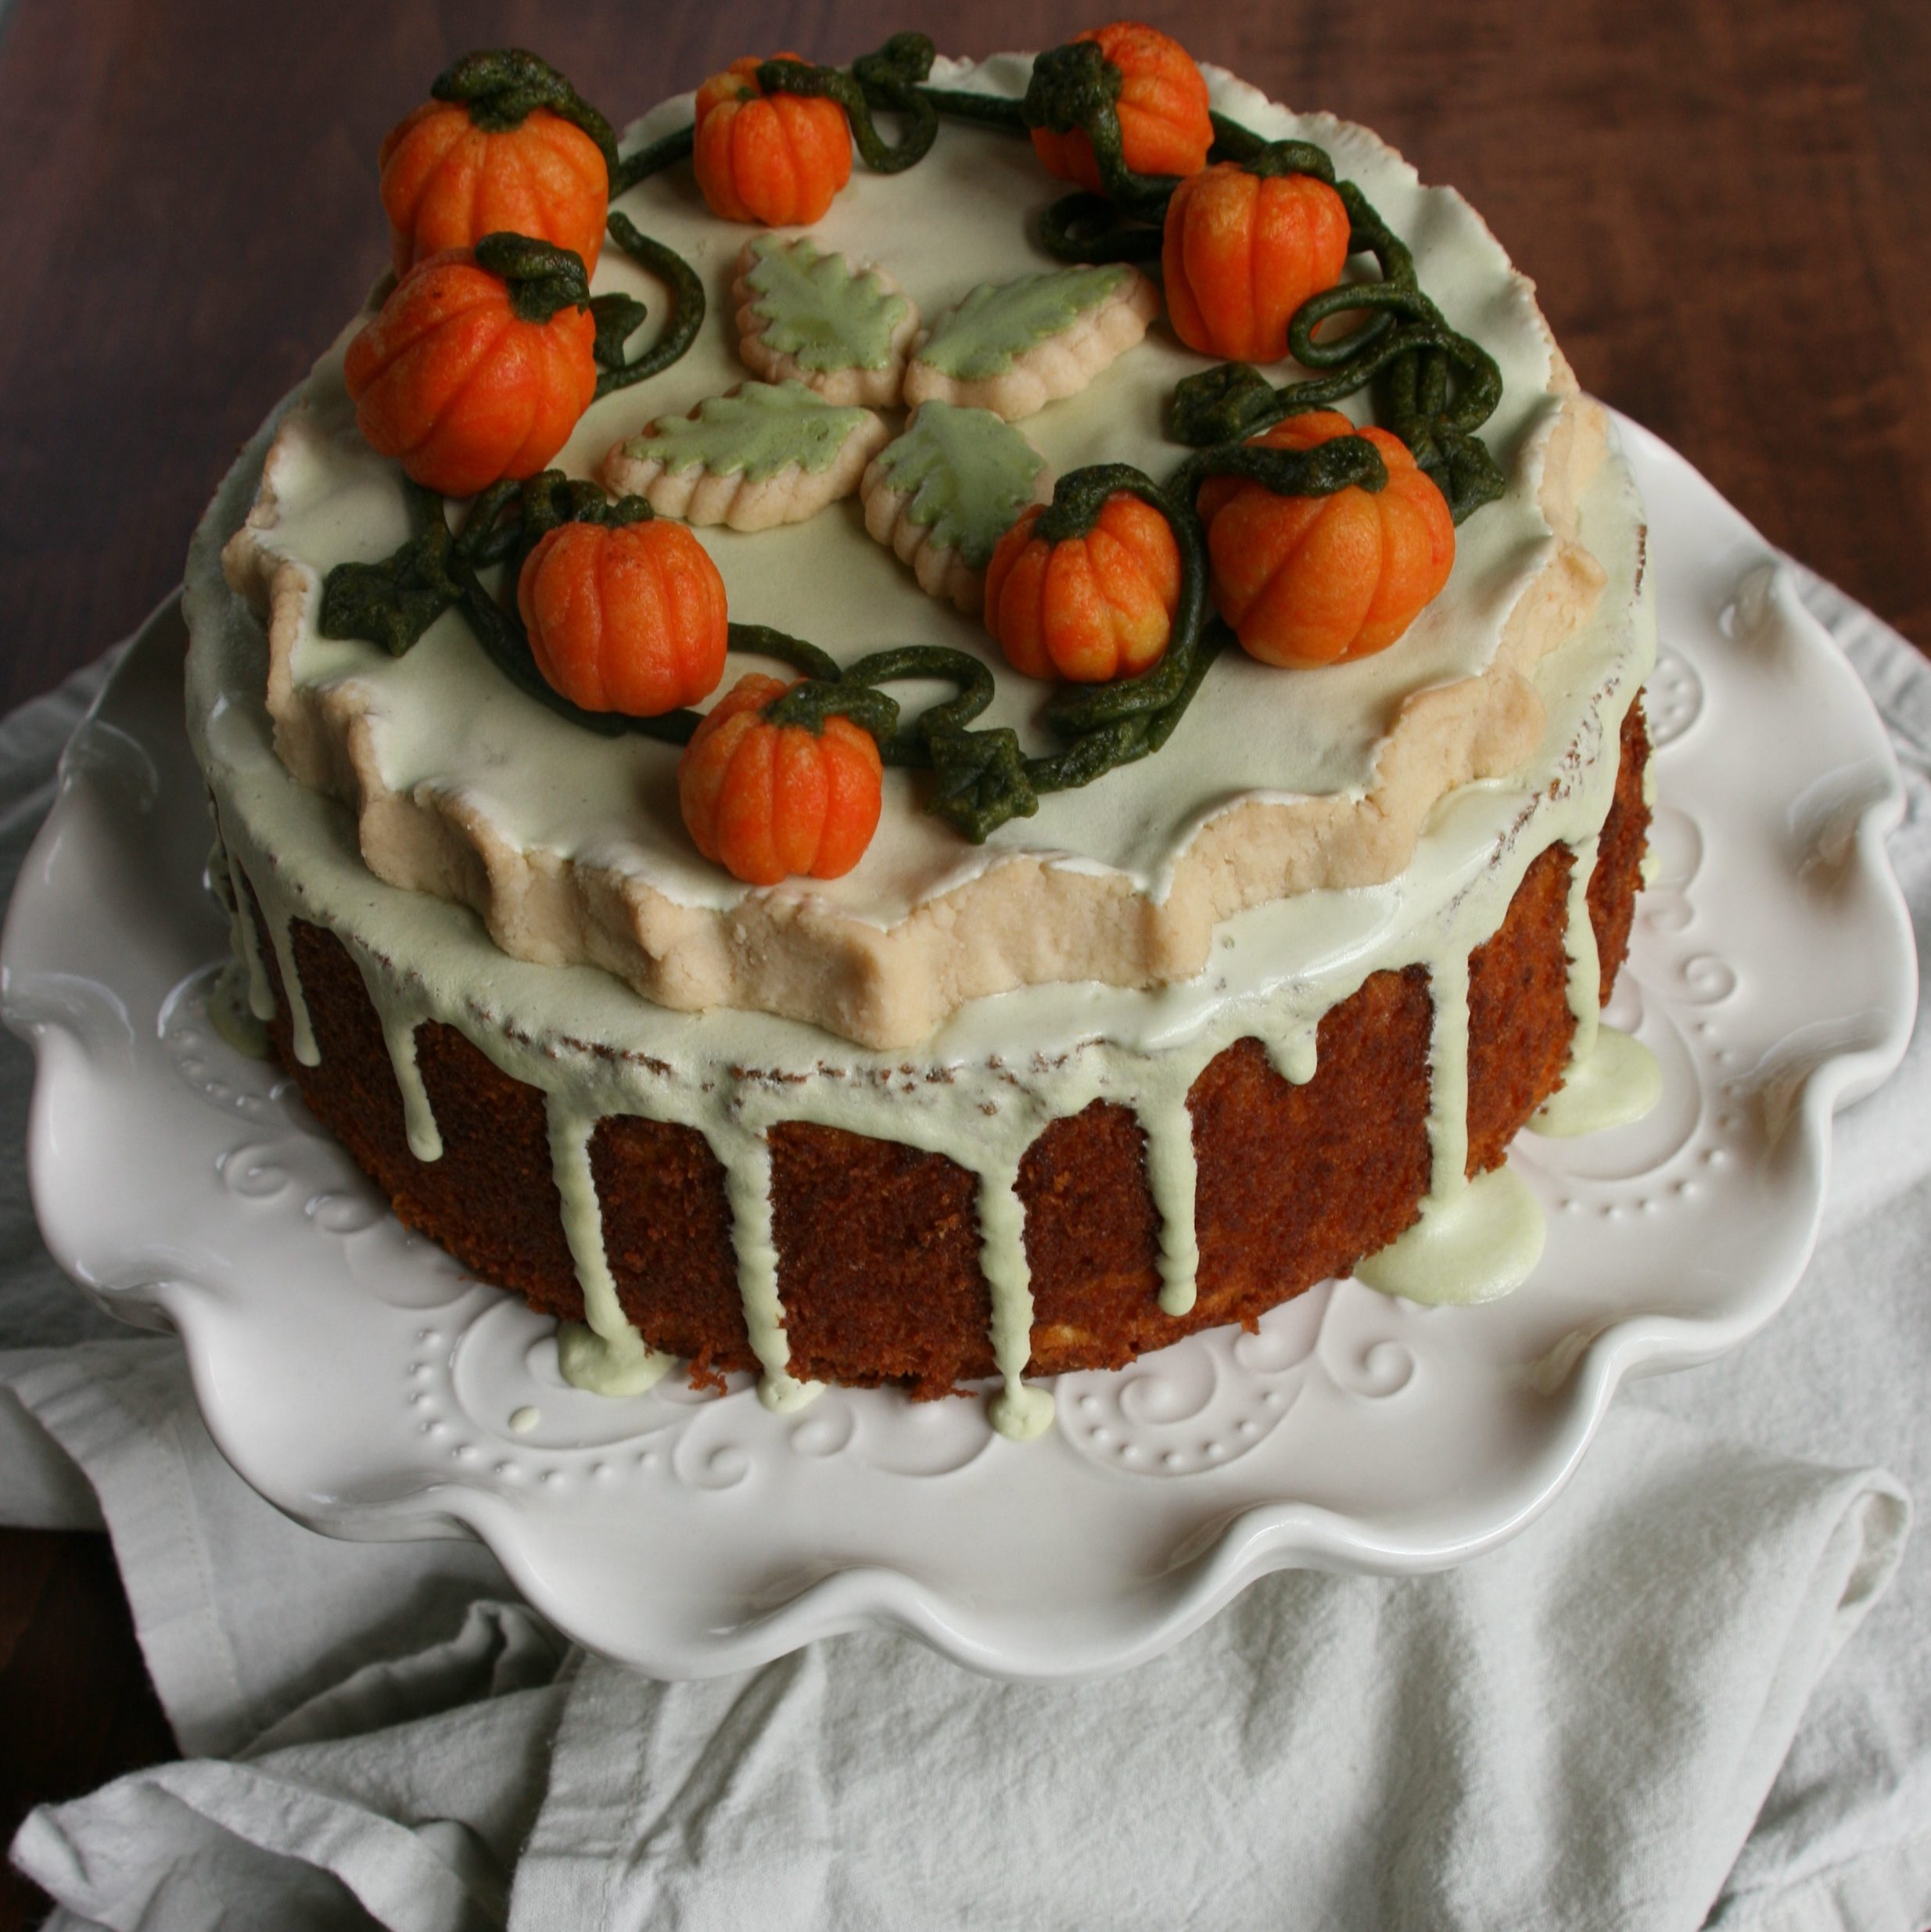
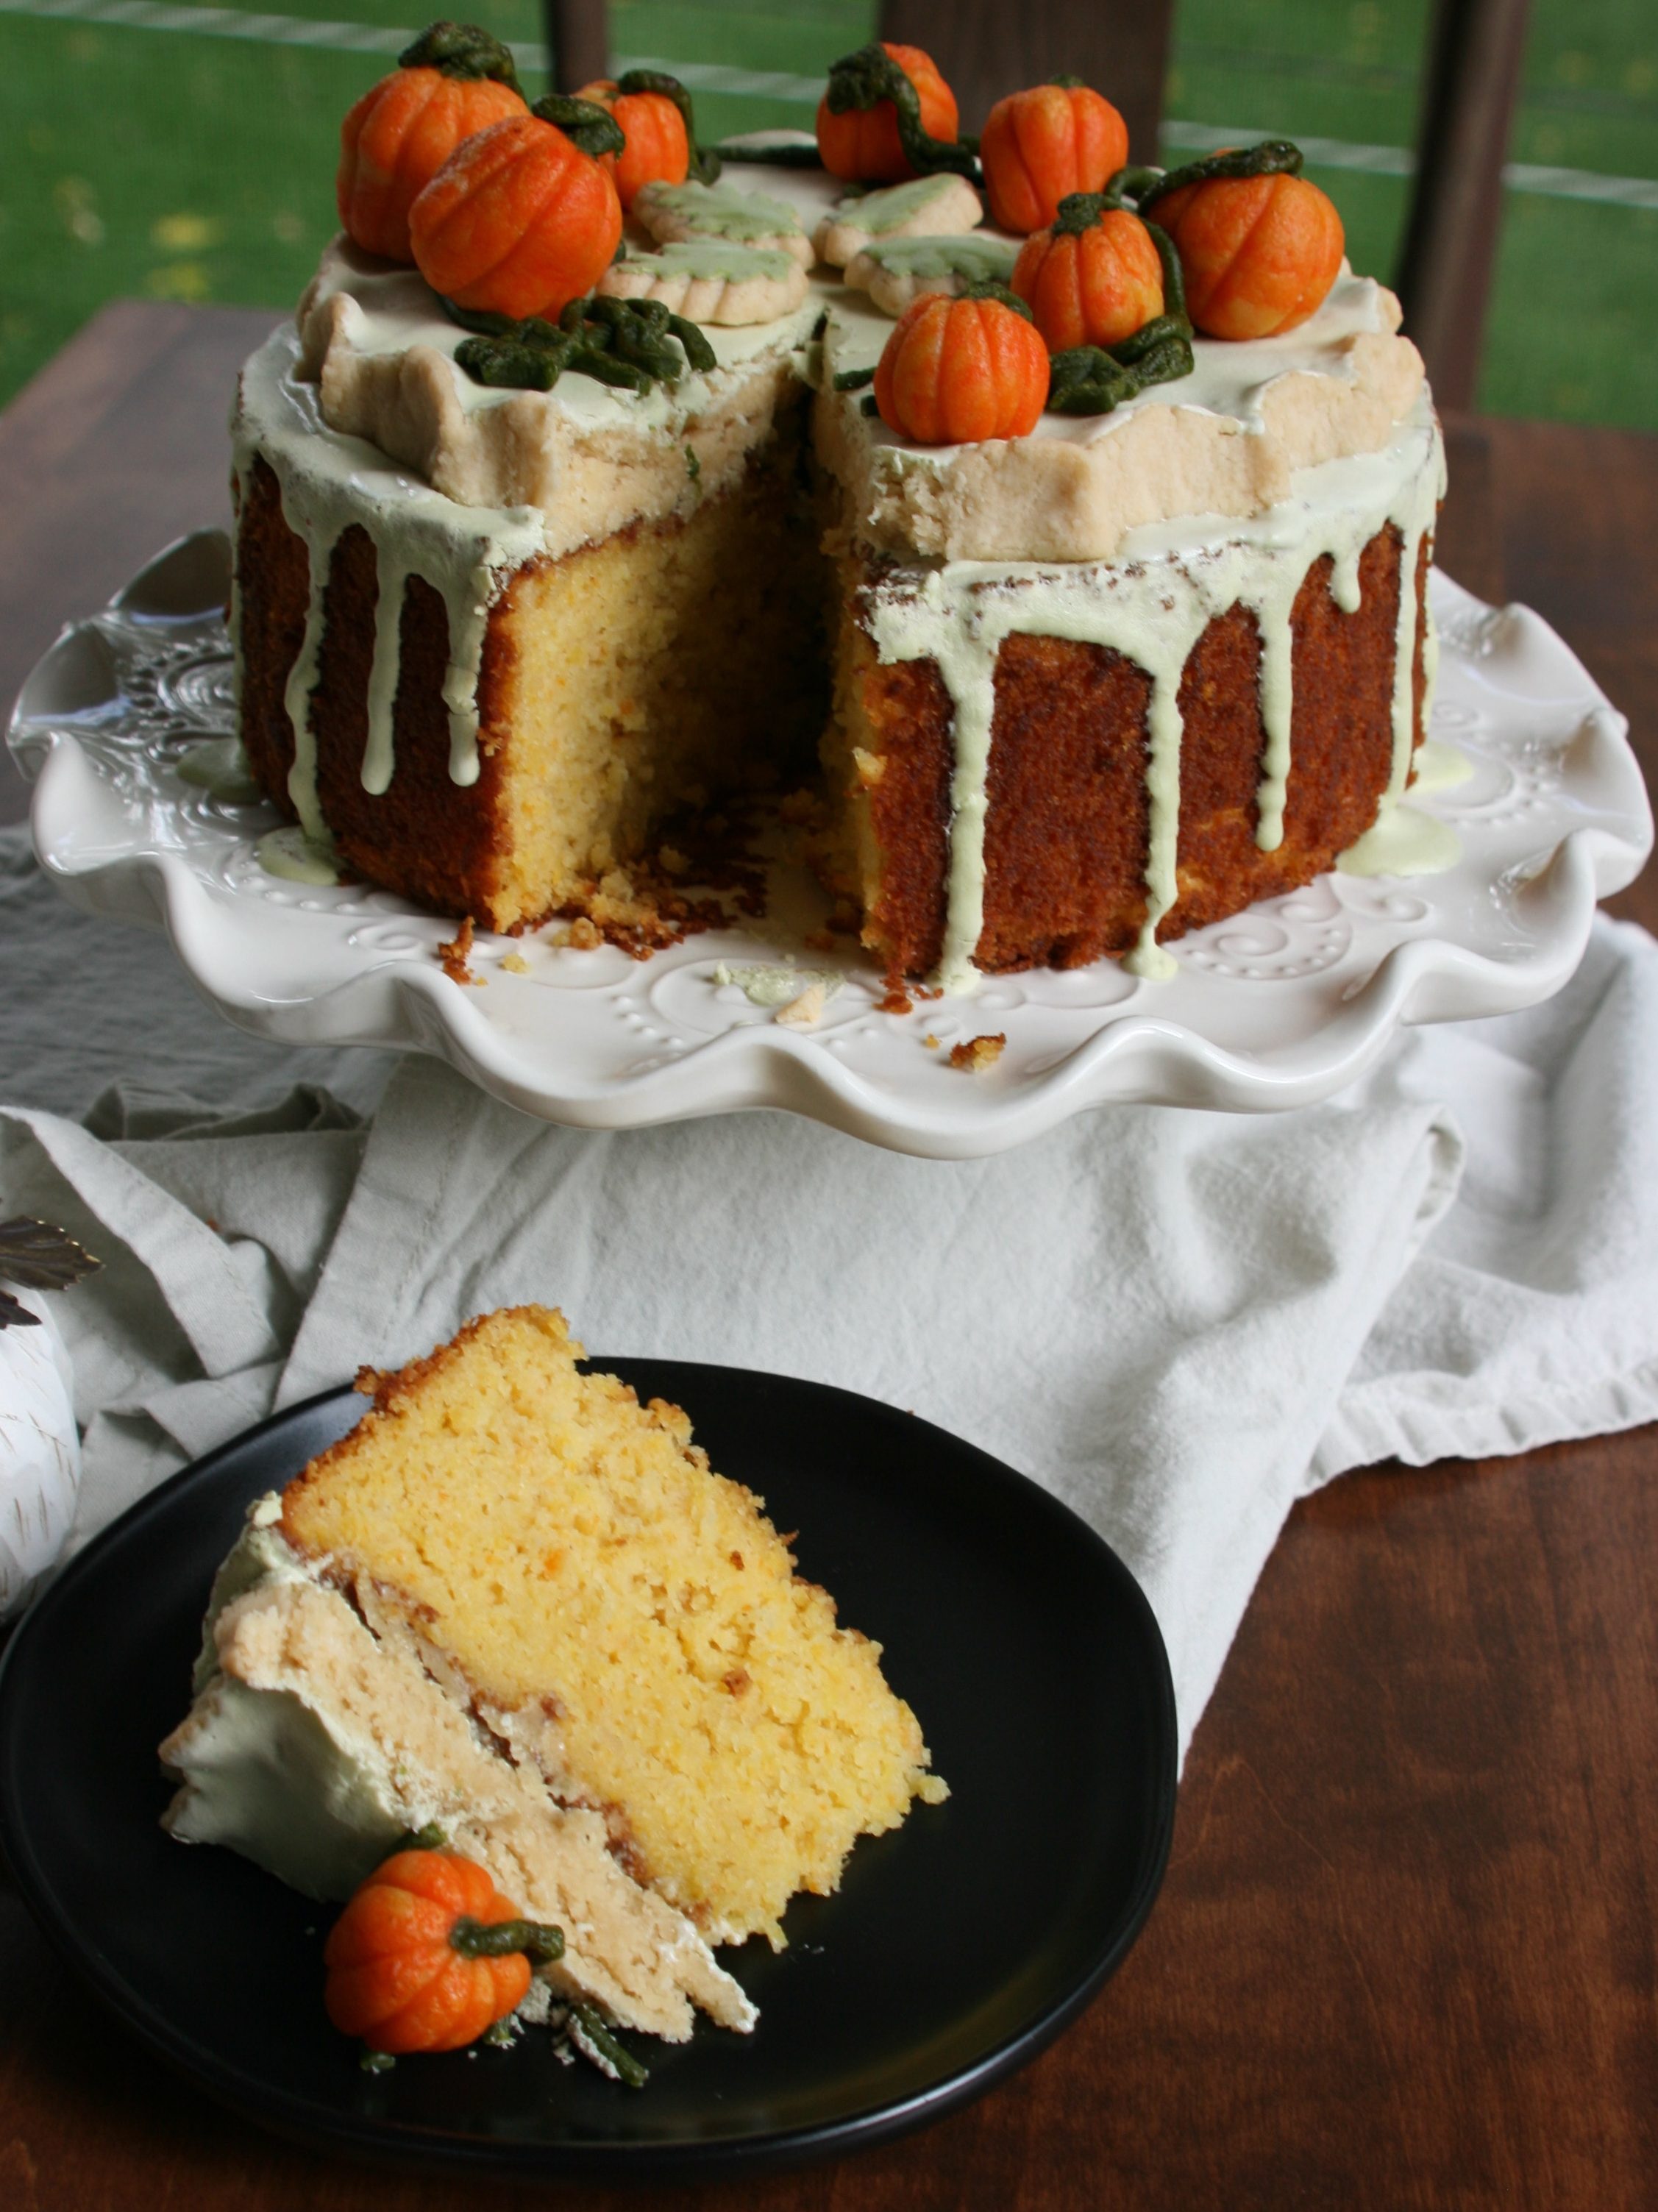
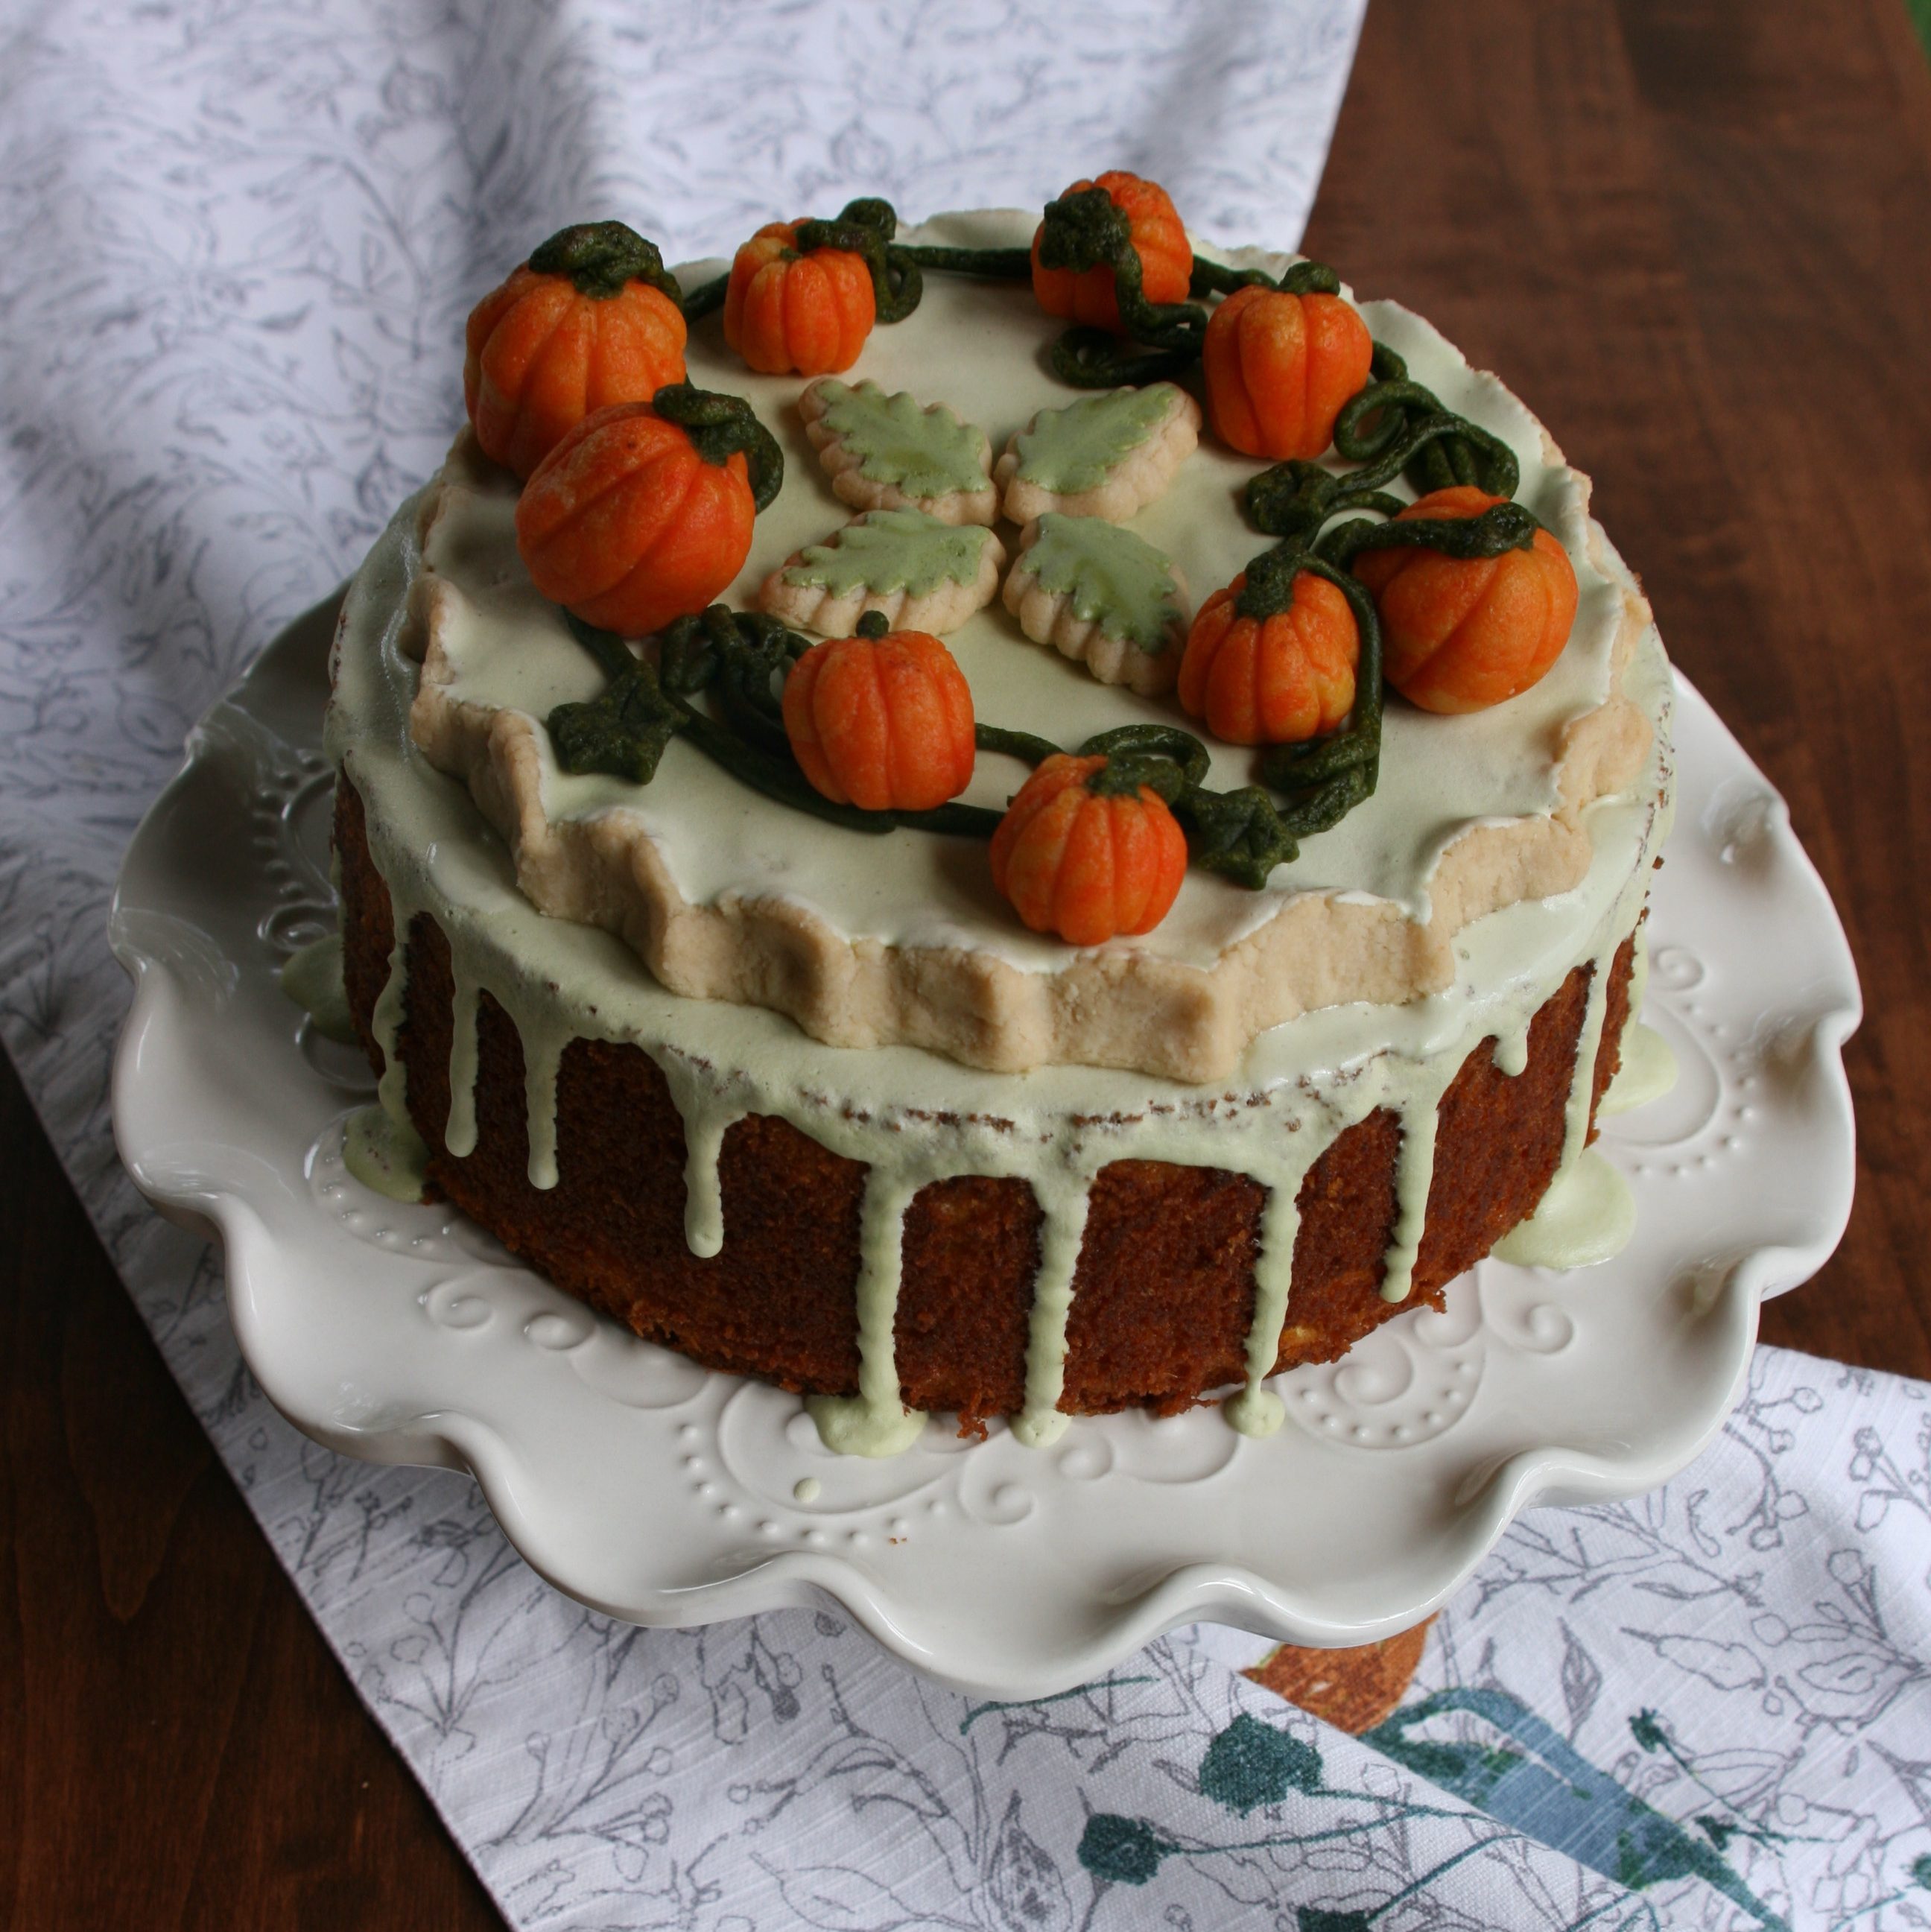
My marchpane centerpiece starts with a fluted disk, which is placed on top of a cake. On top of that I placed marzipan pumpkins and vines. I fudged a little and used a store-bought mold to create a few decorative leaves, but most of the decorations I made by hand.

For the base, I made an olive oil orange marmalade cake from Claudia Alexander’s SweetByNurture.com. The marchpane was adapted from a recipe on Food52, but to continue the orange and almond theme I swapped the rosewater for orange blossom water and almond extract. This gave it a light floral scent without going “knicker drawer,” as Sue would say. The marzipan pumpkin patch was made with this recipe, which calls for corn syrup rather than egg, so I didn’t need to worry about anyone getting sick from eating raw egg. Similarly, I followed this royal icing recipe, which uses meringue powder instead of egg whites. It was so easy, in fact, I don’t think I’ll go back to making it the other way!
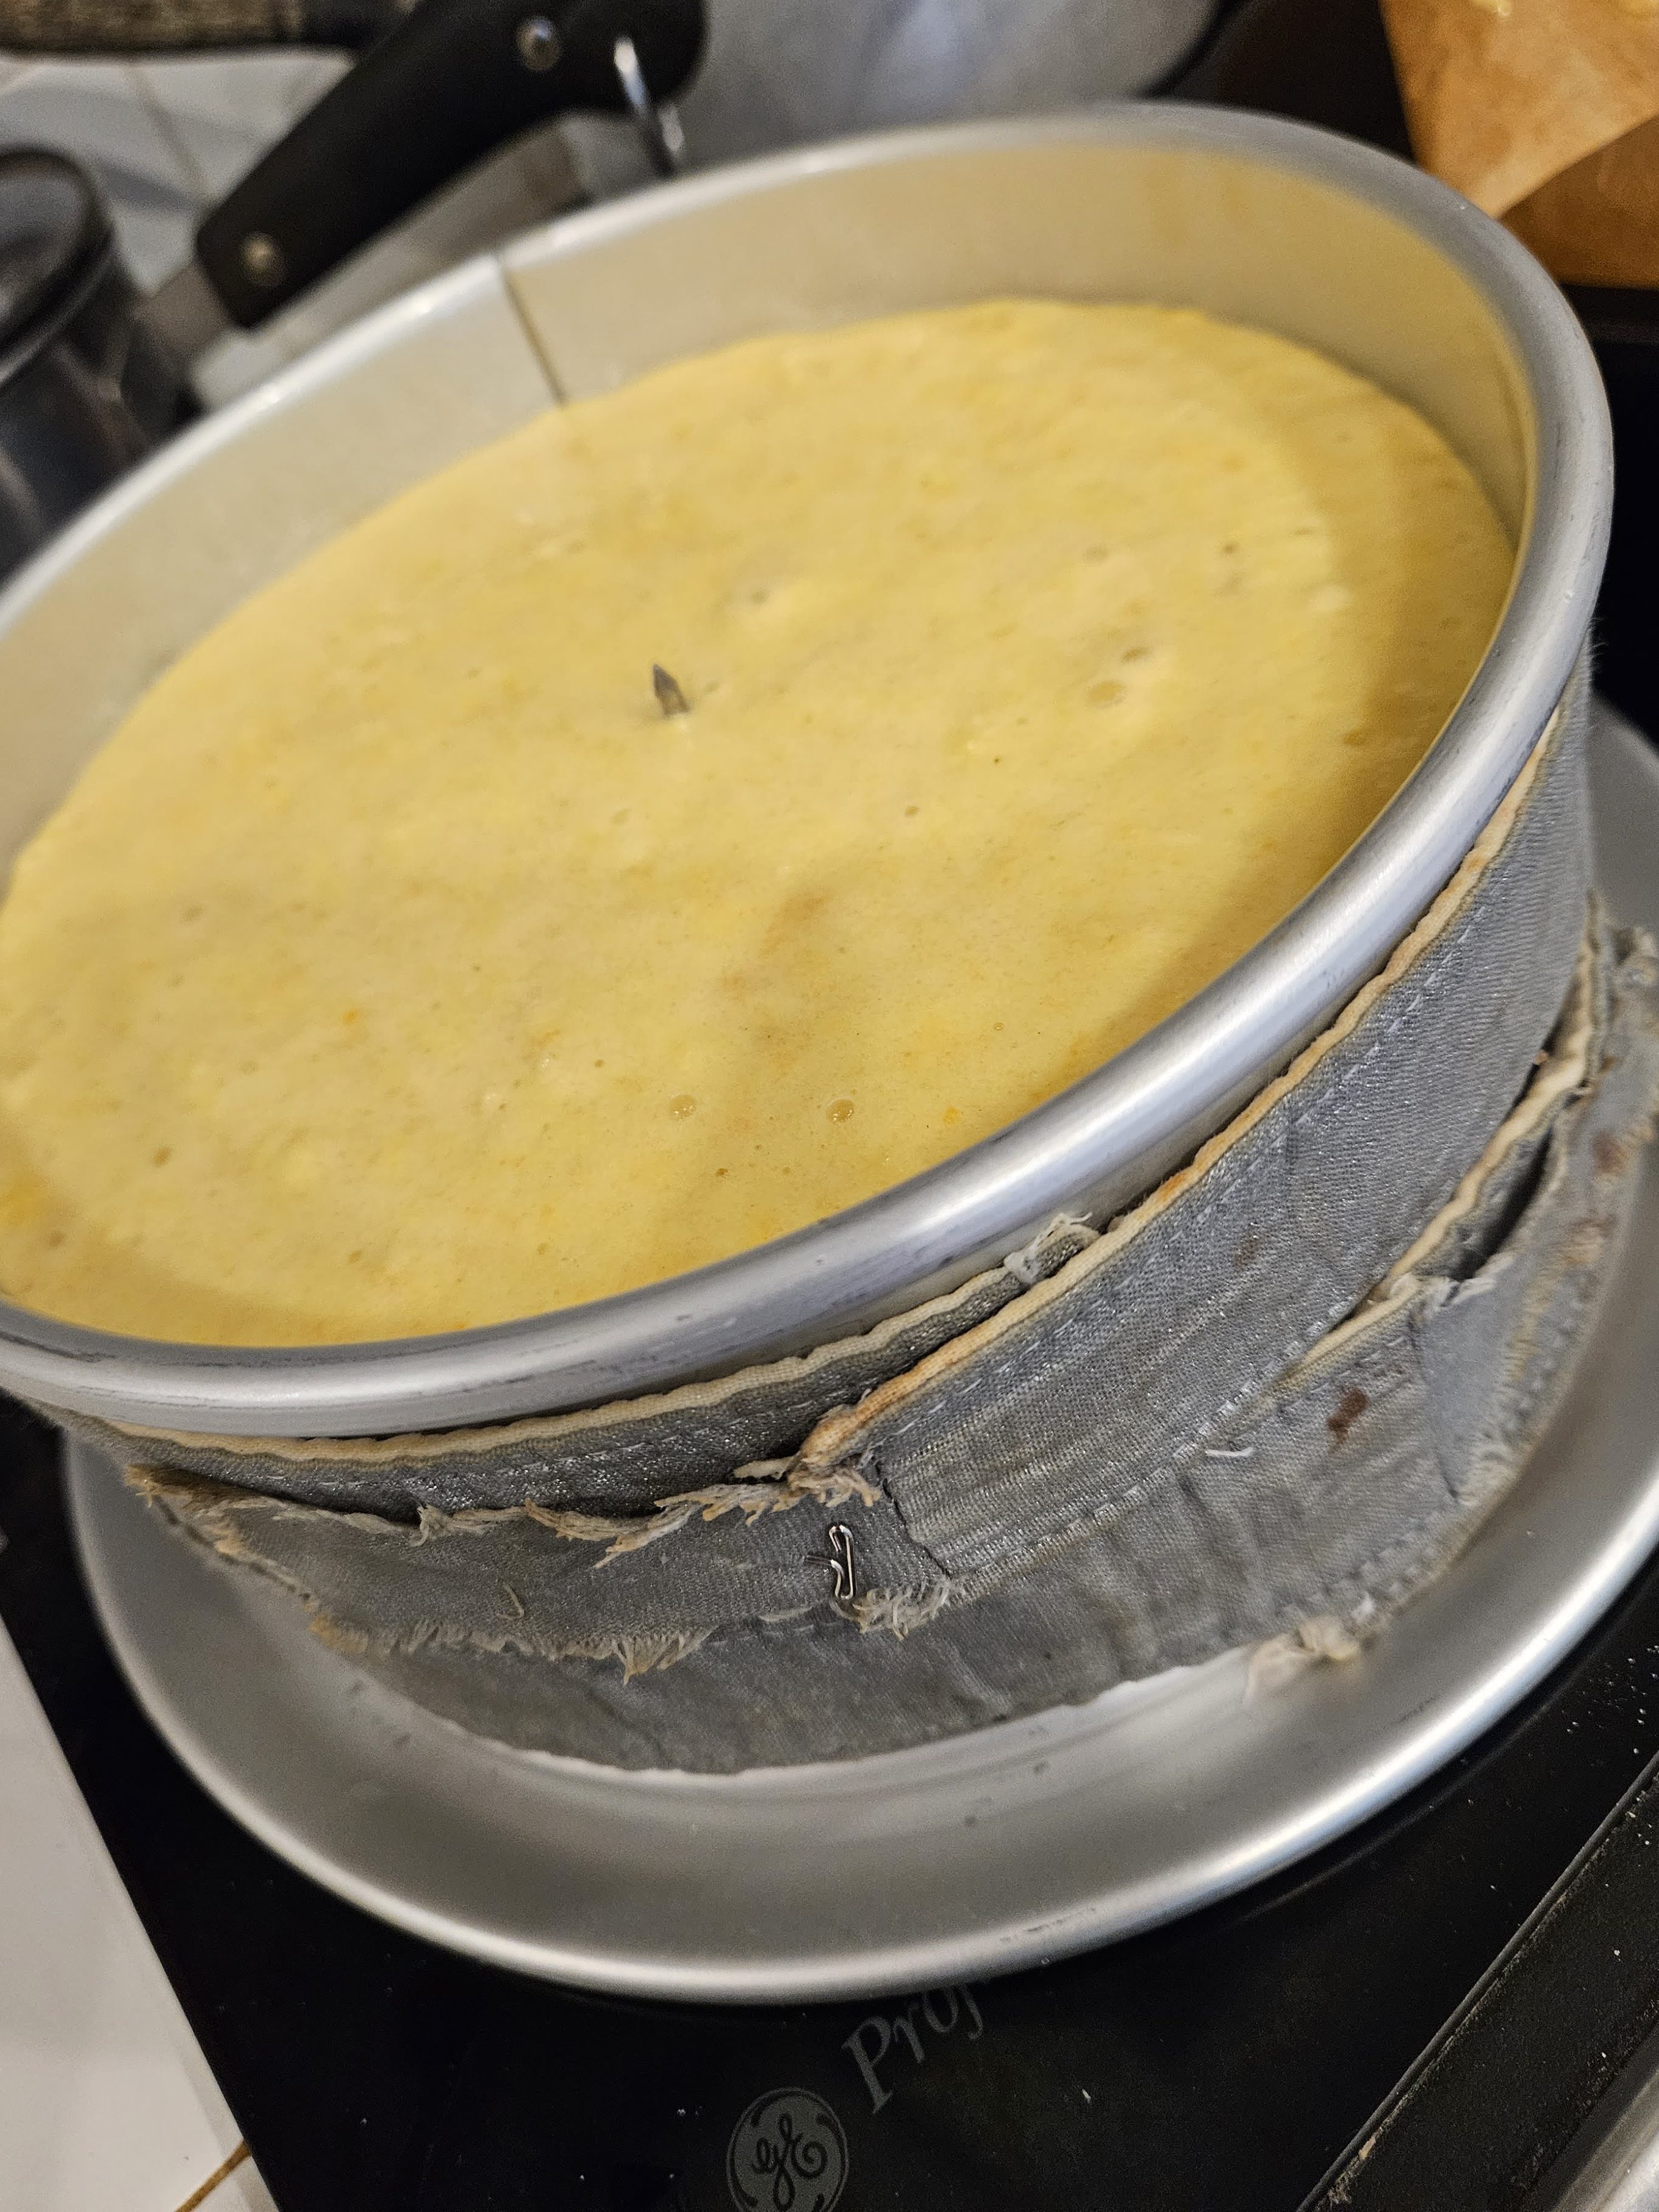
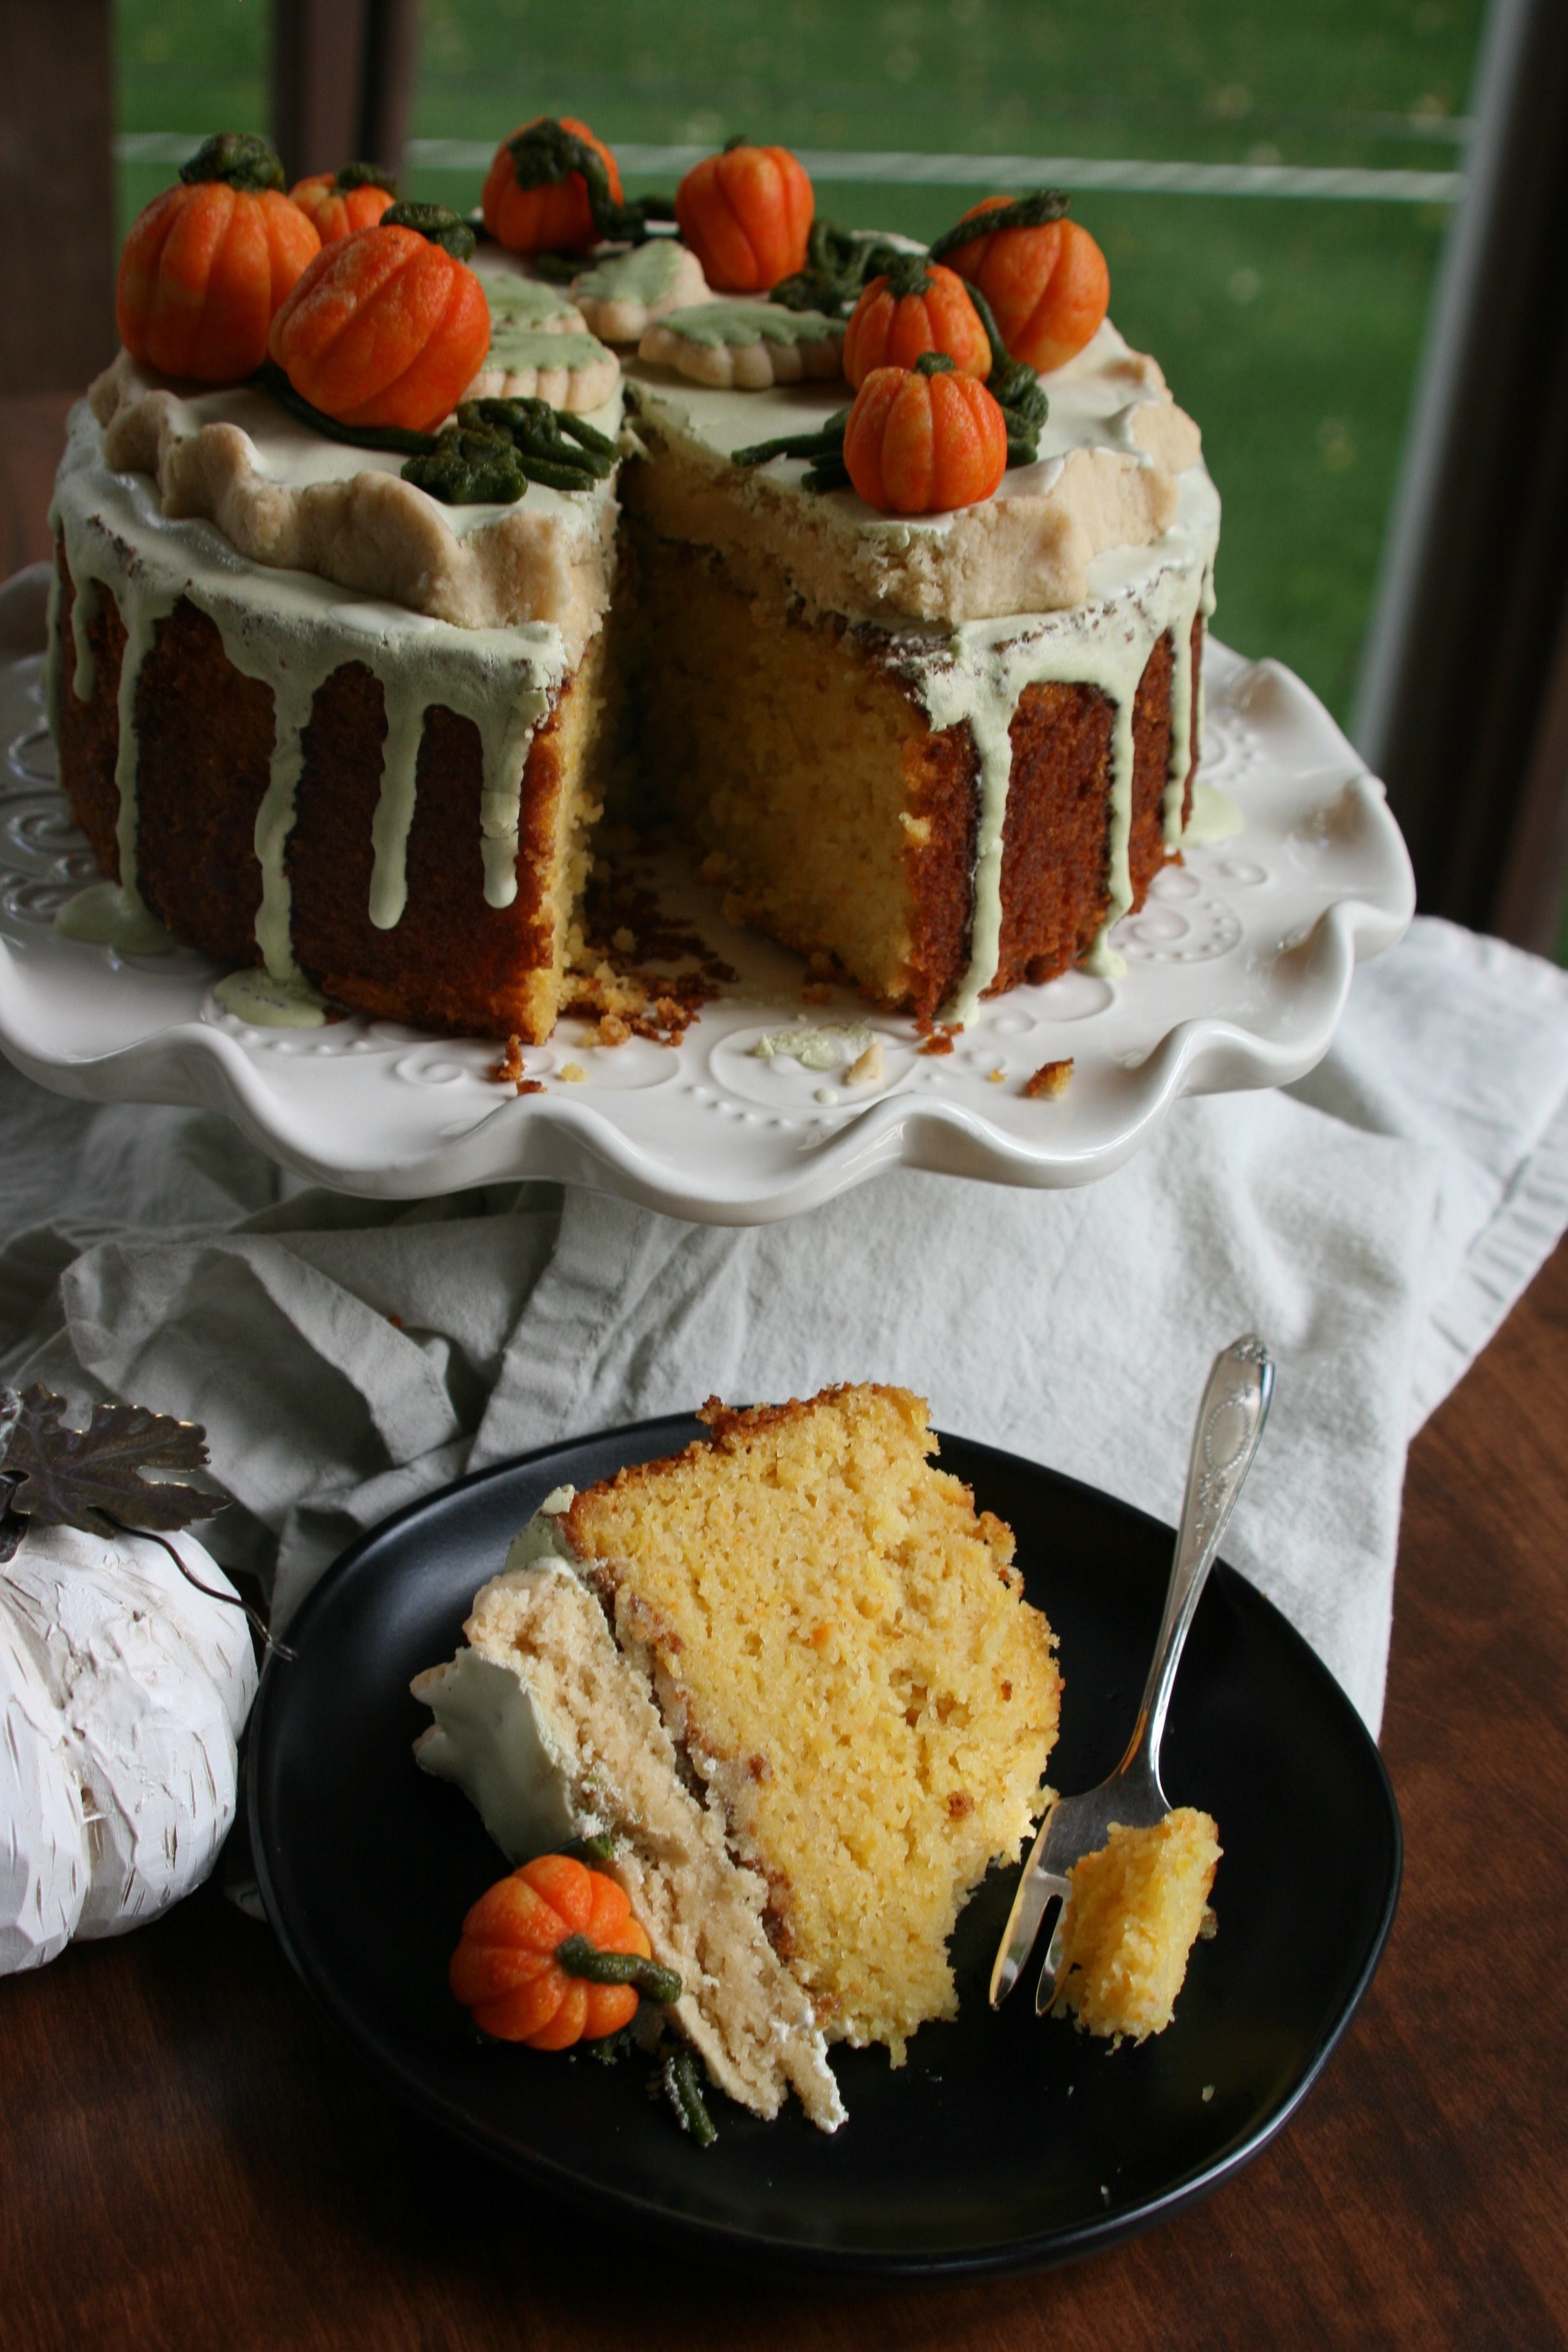
This orange marmalade cake is similar to another whole-orange cake I’ve made, in that you boil the fruit whole before placing it in a food processor or blender to turn it into a rough pulp. The pulp is then mixed in to the cake batter, adding both flavor and moisture.
The differences between this one and the first one I made (from Mary Berry’s recipe) is that it calls for both an orange and a lemon, and it has you scoop out the flesh of the boiled fruit, then scrape as much of the white pith off the inside of the skin before adding the outer skin into the blender with the flesh. Mary’s recipe skips that step, possibly because she specifies using thin-skinned oranges, like Valencia. All I had was a thick-skinned lemon and a thick-skinned navel orange, and even after scraping as much of the white off the skins as possible, the cake had a slight bitter aftertaste. In future, I would look for organic fruits, which might have thinner skins, and possibly leave out the lemon altogether. I will say, however, that after a few days the flavor of the cake had mellowed and there was hardly any aftertaste at all. You were just left with a bright, citrusy flavor. Yum!

As for cooking the marzipan, I didn’t want my pumpkins to melt, but I stuck them under the broiler for about a minute and a half, until I saw the vines start to bubble. I took them out and tried using a blowtorch, just to see what would happen. The sugar in the marzipan burns very quickly, so as soon as the pumpkins started to turn brown, I turned off the torch. I’m not sure why everyone in the tent felt the need to cook their marzipan decorations, unless it was one of those inane requirements the judges put in there just to make a challenge harder.
I was able to share my pumpkin patch marchpane cake with several friends and family members, with enough left over for my husband and I to eat over the course of a few days. As I said, the flavor mellows with time, and the marchpane softens as it sits on top of the cake, creating an almost cake-like mini layer. My husband, whose sweet tooth isn’t as developed as mine, said it was better than frosting because it wasn’t as sweet. Like love and fine wine, this bake just gets better with time!
Orange Marmalade Cake With Marchpane and Marzipan Pumpkins
Marchpane recipe adapted from Food52.com
Credit for marzipan decorations: SugarGeekShow.com
Credit for royal icing: PeelWithZeal.com
For the marchpane:
- 2 c. ground almonds
- 1 c. powdered sugar
- 3 t. orange blossom water (possibly more)
- 3 t. almond extract (possibly more)
For the cake:
- 1 large orange (preferably a thin-skinned variety, like Valencia) or 2 tangerines, mandarins or clementines
- 1 lemon (preferably thin-skinned)
- 1½ c. almond flour
- 1 c. all-purpose flour
- 1 T. baking powder
- 4 large eggs, ideally at room temperature
- ½ t. salt
- 1½ c. sugar
- 2/3 c. olive oil
For the marzipan:
- 1 1/3 c. fine almond flour
- 1 2/3 c. powdered sugar
- 1 t. orange blossom water or orange liqueur (I used Cointreau)
- 4 T. corn syrup (possibly more)
- Butter or vegetable shortening (optional, for kneading)
- Yellow, red, orange and moss green gel food color
For the royal icing:
- 1 T. meringue powder
- 1 T. + 2 t. warm water
- 1/2 t. orange blossom water or orange liqueur (I used Cointreau), optional
- 1 1/3 c. powdered sugar
- Gel food coloring, optional
Directions
- To make the marchpane, first preheat oven to 300°F. In a large bowl, stir the ground almonds and confectioners’ sugar until thoroughly combined. Stir in orange blossom water and almond extract, alternating one teaspoon at a time, until it forms a smooth dough. (The amount of liquid needed may vary depending on the almonds, but your goal is a stiff, smooth paste that is pliable and not too sticky.)
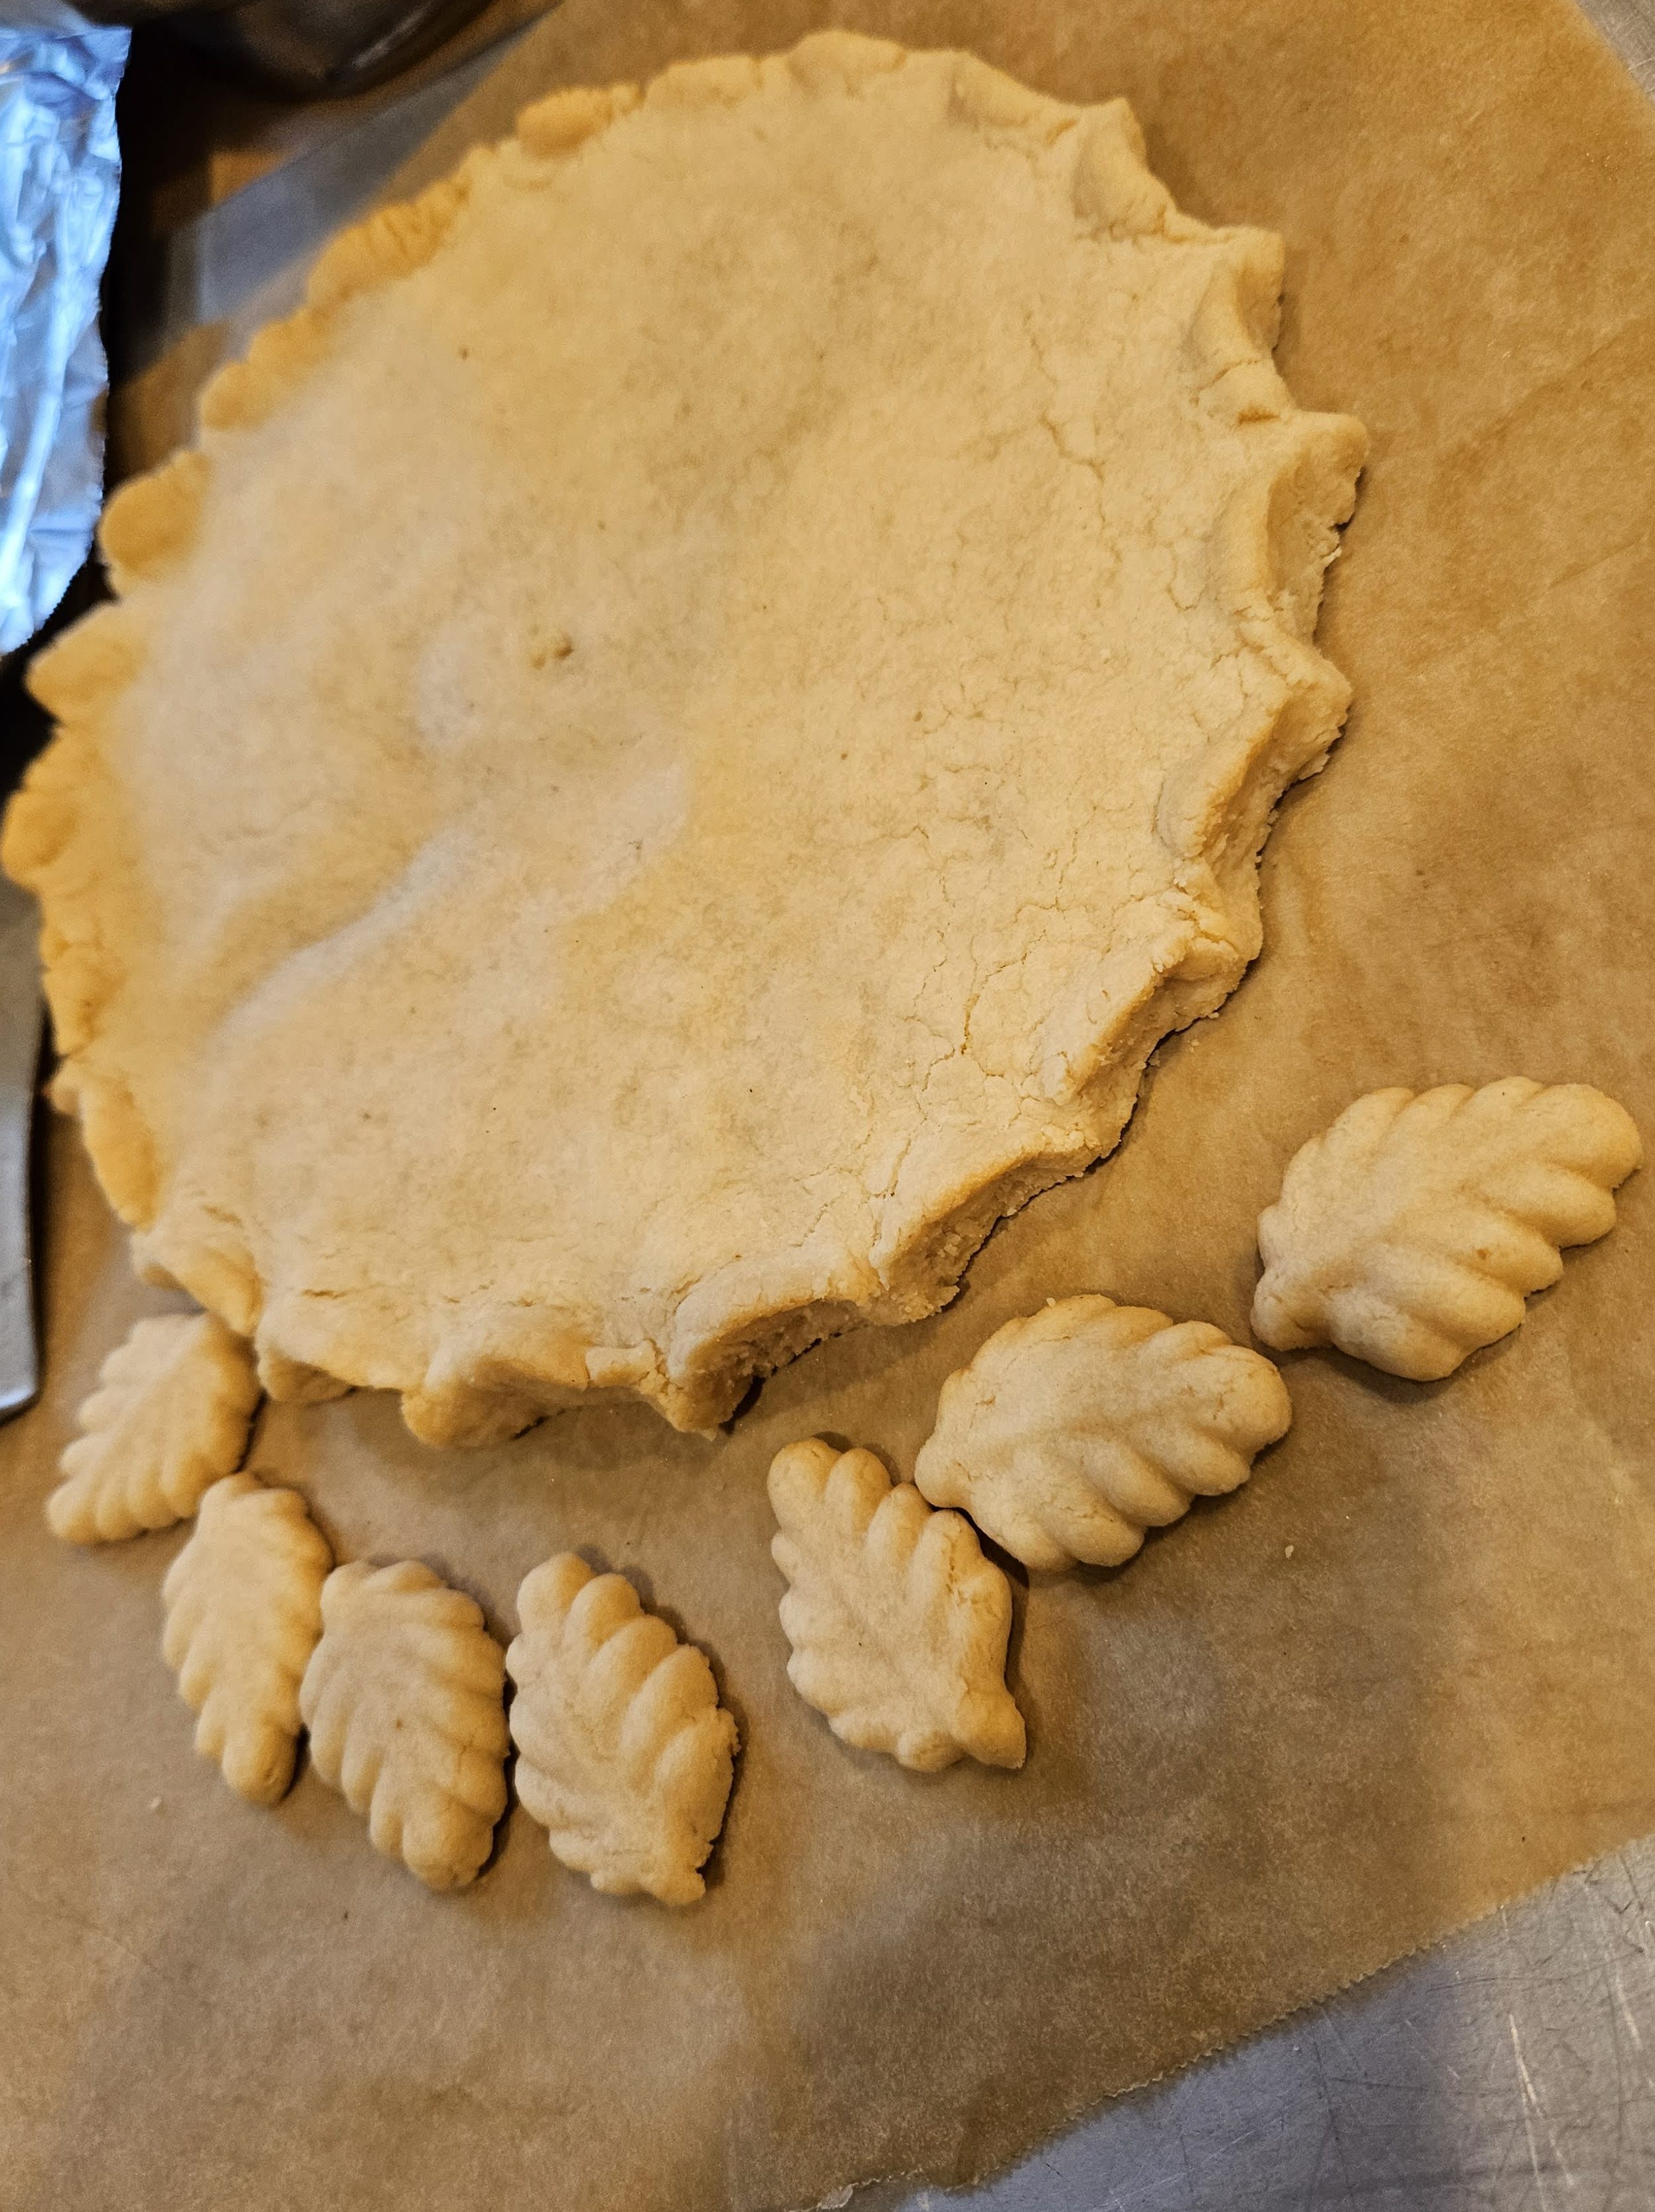
- Lay parchment paper over your work surface and place the dough on top. If it’s too sticky, sprinkle with powdered sugar. Roll out to about ½-inch in thickness. Use a 6-inch plate as a template to cut the dough into a disk. With your thumb and forefinger, flute the edges, much like you would a pie crust. Transfer the disk and the parchment paper to a baking sheet. Reserve any scraps to make decorations.
- Bake the marchpane disk for about 25 minutes, until it is just starting to brown. Remove from the oven and allow to cool.
- If you’ve saved scraps, mold or roll out and cut into shapes. Bake until just starting to brown. (Baking time will depend on size, but start checking at 10 minutes.) Allow to cool before decorating.
- To make the cake, reset oven to 350°F. Lightly butter an 8” or 9” springform pan.*
- Fill a large saucepan with about 4 inches of water and bring to a boil. Slice the ends off of the fruit and put the whole orange and whole lemon into the boiling water. Lower the heat slightly to maintain a medium boil (higher than a simmer). Boil, uncovered, for 30 minutes. (The fruit will float — don’t worry when it does.)
- Drain the water and let the fruit cool. When cool enough to handle, cut it in half, remove seeds and scoop out the flesh into the bowl of a blender or food processor. Next, use a butter knife or spoon to gently scrape away the white pith from the inside of the skin, removing as much of the pith as possible. (After being boiled, the outer skin is soft, so be gentle.) Don’t worry if some of the pith is left, or if the pieces tear, just scrape off as much as you can. Add the scraped outer skin to the pulp in the food processor and pulse 5 or 6 times until the pieces are approximately the size of pine nuts.
- In a medium-sized bowl, whisk together the almond flour, all-purpose flour, baking powder and salt, and set aside.
- In a large mixing bowl, beat the eggs with an electric mixer until light and lemon yellow. Add sugar and beat for a couple more minutes until well-combined. Add dry ingredients and olive oil, alternately in three parts, ending with the oil. Gently fold in the processed fruit by hand, making sure it is spread evenly throughout the batter.
- Pour batter into the prepared pan and bake for 50-60 minutes, until a toothpick inserted in the center comes out clean. Allow cake to cool before removing from the pan.
- To make the marzipan, place almond flour and sugar in the bowl of a stand mixer fitted with the paddle attachment. Add in the flavoring and corn syrup and mix for 1 minute or until the mixture starts sticking together. (If the marzipan seems dry, add in another teaspoon of corn syrup and keep blending.)
- Transfer to a piece of parchment or a silicone pastry mat and knead the marzipan by hand until smooth. If it sticks to your hands, rub some butter or vegetable shortening on your hands. The marzipan should feel fairly stiff and slightly sticky.
- Wrap marzipan in plastic wrap and seal in a ziplock bag. Refrigerate for an hour or so until it’s firm enough to mold. (Marzipan will keep in the fridge for 6 weeks.)
- Divide marzipan into sections to color. (If your marzipan is really sticky, use gloves and apply a little butter or shortening to your hands.)
- For the pumpkins, begin by coloring a chunk of marzipan with yellow food coloring. (To make the pumpkins more realistic, don’t start with orange. You want to build the colors.) After working in the yellow, add a bit of red. Knead that in and, if needed, add a bit of orange at the end. For the vines and stems, add a bit of moss green food coloring to a small amount of marzipan and knead together.
- To make a pumpkin, take a small amount of orange marzipan and roll it into a ball (about an inch in diameter). Place the ball on the work surface and use a ball tool or the end of a paintbrush to make a small indent at the top. Using a modeling tool or a toothpick, create the ridges in the pumpkin by dragging the tool from the top indent to the bottom of the pumpkin. (Clean off the modeling tool after a few indents, as it will start to get sticky.) Smooth out the ridges with your fingers, if necessary.
- For the stem, take a tiny piece of green marzipan and roll it into a cone shape. Place that onto the indent at the top of the pumpkin, and use the end of the modeling tool or toothpick to push the base of the stem into the ridges of the pumpkin. Roll more green marzipan into long, thin ropes to create the vines, and make a few leaves, creating “veins” with a toothpick or fingernail.
- Line a baking sheet with a piece of aluminum foil. Form the vines into a circle on the foil about 1 inch smaller than the marchpane disk. Arrange the pumpkins in the circle on top of the vines, attaching the ends of some of the vines to the stems of the pumpkins. Curl the other ends and attach a few leaves to the vines. If possible, leave to dry overnight. (Alternatively, place baking sheet under a broiler for 1-2 minutes, watching carefully so the marzipan doesn’t melt. Finish off with a kitchen blowtorch, being careful not to burn the marzipan.)
- To make the icing, in a medium-sized bowl, beat meringue powder, water and vanilla extract with an electric mixer on medium speed until just past the frothy stage and small peaks are beginning to form. Reduce speed to low, and gradually beat in powdered sugar until soft peaks form, about 1 minute.
- Divide icing into different bowls and add food coloring, as desired. (I used moss green food coloring to create a lighter and darker green.) Stir gently. (Note: You may want to let the icing rest for 30 minutes to allow air bubbles to escape.) Keep bowls covered with a wet kitchen towel at all times to keep the icing from drying out.
- Spread or pipe the icing onto the marchpane disk, using an offset spatula to smooth the surface, if needed. If desired, decorate the marchpane decorations with icing, as well. Spread more icing on top of the cake, allowing some to drip down the sides, if desired. Leave to dry for one to two hours or overnight. (If leaving overnight, cover cake loosely to prevent it from drying out. The icing on the cake will not dry completely. Keep any leftover icing in an airtight container at room temperature to use for “gluing” on decorations.)
- To transfer the marzipan pumpkins and vines to the marchpane disk, keep the foil under the marzipan and place the whole thing on top of the marchpane, then carefully tear away the foil in pieces, leaving the marzipan intact. Then place the marchpane on top of the cake. Finally, add any other marchpane decorations, using small dabs of icing to stick them in place.
- Cake will keep, covered, at room temperature for up to a week.
Up next: Savory Palmiers
Discover more from Here's the Dish
Subscribe to get the latest posts sent to your email.

Absolutely amazing, loved every word, and totally impressed by your masterpiece!
LikeLiked by 2 people
Thank you so much!
LikeLike