
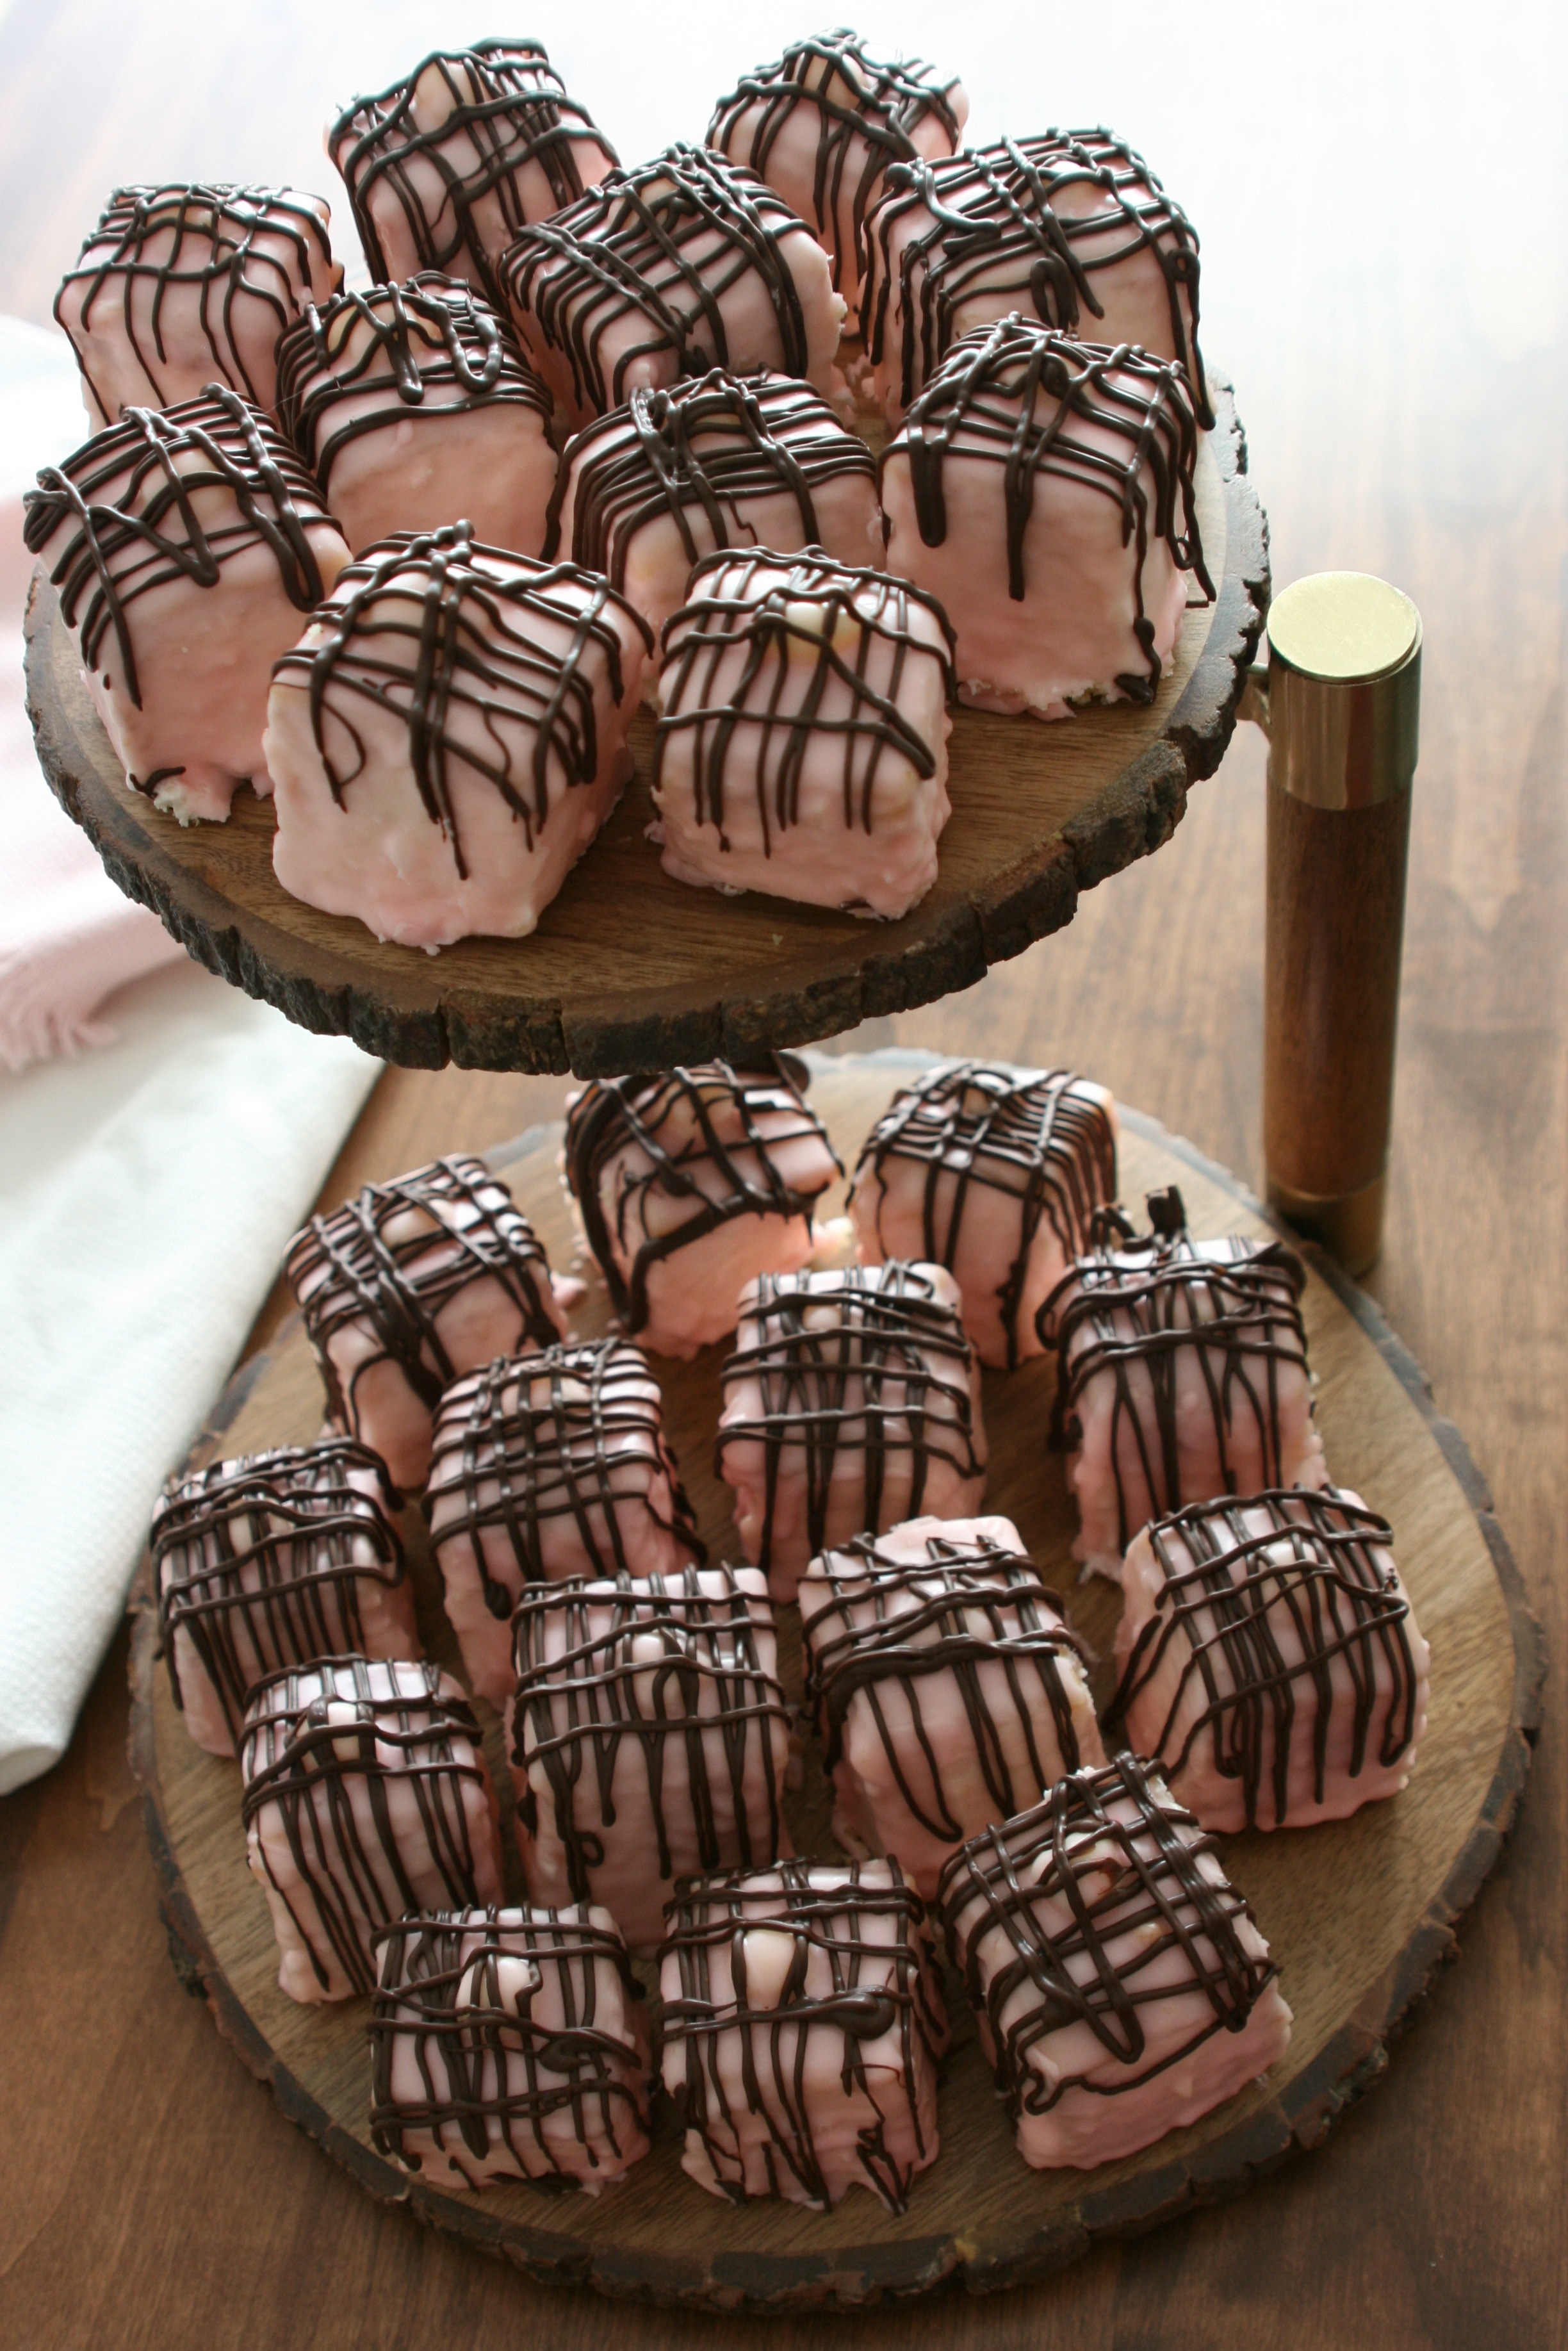
Fondant fancies are little cakes, often layered with jam or marzipan, covered with a thin coating of fondant and usually adorned with icing or sugar paste flowers or other intricate decorations. Before I knew better, I would have called them petits fours. But in the signature challenge of episode 9, we learned that petits fours can be any bite-sized confectionary, or even small savory appetizers.
In Britain, fondant fancies were popularized by a brand of baked goods called Mr. Kipling, which introduced its French Fancies to supermarkets in 1967 and grew to become the U.K.’s largest cake manufacturer by 1976. (Think Little Debbie in America.)
Watching The Great British Bake Off bakers making their fondant fancies was quite entertaining, until I had to do it myself. Trying to create 25 identically sized, uniformly coated miniature cakes can be extremely frustrating, not to mention messy!
Needless to say, my fondant fancies were not faultless. Lined up all in a row, they did not look like little soldiers standing at attention; indeed, they looked a bedraggled bunch, some shorter than others, some leaning to one side, some almost falling over.
When I first read Mary Berry’s recipe, I had to do a little research. I wasn’t sure what was meant by the ingredient “fondant icing,” since the only fondant I knew of was the rolling kind. Turns out, that is exactly what Mary uses in her recipe, but she adds water to the fondant to thin it until it is the right consistency for pouring or dipping.
In my research, I found several different methods for making “poured fondant,” as this thinner version is known. While Mary’s version is certainly the easiest (simply add water to store-bought fondant and stir with a mixer until it reaches the right consistency), I didn’t want to go out and buy 2 pounds of fondant, and I felt that the flavor of store-bought fondant would detract from the fresh taste of the lemony sponge, homemade buttercream and fruity apricot jam. (Sorry, Mary!)
On the other end of the spectrum is the more traditional method of cooking sugar, water and corn syrup to soft ball stage, then cooling it slightly before processing it in a food processor until it’s opaque. I didn’t really want to go to all that trouble, so I compromised with this recipe, which uses melted white chocolate chips as a setting agent added to a simple powdered sugar glaze. It was relatively easy to make and tasted more “homemade” than melted, store-bought fondant.
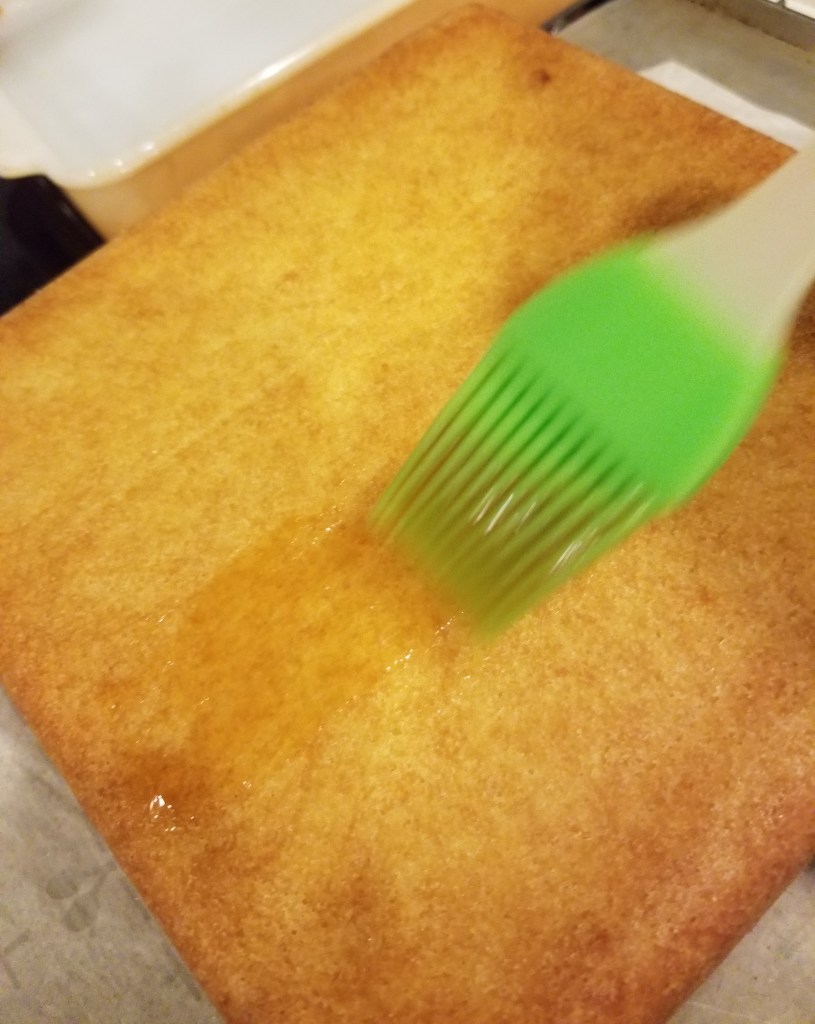
When the cake has cooled, brush the top with apricot jam. 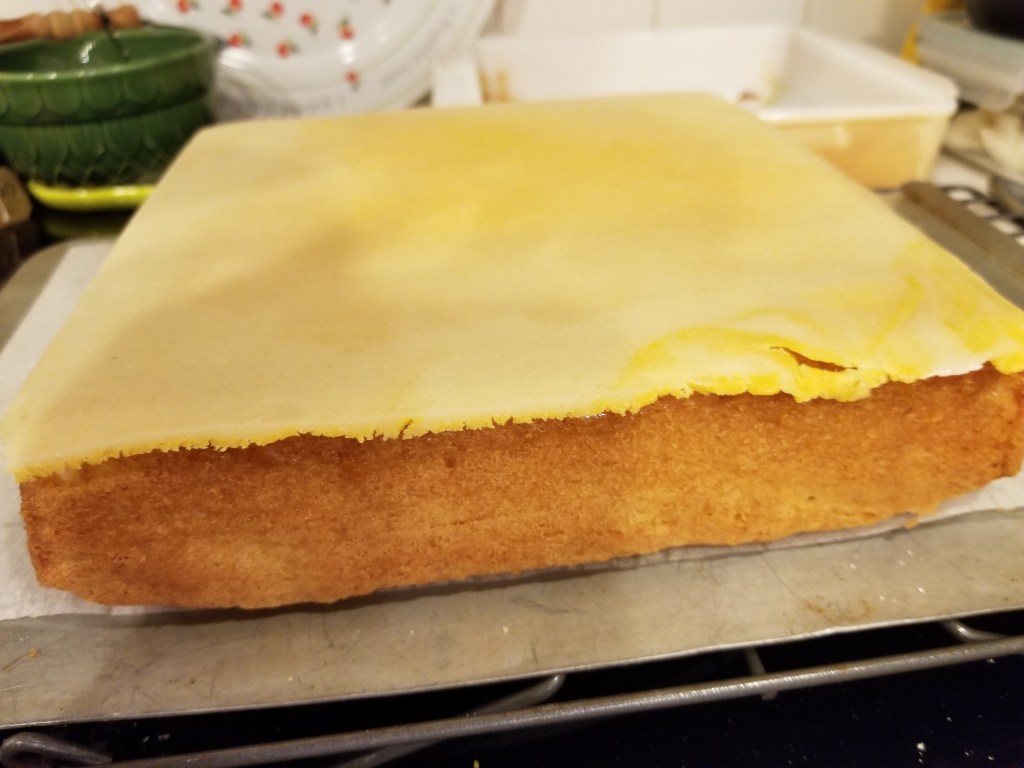
Then top the cake with with a thin layer of marzipan.
Even though I followed Mary’s recipe, if I were to make these again I would add a couple of steps: First, I would chill the cake thoroughly before cutting it into squares—perhaps even freeze it. Then I would cut off all the edges to give each of the cake squares four straight sides with sharp corners. Working with frozen cake would also make it easier to frost with buttercream (giving it a crumb coat) and dip in the fondant without it falling off the fork.

Chill the frosted cakes before coating with fondant. 
Set the bowl of fondant over a pan of hot water while dipping. 
Let the fondant set before drizzling cakes with chocolate.
In the end, although my fondant fancies looked a mess, they were quite tasty! If you take the time to chill the cakes between each step and allow the fondant to set well before serving (which, unfortunately, the bakers in the Great White Tent were unable to do), they will be much neater. And placing each little cake in a paper cupcake liner will hide a multitude of imperfections, making these dainty little confections perfect for serving at a baby shower or little girls’ tea party!


Fondant Fancies
Adapted for American bakers
Poured fondant adapted from: KingArthurFlour.com
For the cake:
- 1 2/3 c. all-purpose flour
- 2 ½ t. baking powder
- 8 oz. (2 sticks) butter, softened
- 1 c. + 1 ½ T. superfine (baker’s) sugar
- Zest of 1 lemon
- 4 eggs
For topping and buttercream:
- 9 oz. (2 sticks + 2 T.) unsalted butter, softened
- 1 ¾ c. powdered sugar
- 3 T. apricot jam
- 7 oz. marzipan
For the poured fondant icing and decoration:
- 1 c. white chocolate chips
- 4 c. powdered sugar
- ¼ c. light corn syrup
- ¼ c. + 1-3 T. hot water
- ¼ t. rosewater, or to taste
- Food coloring
- 3 ½ oz. dark chocolate, finely chopped
Directions
- Preheat the oven to 325°F. Grease and then line an 8-inch square pan with two strips of parchment paper 8 inches wide, placed crosswise in the pan so the ends hang out on all sides.
- Beat together all the cake ingredients until smooth. Spoon the mixture into the prepared pan and smooth the top. Bake for about 40 minutes until a toothpick inserted in the center comes out clean.
- Allow cake to cool in the pan for 10 minutes, then pull up on the edges of the parchment paper to remove the cake from the pan. Allow the cake to cool completely on a wire rack before putting in the freezer to chill.
- While the cake is cooling, make the buttercream by beating together the 9 ounces of butter and 1¾ c. powdered sugar until light in color and smooth. Transfer half of the buttercream to a piping bag fitted with a small, round tip and place in the fridge to firm up slightly. Keep the rest of the buttercream at room temperature for ease of spreading.
- Heat the apricot jam in the microwave for 30-60 seconds until liquified. Stir and pour through a sieve to remove the solids. On a piece of parchment paper dusted with powdered sugar, roll out the marzipan into an 8-inch square. Use the base of the cake pan as a template to cut a square of marzipan the same size as the cake.
- Remove cake from freezer. Turn it upside down so the flat bottom of the cake becomes the top. Trim all sides of the cake with a serrated knife to make perfectly flat sides. Trim the top (now bottom) of the cake, too, if it is uneven. Brush the top of the cake with the sieved apricot jam. Place the marzipan on top of the jam. (Use the parchment to transfer the marzipan to prevent tearing.)
- Use a ruler and large knife to mark the marzipan with four evenly spaced lines vertically and horizontally in order to divide the cake into 25 squares. (They should each be 1-1½ inches square.) Cut along those lines, wiping the knife in between each cut to keep the edges nice and clean. If the cake has softened up too much, you might need to put it back in the freezer for a few minutes before cutting.
- Place half of the cake squares on a baking sheet in the refrigerator while you work with the other half. Holding a cake square with your thumb on the bottom and forefinger on top of the marzipan, use an offset spatula to spread a thin layer of buttercream on all four sides. This gives it a crumb coat to keep it from crumbling when dipped in fondant. (Don’t worry about being too neat at this point. It will smooth out more easily after it has chilled for a while.) Using the buttercream in the piping bag, pipe a blob on the center of each square on top of the marzipan. When you’ve finished with the first half of the squares, put those in the fridge and repeat with the other half.
- Put the second half of cake squares back in the fridge and pull out the first half again. Use the offset spatula to smooth the icing on all four sides of each square. I found it easiest to keep the squares on the baking sheet and use an upward stroke to smooth the buttercream from bottom to top on each side. If any extra buttercream comes off on the spatula, wipe it on the edge of a bowl before going on to the next side. When done with half the squares, repeat with the other half.
- Chill the cake squares again while making the poured fondant.
- Following the directions on the package of white chocolate chips, melt them in the microwave, stirring until smooth. Sift the 4 cups of powdered sugar into a large, heatproof mixer bowl. Add the corn syrup and hot water. Stir with the paddle attachment at a low speed until smooth.
- Add the melted white chocolate to the sugar mixture. Then add the rosewater and a few drops of food coloring. If you’re afraid of making the rose flavor too strong, add 1/8 teaspoon, stir and taste. If you feel it’s strong enough, don’t add the rest. If the mixture is too thick for dipping, add 1 tablespoon of hot water at a time until the desired consistency is reached. (Mary says it should “just coat the back of a spoon.”)
- To keep the fondant from getting too thick, place the bowl over a pan of hot water. (Do not put it on a stove burner, and make sure the bowl does not touch the surface of the water. You don’t want it to get too hot.) This should keep it just warm enough to work with. The fondant is easiest to work with when it’s about 100°F.
- Place a cooling rack over a baking pan or parchment paper to catch the drips. Again, working with half the cake squares at a time, keeping the other half in the fridge, insert a fork into the bottom of one cake square with the tines pointing up and at an angle. Work quickly to dip the cake into the fondant, turning to coat all four sides and the top. Use your finger to slide the cake off of the fork onto the cooling rack, trying not to smudge the fondant. (But who are we kidding, it will smudge—just let gravity do its job and hopefully the fondant will drip down and cover the smudge!) Repeat with all the cake squares.
- Leave the cake squares on the rack to set. (Don’t put them in the fridge again or the fondant will lose its shine.)
- Reserving about 1 ounce of dark chocolate, melt the other 2 ½ ounces in a microwave-safe bowl at 50% power in the microwave, stirring every 30 seconds until it’s mostly melted. Then stir in the reserved amount until it’s completely melted. (If necessary, put the bowl back in the microwave for 5 seconds at a time, stirring after each time until all the chocolate is melted.) This will temper the chocolate enough that it will harden with a nice sheen. Transfer the chocolate to a zip-lock plastic bag or a piping bag with a small round tip.
- When the fondant is mostly set, drizzle the chocolate over the cake squares in a zigzag pattern. Use as much or as little chocolate as you like. (I drizzled quite a bit on mine to try to hide the flaws in my fondant coating.) Leave to set before serving.
Next week: Chiffon Cake
Discover more from Here's the Dish
Subscribe to get the latest posts sent to your email.

These look super yummy! I love little cakes like these.
LikeLiked by 1 person
Thanks! Though messy to make, they were yummy. And just the right size for snacking. 😋
LikeLike