
To my faithful readers: I have baked through every challenge of four seasons of the Great British Bake Off (series 3-6). While I enjoyed every minute of it, I’ve come to realize it’s not sustainable going forward. As life circumstances change, I find myself with less time to devote to baking (and this blog) than I did when I first started. For that reason, I will be choosing one or two bakes from each episode — instead of baking all three — starting with the 2016 season (series 7). I hope you will continue to follow my journey as I Bake Through the Bake Off and join in if you like! I love reading your comments and hearing about your own baking adventures!
This, the final showstopper challenge for the 2015 season of The Great British Bake Off, called for the bakers in the Great White Tent to make a multitiered cake. The judges were looking for classic British cakes, and all the tiers had to be the same flavor. Paul Hollywood said this was about consistency; they wanted to make sure each of the tiers was exactly the same. (Interestingly, none of the contestants stacked their tiers, opting to display them on multilayered stands instead.)

Some classic British cakes are obvious, like the Victoria sandwich or Battenburg cake. The Brits also seem to love their fruitcakes, from simnel cake to Dundee cake. When I visited the U.K., one of my favorite pastimes was whiling away an hour or two in a local tea room. (The one I remember most fondly was Pettigrew Tea Rooms in Cardiff, Wales, housed in the gatehouse of Cardiff Castle in Bute Park.) Wherever you find tea, or course, you will find freshly baked cakes and pastries on display, and the hardest part is deciding which cake to try!
One of the not-so-well-known classic cakes, but no less deserving of the title, is coffee and walnut cake. While FoodTimeline.org gives a thorough history of coffee cakes — that is, sweet cakes that may or may not contain actual coffee but are designed to be eaten while enjoying a good mug of coffee — less is known about the origins of what seems to be the uniquely British coffee and walnut cake. The best theory I’ve read is that a 1934 ad for McDougalls-brand self-raising flour featured a recipe for coffee and walnut cake, and a classic was born.

I was originally drawn to coffee and walnut cake by the Instagram posts of Thida Bevington (@thida.bevington), who mesmerized with her elaborate coffee buttercream piping on the coffee and walnut cakes she’d make twice weekly for North Lodge Park Tea Rooms, a café staffed entirely by volunteer members of Friends of North Lodge Park in Cromer, Norfolk. (What did I tell you about British tea rooms?) Aside from the visual appeal, however, the flavor combination of dark, rich coffee and nutty, slightly bitter walnuts offset with the sweetness of buttercream enticed me to actually order North Park Lodge’s cookbook, Will You Marry Me? and other recipes, just so I could have Thida’s recipe in printed form. (She includes it in her Instagram highlights, but I found it too difficult to screenshot the entire thing.)
For my showstopper multitiered cake, however, I started with a recipe from GreatBritishChefs.com. This was partly because Thida’s recipe calls for seven eggs, and I needed to triple the recipe. Not wanting to use 21 eggs, I went with one that only calls for four eggs. However, once adjusting for the difference in egg sizes between British and U.S. standards, I ended up increasing the total to 15 American large eggs. (For more about the difference in egg sizes, see my post here.) I also increased the amount of coffee and walnuts in the recipe to give it an extra oomph in flavor.

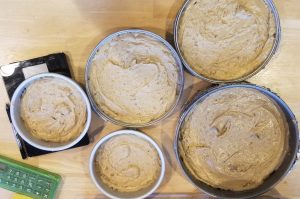
Adjusting the recipe for three different pan sizes involved some math, of course, but I found plenty of resources online to help, such as this one on SeriousEats.com. The Great British Chefs recipe was written for two 8-inch layers. By going with SeriousEats’ ballpark formula of 24 ounces of batter per 8-inch layer, 12 ounces per 6-inch layer and 35 ounces per 10-inch layer (rounded up to 36), I realized that all I needed to do was triple the recipe [(12 + 24 + 36) x 2 = 48 x 3]. From there it was just a matter of adjusting the bake times for each pan size, which SeriousEats also helps with.

For the 10-inch layers, I planned to make a single 10-inch cake in a deep springform pan and torte it after baking it. From past experience, I knew that a cake that deep runs the risk of being fully cooked on the outer edges and raw in the middle, so I decided to use cake heating rods for the first time. These metal rods with a flat disk at one end sit in the middle of the cake pan and conduct heat, helping the cake to bake evenly from the center to the edges. My only problem was that I couldn’t find any at the last minute, so I used a few metal flower nails instead. Because flower nails are slightly smaller than the heating rods, I placed three in the pan in a triangular pattern.
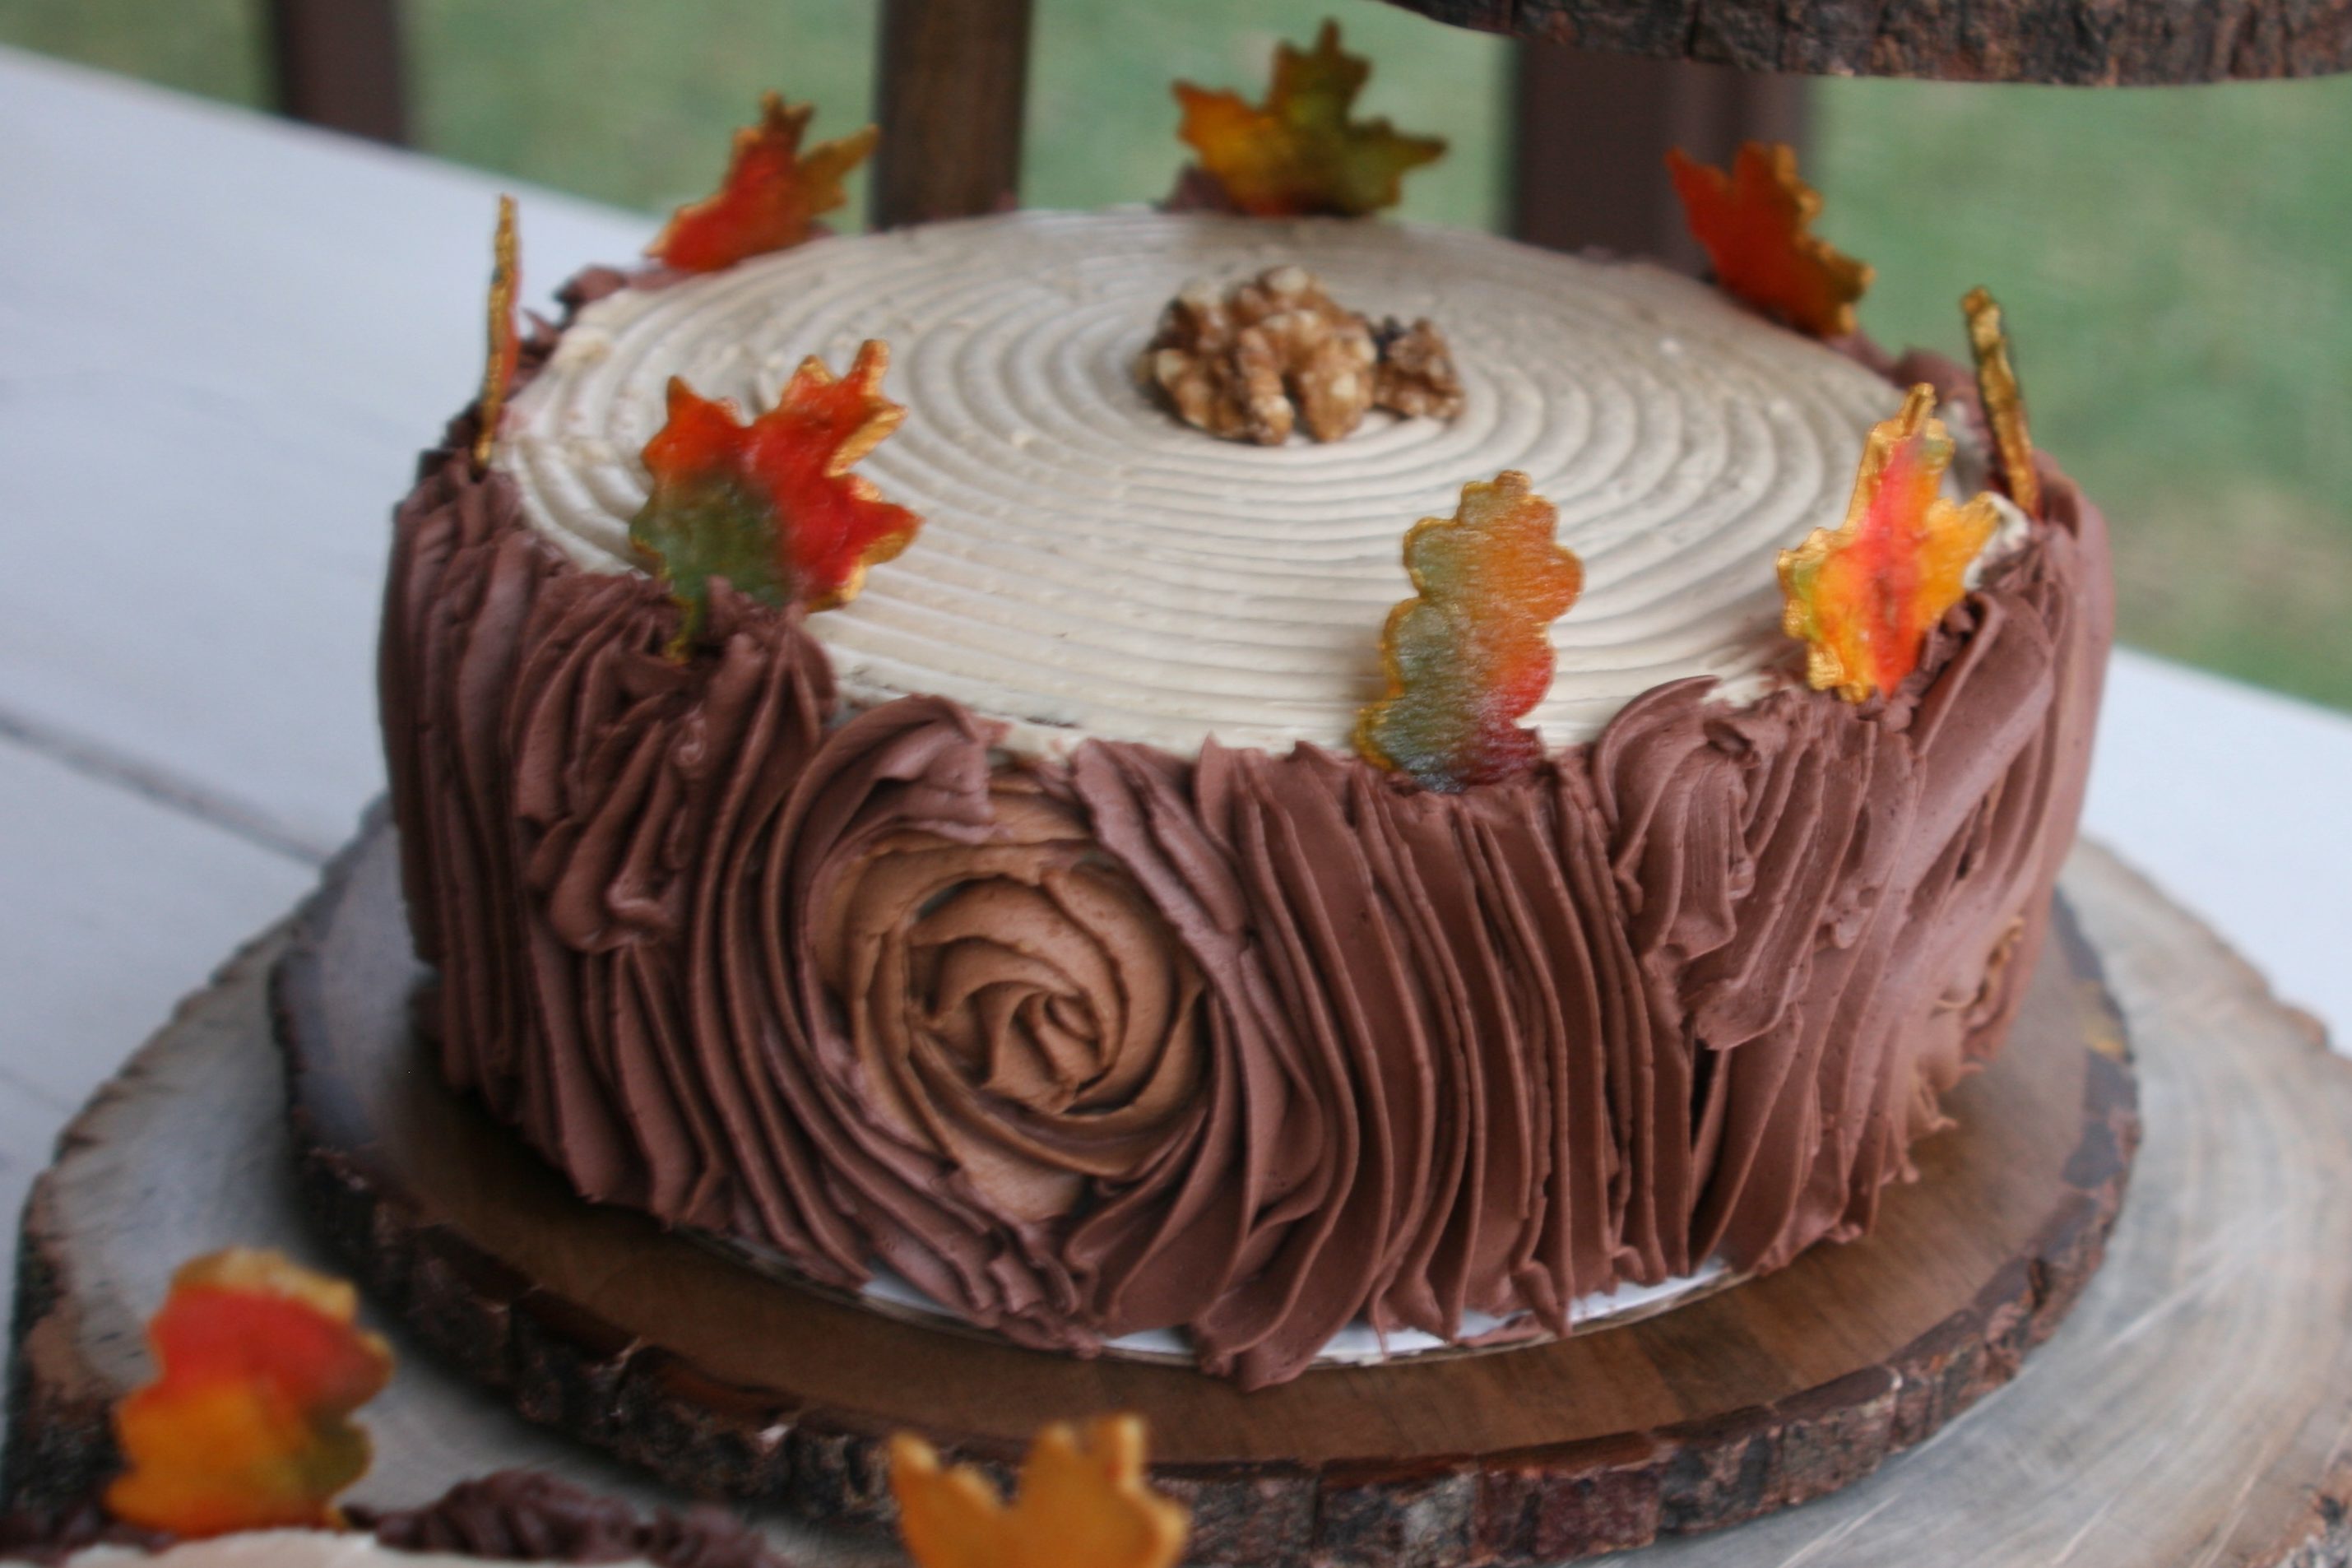
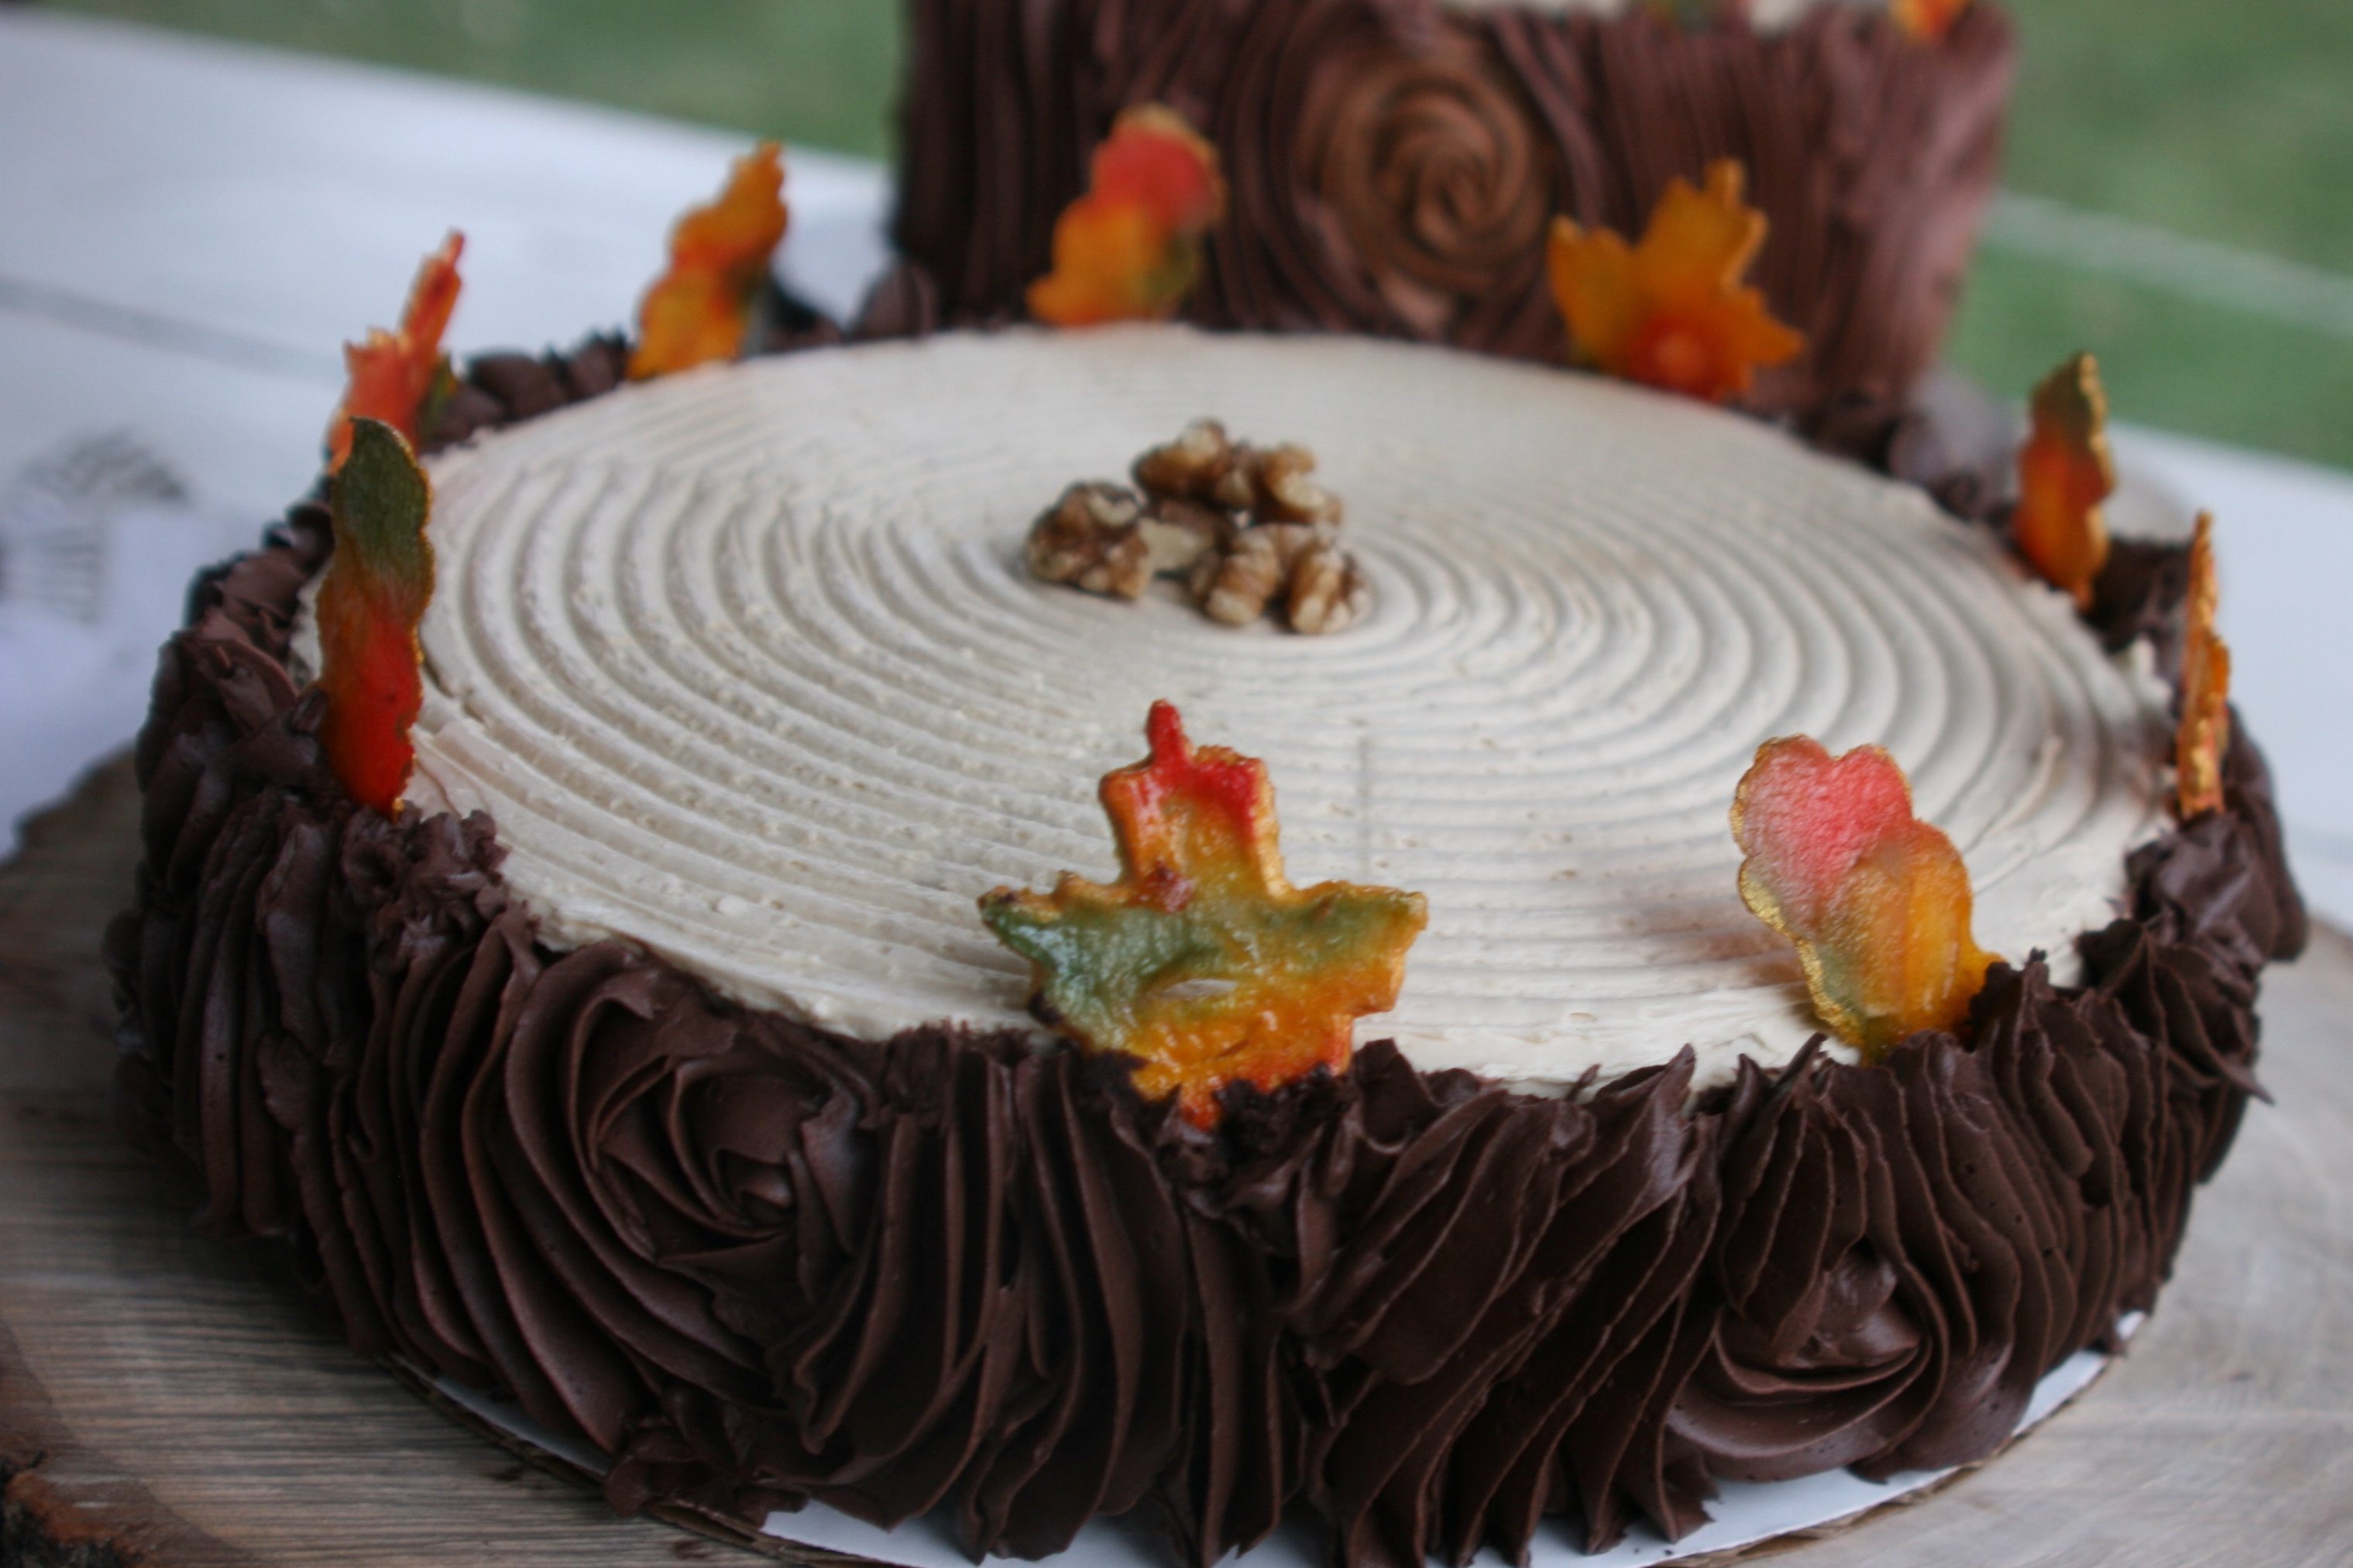
To fill the cakes, I used Thida Bevington’s coffee buttercream recipe from the same cookbook as her cake. Then, to crumb-coat and top the cakes, I used this recipe for brown sugar Swiss meringue buttercream. Over that, I piped more coffee buttercream on the sides to look like tree bark, adding a bit more food coloring to each tier to create an ombré effect.

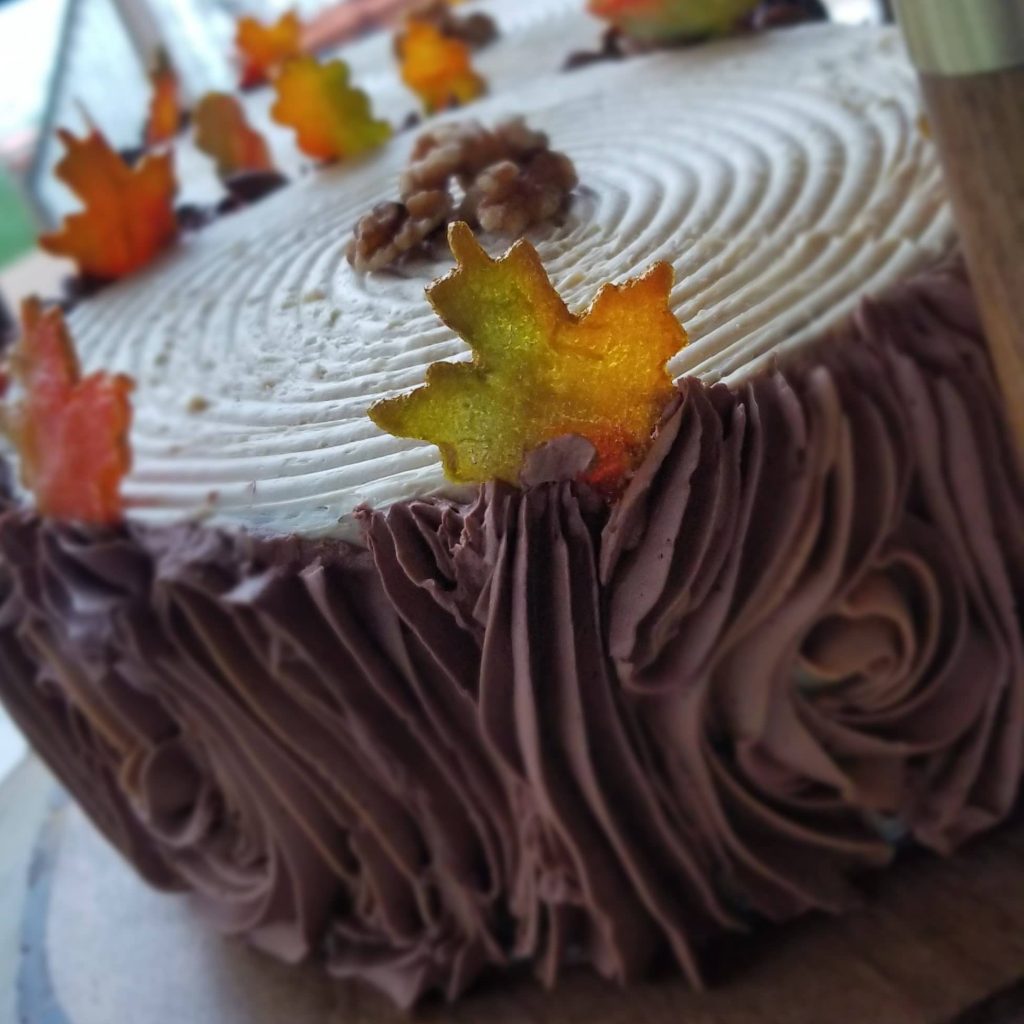
To decorate the cakes, I’d been experimenting with “stained glass” pear and apple slices, following instructions from Tanya Ott, who used these gorgeous decorations on her cheesecake tower for the Great American Baking Show in 2019. Using mini cookie cutters, I cut the thinly sliced fruit into leaf shapes to make pretty fall decorations for my cakes. (I will not include the instructions here, but Tanya has a great tutorial video on her website.)
I was pleased by the look of my multitiered coffee and walnut cake, and the flavors did not disappoint. I finished the bake just in time to share it with my family after our annual tradition of cutting our own Christmas tree. The cake received high praise from my future son-in-law, so I froze the top tier and presented it to him for his birthday a few weeks later. This recipe may go in the family rotation for birthdays and other celebrations!


Three-Tiered Coffee and Walnut Cake
Recipe for cake adapted from GreatBritishChefs.com
Recipe for Swiss meringue buttercream adapted from SugarGeekShow.com
Recipe for coffee buttercream adapted from Thida Bevington
For the cake:
- 3 c. (6 sticks) butter, room temperature
- 3 c. sugar
- 6 T. instant espresso powder
- 3 T. boiling water
- 15 large eggs, beaten
- 5½ c. all-purpose flour
- 8¼ t. baking powder
- 8½ oz. (~2 cups) chopped walnuts
For the coffee buttercream:
- 8 T. instant espresso powder
- 2 T. boiling water
- 3½ c. (7 sticks) butter, softened
- 8 c. powdered sugar
- 1 c. heavy cream
- chocolate-brown gel food coloring
For the brown sugar Swiss meringue buttercream:
- 8 oz. (~ 8 large) egg whites
- 1¾ c. brown sugar
- ¾ t. salt
- 2¼ c. (4½ sticks) unsalted butter, room temperature
- 1 T. vanilla
Directions
- Preheat oven to 350°F. Grease and line bottoms of two 6-inch pans, two 8-inch pans and one 10-inch springform pan.* In the center of 10-inch pan, insert one or more heat core rods (or metal flower nails).
- To make the cakes, cream butter and sugar together until light and fluffy. Dissolve espresso in boiling water and set aside to cool.
- Add beaten eggs to butter mixture, a little at a time, with a tablespoon of flour after each addition to prevent it from curdling; beat well between each addition. Add any remaining flour along with the coffee and walnuts, and mix well.
- Divide the batter among the prepared tins: For each 8-inch layer, use 2-3 cups of batter (about 24 ounces). For each 6-inch layer use 1-1½ cups of batter (about 12 ounces). For the 10-inch cake, use 10-11 cups of batter (about 72 ounces). Bake approximately 25-30 minutes for the 6-inch layers (mine took 25-27, depending on rack position), 30-40 minutes for the 8-inch layers (mine took 37 min.), and 40-45 minutes for the 10-inch pan (mine took 42 min.), or until a skewer comes out clean.
- Remove from the oven and allow to cool for 5 minutes before turning cakes out onto a wire rack. Once completely cooled, level the layers, if needed, and slice the 10-inch cake horizontally into two equal layers.
- To make the coffee buttercream, dissolve espresso in boiling water and set aside to cool. Beat butter and sugar together until light and fluffy. Add heavy cream to coffee mixture, then add to butter mixture and mix well.
- Spread buttercream onto the bottom layer of each tier. Place second layer on top. Transfer remaining buttercream to a piping bag fitted with an open star (1M) decorating tip.
- To make the Swiss meringue buttercream, put about 1½ inches of water in a saucepan that will support the heatproof bowl of your stand mixer without the bowl touching the surface of the water. Bring the water to a simmer over medium-high heat. Once it’s simmering, reduce heat to medium-low.
- Place the egg whites and brown sugar in the bowl of your stand mixer and whisk to combine. Place the bowl on top of the simmering water and whisk continuously until the mixture reaches 160°F. (Don’t walk away or you could end up with cooked egg whites.)
- Remove the egg mixture from the heat and attach the bowl to the stand mixer fitted with the whisk attachment. Turn the mixer to high speed and whip the egg whites to stiff peak stage. (The meringue should stand up straight when the whisk is lifted from the bowl.) This may take 5-15 minutes, depending on the strength of your mixer.
- If the bowl still feels warm to the touch, stick it in the fridge for about 15 minutes, or for faster results, spread the meringue on a rimmed baking sheet and place that in the fridge for a few minutes to cool it down quickly.
- When the meringue has reached room temperature, return it to the mixer and start mixing on medium speed while adding in the butter, a tablespoon at a time.
- Add the salt and vanilla and increase the mixer speed to high. Continue whipping the buttercream until it’s light and fluffy and doesn’t taste like butter anymore.
- Crumb-coat the cakes with the Swiss meringue buttercream. Spread additional buttercream on the top of each tier, and use a patterned edge scraper to create a tree-ring pattern on the top of each tier. (A turntable or lazy susan is almost imperative for this step.)
- Pipe the coffee buttercream onto the sides of the tiers to look like the bark of a tree. Decorate the tops of the cakes with walnut halves and “stained-glass” apple and pear slices cut into leaf shapes, if desired.
*Using cake strips, aka cake pan collars, will help the cakes rise evenly, so you may not need to level them later. You can buy them or make your own using wet paper towels wrapped in aluminum foil and wrapped around the cake pans.
Up next: Series 7
Discover more from Here's the Dish
Subscribe to get the latest posts sent to your email.

You are fabulous. I will continue looking forward to your bakes!
LikeLiked by 1 person
Thank you! I hope you’ll be inspired to try some new bakes in the New Year!
LikeLike