
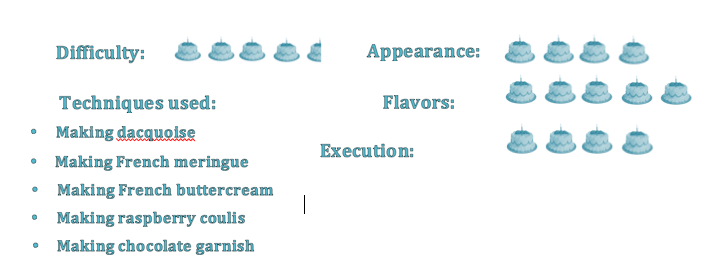
This was a complicated challenge. The brief was to create a four-layer meringue dessert with “exciting fillings,” in the words of Mary Berry, “that will complement the meringue.” Such fillings could include mousse, sponge, cream or coulis. “A true test of technical talent, flavor, texture combinations and construction,” added Sue Perkins.
Most of the Great British Bake Off bakers used French meringue as their base, but at least two of them, Danny and Brendan, chose a dacquoise (also known as japonais meringue) instead.
I guess because I wanted to make things even more difficult for myself, I decided to use two different kinds of meringue—dacquoise and French. But really it was because I felt that the dacquoise would give my dessert more stability, while the French meringue would keep it light and airy, critical for any four-layered concoction. I also don’t like overly sweet meringues, and I felt that the dacquoise, having the additional ingredient of ground almonds, would cut the sweetness.
As for flavors, I found a wonderful recipe online for a Dacquoise au Café (dacquoise with coffee buttercream) from a fellow Wisconsinite who earned her Diplome de Patisserie at Le Cordon Bleu in Paris. (Note to self: Add visiting her bakery and taking one of her classes to my bucket list!) Building on her recipe, I decided to add layers of chocolate meringue and raspberries to recreate the flavors of a raspberry mocha.
Once I had decided on the elements of my dessert, I laid out my plan: Two layers of dacquoise alternating with two layers of chocolate French meringue separated by coffee buttercream and fresh, whole raspberries. To top it off, I decided to serve it with a raspberry coulis to bring the flavor of fresh raspberries to the fore.
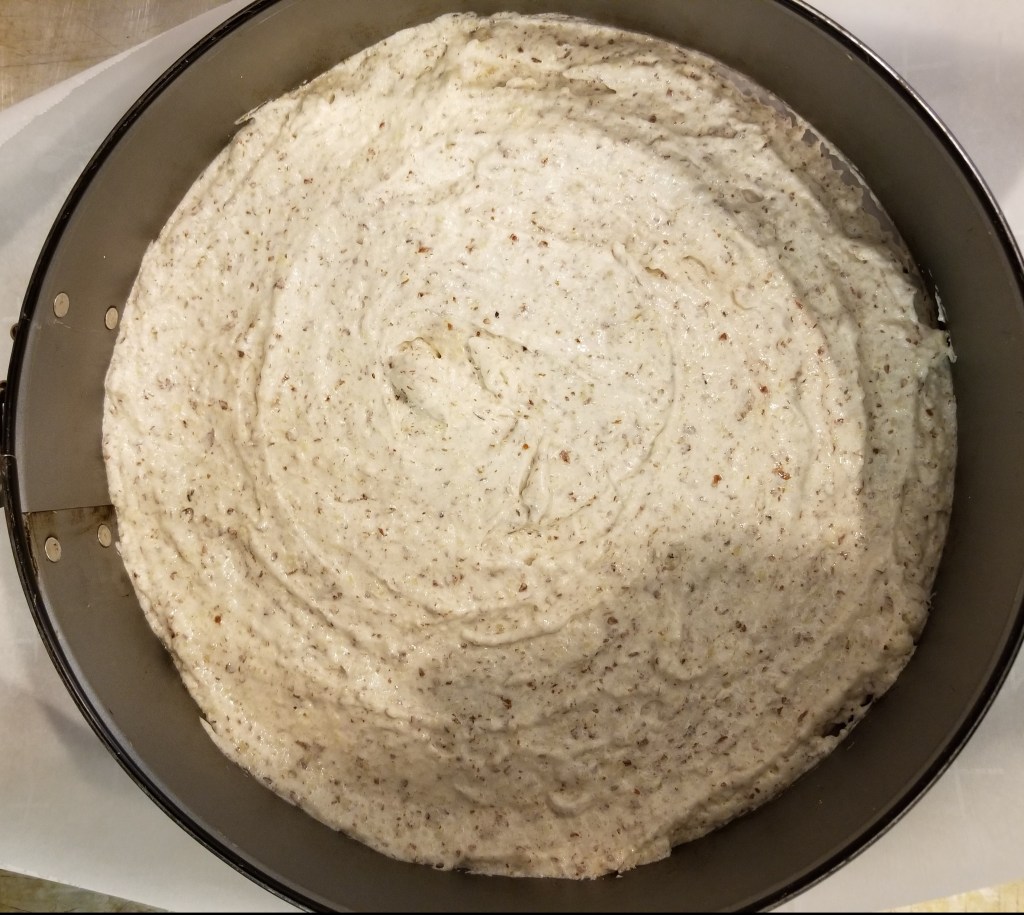
Meringues are usually piped onto a baking sheet before being baked, but I chose to pipe my bottom layer inside my springform pan ring to give it more definition and hopefully a bit of a lip to hold in the filling. I planned to make the other layers slightly smaller so as not to end up with a top-heavy finished product, but I didn’t count on the fact that meringues spread a bit while baking. Something to keep in mind for future bakes.
Meringues can be made a day or two before being used, but they must be kept in a dry location or they will lose their crispness and turn into a sticky mess. In fact, French meringue benefits from being kept in the oven—after it’s been turned off—overnight to be certain it’s completely dry. For that same reason, it’s best not to assemble a meringue dessert until right before you plan to serve it.
On your mark, get set…BAKE!
So I started with my dacquoise, using up a bunch of the egg whites I had stored in the freezer from all the custards and crème patissiere I’ve been making. This recipe uses a little bit of regular flour in addition to the ground nuts or almond flour, but if you want to make it gluten-free you can use all almond flour instead.
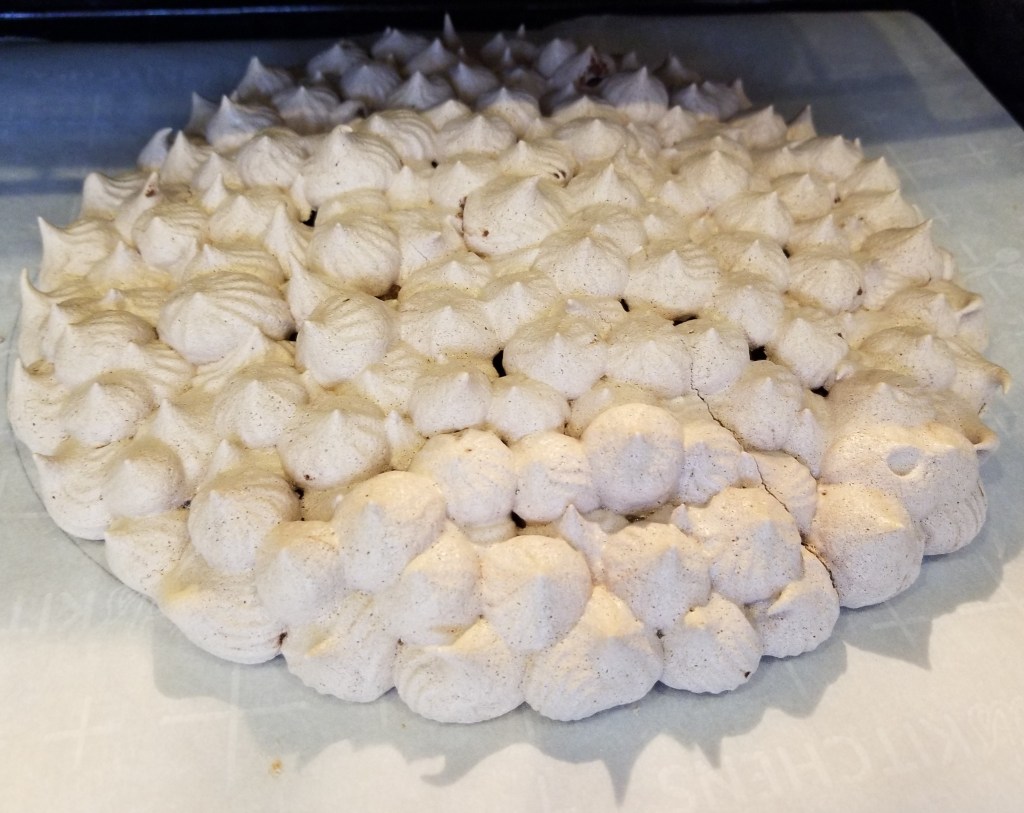
Once my dacquoises were done, I started on my French meringue, using this recipe for a chocolate pavlova. I was intrigued by the fact that it uses 2 teaspoons of balsamic vinegar in addition to cocoa powder; I thought that would give it a more complex chocolate flavor. The only alteration I made was, instead of piling it onto parchment paper like you would for a pavlova, I piped it into a circle one inch smaller in diameter than my springform pan. The meringue layer that I planned to use on top I piped with a star tip to try and create some interesting peaks, sort of like Manisha’s creation in this episode of GBBO. I can’t say mine was as dramatic as hers, but it did add interest.
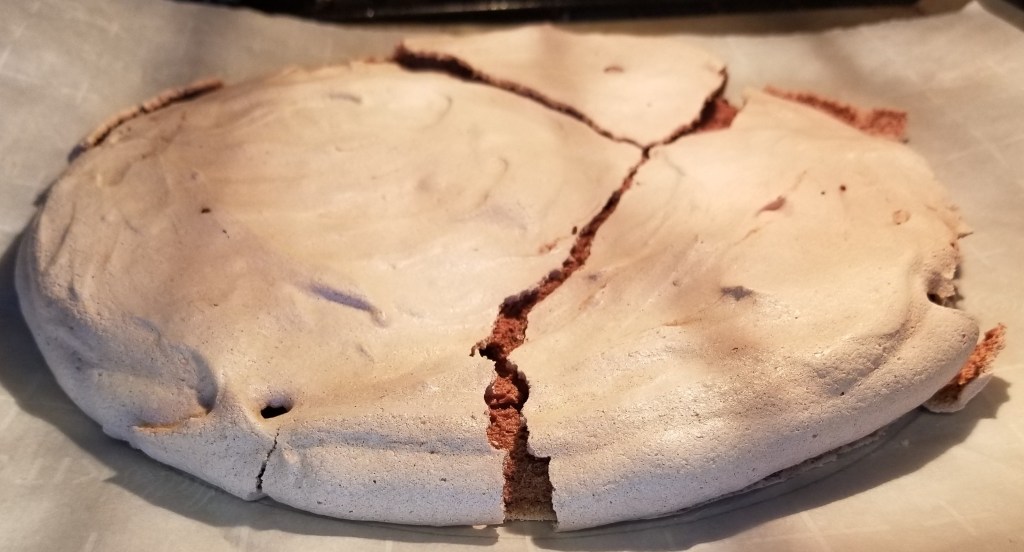
After letting my meringues dry in the oven, I took them out and carefully lifted the parchment paper off the baking sheets to transfer them into an airtight container. Big mistake! They cracked and almost broke in half. I quickly put them back on the baking sheet and decided to leave them in the oven until I was ready to use them, hoping the oven door was tight enough to prevent any moisture from getting in.
I was going to make this for a meeting I was going to, but due to a mid-April snowstorm my meeting was canceled, so I had to leave the meringues in the oven another night in order to take my dessert to work the next day.
The next morning, I began making the rest of the elements of the dessert. I started with the raspberry coulis, knowing it needed to chill in the refrigerator. I used a recipe I found on allrecipes.com, a website I generally go to when I want to search for recipes based on ingredients I have on hand. This recipe is called Fresh Raspberry Sauce, but as the author, Chef John Mitzewich, says, coulis is just the fancy French term for sauce.
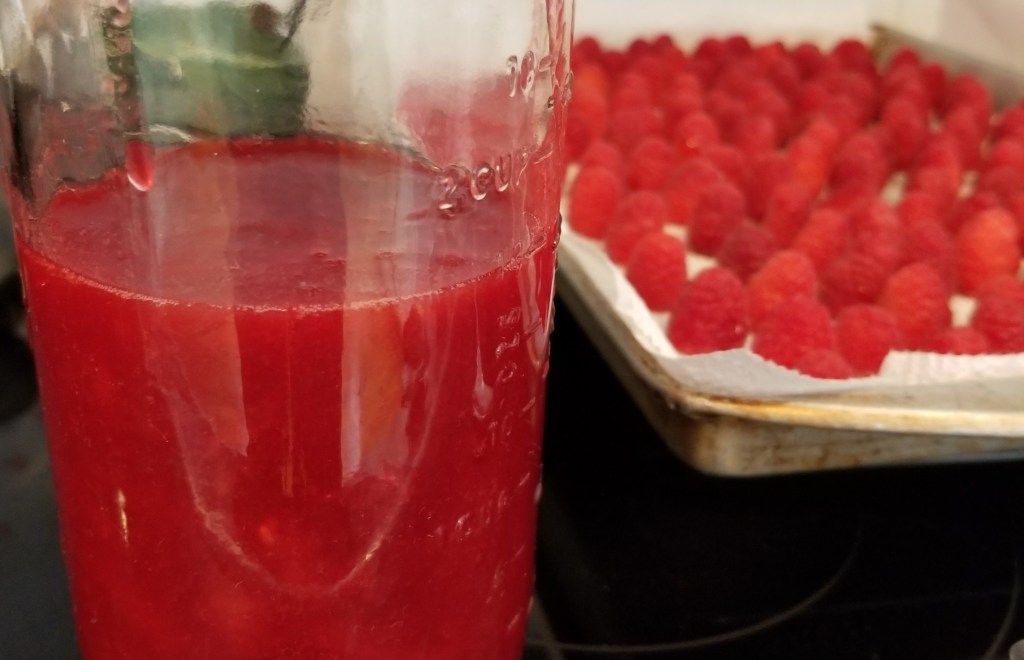
It’s a simple recipe in which you cook raspberries with a little sugar and lemon juice just until the sugar dissolves and the berries break down. Then you press the cooked berries through a sieve to remove the seeds and pulp. It looks so fresh and beautifully crimson when it’s done. It definitely deserves to be served in a clear glass pitcher!
Not wanting to start my buttercream too early, knowing it pipes best when it’s freshly made, I killed some time by experimenting with chocolate work to decorate my dessert. I followed this video from America’s Test Kitchen to temper my chocolate, and fiddled around by piping different shapes and designs until I created some I was happy with. This was my first attempt at tempering chocolate, and this is a simple method that doesn’t require thermometers or double boilers. I would use this method again unless I needed perfectly tempered chocolate for larger chocolate pieces or candy.
For the coffee buttercream, I started with the recipe for Dacquoise au Café. But this is not your grandmother’s buttercream (unless your grandmother was a pastry chef)! This is crème au beurre, or French buttercream. Instead of the buttercream frosting we Americans are used to making by beating together butter and powdered sugar with a little vanilla thrown in, this recipe calls for heating sugar and water to the soft ball stage and pouring it over beaten egg yolks, whisking continuously, before adding the butter.
I did a little research and found a different method that involves whisking the egg yolks and sugar and a little liquid in a double boiler (or bain-marie, as we learned last week) until they reach 155°F; then you whip them into a frenzy until they’re fluffy and stiff before mixing in the butter. This seemed simpler and had the added benefit of ensuring that the egg yolks were fully cooked. I ended up adapting the recipe to this method.
The part of the original recipe that I preserved was something called French coffee extract, or Essence de Café, which is an amazing coalescence of caramelized sugar and concentrated coffee. When combined, they make an intensely coffee-flavored syrup that I could imagine using in everything from chocolate cake to cocktails. When added to the crème au beurre, it transformed from a rich, creamy, buttery-tasting filling (kind of a cross between a frosting and a crème patissiere) to a richer, more complex, deeper-flavored, coffee-buttery-goodness that you really have to taste to believe.
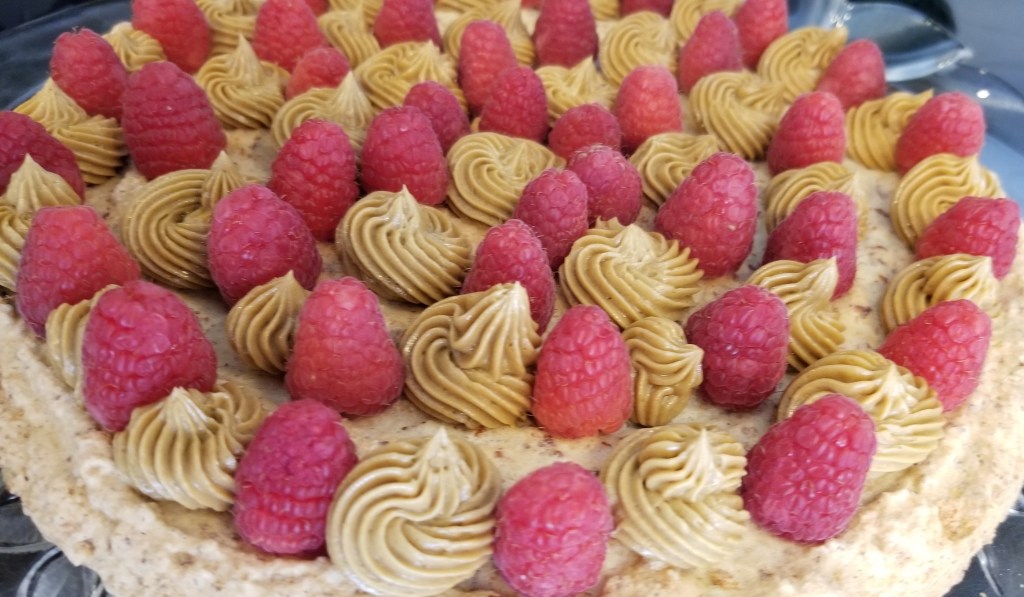
Finally, it was time to assemble my meringue dessert! I placed the base-layer dacquoise on my cake platter, then piped rosettes of buttercream intermittently on top of it, leaving gaps in between for the raspberries. I had washed the raspberries the night before and stood each one hollow-side down on paper towels on a baking tray; I didn’t want any additional moisture from the berries to seep into the meringues. Removing them from the fridge, I placed about a third of the berries between the rosettes to create a structure that would bear the weight of the next layer.
Then came the first chocolate meringue. This was the one that had almost broken in half, so I knew I might need a quick fix if it didn’t transfer well. I slowly slid it off of the baking sheet onto the raspberry/buttercream filling. I had planned to use only raspberries on top of this layer, but seeing the crack in the center, I figured I would need something to hold it together and keep the berries from tumbling around.
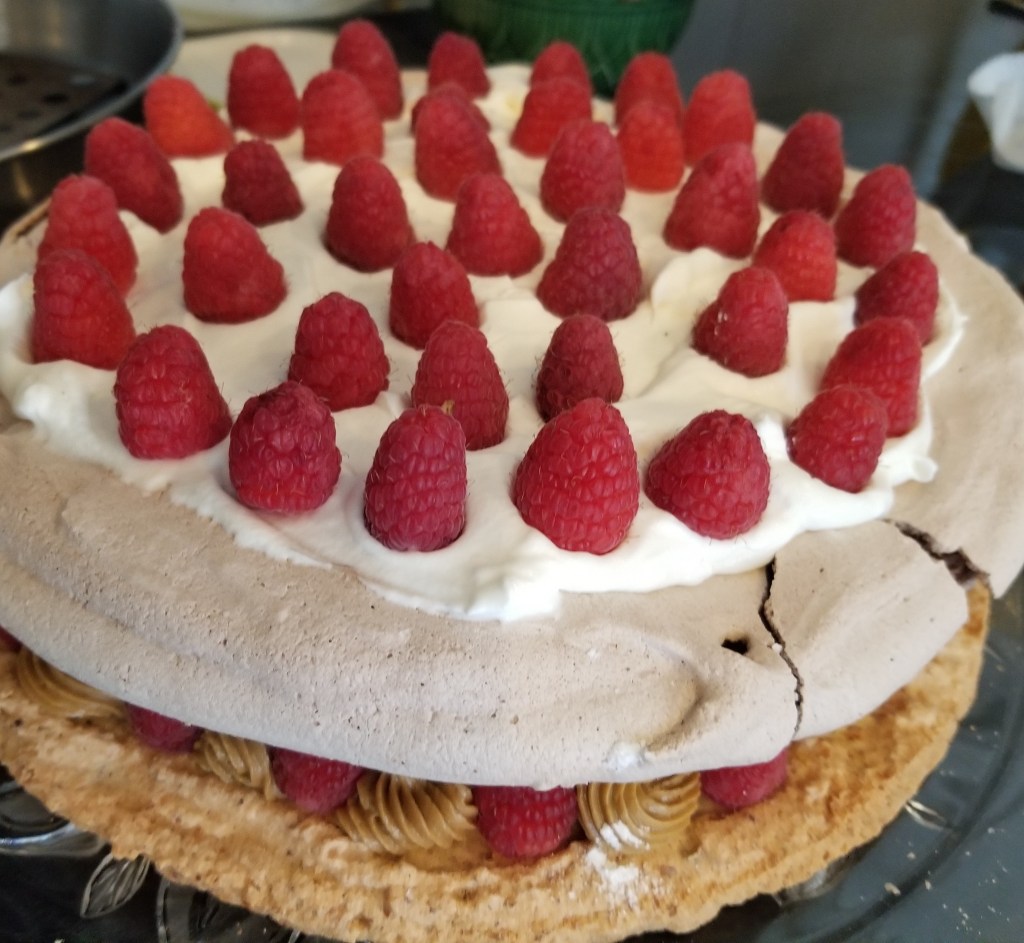
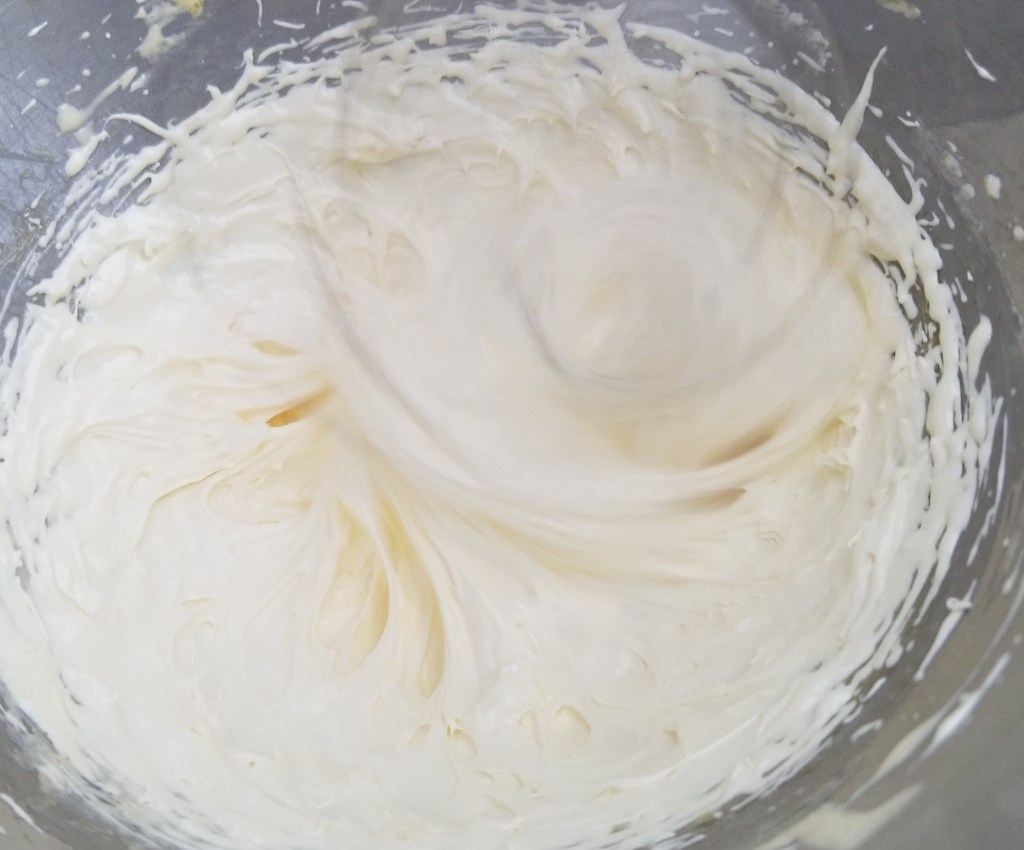
I grabbed a half-full carton of whipping cream from the fridge and whipped it up with about the same volume of powdered sugar to create a quick Chantilly cream like I had used in the Rum Babas from episode 1. This gave me just enough to spread on top of the cracked meringue before adding more raspberries to support my third layer.
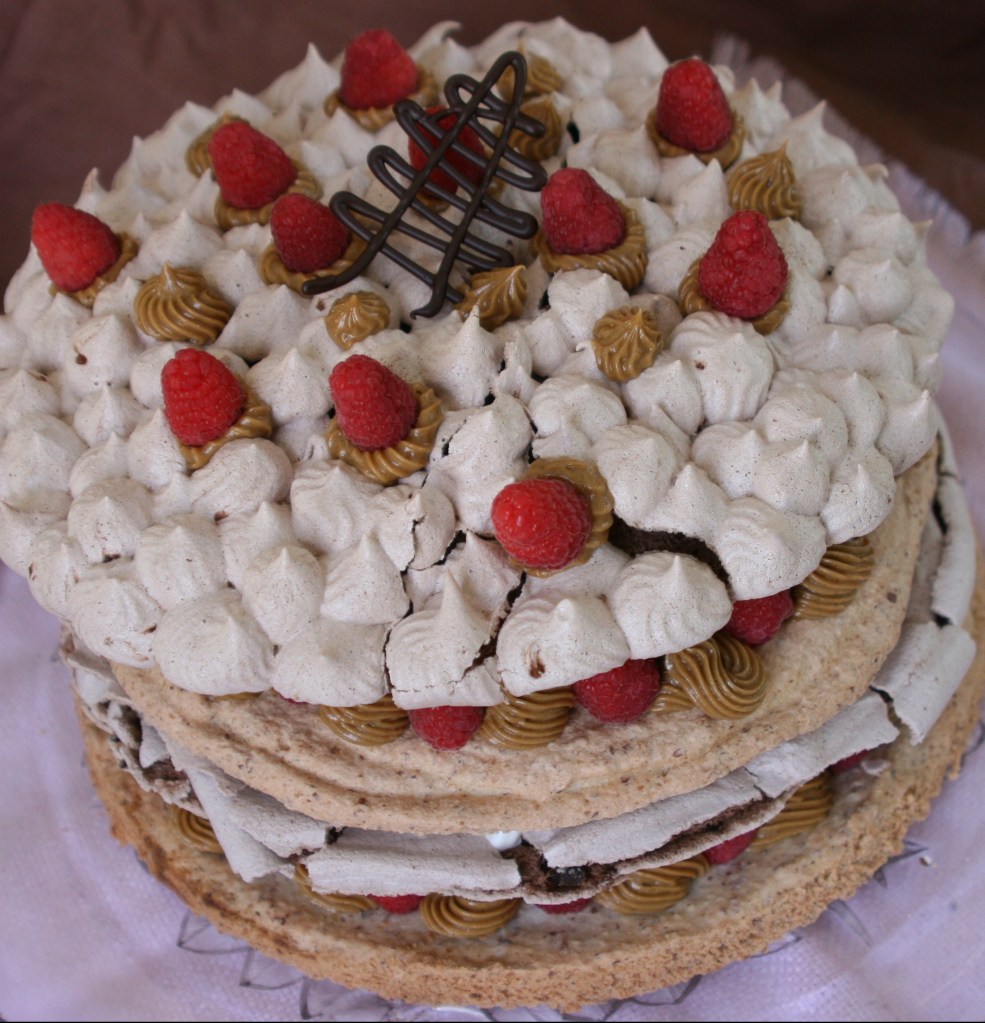
On top of the Chantilly cream and raspberry layer I placed the second dacquoise and repeated the coffee buttercream rosettes and more berries before adding the crowning layer of meringue—the one I had piped with the star tip. This one cracked a bit, too, but I decorated it with more buttercream rosettes and raspberries and crowned it with my chocolate garnish. I was pretty proud of my finished product. I think even Paul and Mary would have been pleased.
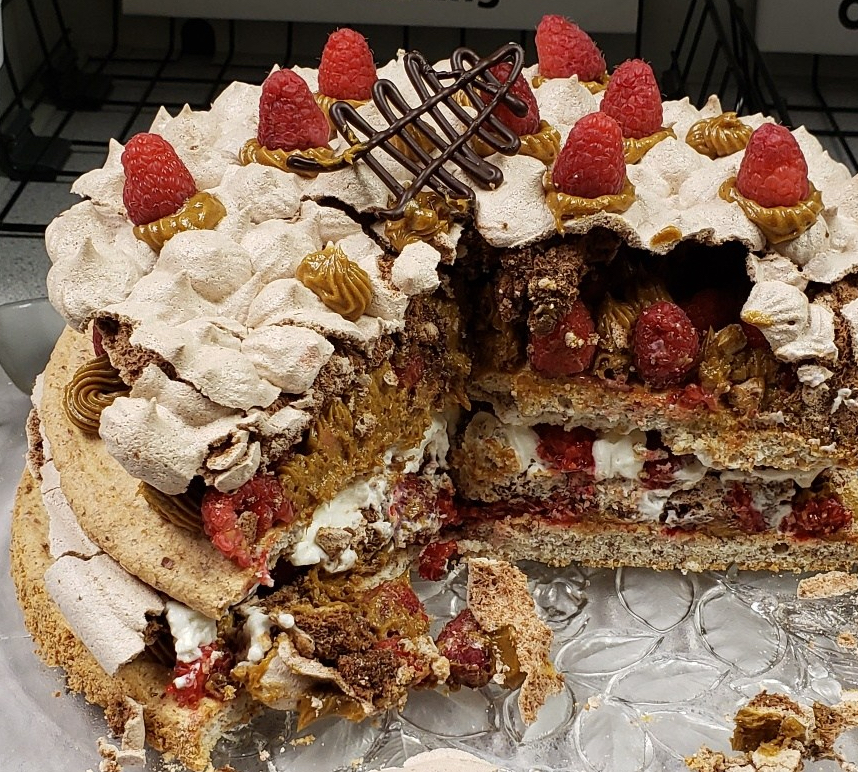
Needless to say, it didn’t last long once I got it to work (no small feat in itself, I can assure you!). Although it was difficult to serve and the individual pieces were not pretty, a coworker snapped a photo of the dessert after it had been cut so you can see all the layers on the inside. I was pleased that all the flavors came through, and in my opinion the combination “worked.”
Raspberry Mocha Layered Meringue
Credit for chocolate meringue: BakerBettie.com
Credit for raspberry coulis: AllRecipes.com
Coffee buttercream adapted from: LittleFrenchBakery.com and SeriousEats.com
For the dacquoise:
- 1 dash salt
- 1 dash cream of tartar
- 6½ T. sugar
- 1 2/3 c. finely ground almonds or almond flour
- 2/3 c. flour (if making gluten-free, substitute almond flour)
- ¾ c. powdered sugar
Directions
- Preheat oven to 350°F. Line two baking sheets with parchment paper. Lay two 10-inch tart rings or springform pan rings on top, or trace a 10-inch circle on each piece of parchment paper using a pan or plate, then flip the paper over. You should still be able to see the circle through the paper. (If you only have one springform ring, like me, you can use one of each.)
- In large mixer bowl with whisk attachment, beat egg whites, cream of tartar and salt to soft peaks. Gradually add the sugar, about 1 tablespoon at a time, and increase the mixer speed until the egg whites form firm, glossy peaks. Fold in the ground almonds and the flour, if using. Divide the mixture in half and spread in rings or pipe in a circle, about ½ to ¾ inch thick.
- Bake for 30 minutes or until golden brown. The dacquoise should rise and then settle back down. Cool completely on cooling rack. Peel off parchment paper and carefully remove from rings, using a thin knife to loosen the sides if necessary. Store in an airtight container with parchment paper between layers until ready to use.
For the chocolate meringue:
Directions
- Preheat oven to 250°F. Line two baking sheets with parchment paper and trace a 9-inch circle on one and an 8-inch circle on the other. Turn paper upside down; you should still be able to see the circle through the paper.
- In the bowl of a stand mixer fitted with a whisk attachment, beat the egg whites and cream of tartar on medium speed until soft peaks form. Increase the mixer speed to medium-high and begin adding sugar 1 tablespoon at a time, beating until the meringue is shiny and holds stiff peaks. The meringue should feel smooth between your fingers and not gritty (if gritty, the sugar hasn’t completely dissolved yet).
- Add vanilla extract and vinegar and beat until combined. Remove bowl from mixer. Sift the cocoa powder and cornstarch together and sprinkle over the top of the meringue. Fold in gently with a rubber spatula until fully combined.
- Using a plain half-inch tip, pipe half the meringue onto the 9-inch circle, using concentric circles or a spiral pattern. Then change to a star tip and pipe the rest of the meringue onto the 8-inch circle, forming peaks and valleys to create a 3-dimensional design to top your dessert.
- Bake for about 60 minutes. The outside should feel dry and firm, but the inside should be soft and moist. Turn the oven off and let the meringues cool completely in the oven for two hours or overnight. Store in airtight container until ready to assemble.
For the raspberry coulis:
Directions
- Combine all three ingredients in a saucepan and, over medium heat, cook and stir until berries break down, sugar dissolves and sauce is heated through, about 3-7 minutes. Remove from heat and press sauce through a fine-mesh strainer to remove seeds and pulp. Cool sauce to room temperature, cover and refrigerate until chilled, at least 45 minutes.
For the coffee buttercream:
Directions
- First make the French coffee extract by dissolving the instant coffee in the water in a small saucepan and bring it to a boil. In another saucepan, add 1 cup of sugar and heat it until the sugar dissolves and turns a dark amber color. (Yes, you are making caramel!) When the sugar is the right color, slowly pour in the hot coffee. It will bubble and sputter, so be careful to protect your hands and fingers. Stir until all of the caramel dissolves. Cool and store in the refrigerator.
- For the buttercream, in a heatproof mixer bowl, combine egg yolks with 3/8 c. sugar, 1 tablespoon liquid, vanilla and salt. Whisk until completely blended together.
- Find a saucepan that will hold 1½ inches of water and will support the bowl without the bowl touching the surface of the water. If that doesn’t work, use a ring of crumpled aluminum foil in the bottom of the pan to keep the bowl above the water’s surface. Place the pan of water over high heat until steaming; then adjust the temperature to maintain a gentle simmer.
- Placing the bowl of egg yolk mixture over the simmering pan of water, stir and scrape the egg yolk syrup constantly with a flexible spatula until the mixture reaches 155°F. This should only take about 5 minutes; if it seems to be taking too long, simply turn up the heat.
- Transfer the bowl to a stand mixer fitted with a whisk attachment and whip at high speed until mixture is fluffy and stiff and beginning to ball up around the whisk—about 8 minutes. By this time the bottom of the bowl should be cool to the touch.
- With the mixer still running, add butter 1-2 tablespoons at a time, waiting only a second or two between additions. This should result in a thick, creamy and spreadable texture. If the mixture seems to break apart, keep mixing; it will come back together.
- Add 1 tablespoon of the coffee extract and mix well. Taste to see if the coffee flavor is rich enough. If not, add another tablespoon or more, to taste. The buttercream should be a creamy coffee color with a nice coffee flavor.
NOTE: Use buttercream right away, at room temperature, preferable between 68°F and 74°F. This batch made just enough for me, but if you have any left over, refrigerate in airtight container for up to two weeks, rewarm to 72°F and rewhip before using.
Additional ingredients:
To assemble:
- First, make the Chantilly cream by pouring the whipping cream into a clean mixer bowl and whisking it on medium speed until thick and frothy, about 1 minute. Add the powdered sugar and vanilla, and resume beating on medium speed until thick enough to hold its shape. Do not overbeat or it will start to separate. Refrigerate until ready to use.
- Place one dacquoise on a large cake platter. Place the coffee buttercream in a piping bag fitted with a star tip. Pipe rosettes of buttercream around the edge of the dacquoise, leaving room for a raspberry in between each one. Pipe more rosettes intermittently in the center, leaving gaps in between for more raspberries. Using about a third of the whole berries, place them hollow-side down in between the buttercream rosettes to create a structure that will support the next meringue layer.
- Gently place the plain (non-piped) chocolate meringue on top of the raspberries. Carefully dollop (or pipe) the Chantilly cream on top of that. Add another third of the raspberries, domes up, on top of the cream. Then place the second dacquoise on top of that, repeating the coffee buttercream and raspberries (reserving a little bit of buttercream and a few raspberries for garnish) on top of the dacquoise. Finally, place the piped chocolate meringue layer on the very top and decorate with more buttercream rosettes and raspberries, as well as a chocolatework garnish if desired. Serve immediately with raspberry coulis.
*Save five egg yolks for the coffee buttercream. If you don’t have a use for the rest of the yolks in the next few days, freeze them following the directions in my blog post for Showstopper Fruit Tart or on Food52.com. Basically, you add 1/8 t. salt into 4 egg yolks and whisk them thoroughly before freezing. When you’re ready to use them, thaw the yolks in the fridge for several hours and then whisk them with the sugar called for in whatever recipe you’re using them in until smooth before introducing any liquid.
Next week: A Wellington
Discover more from Here's the Dish
Subscribe to get the latest posts sent to your email.

It looks delicious! You used so many skills for this dessert and the flavor combination sounds amazing.
LikeLiked by 1 person