
(100th Baking Challenge)
How do you turn a total failure into something positive?
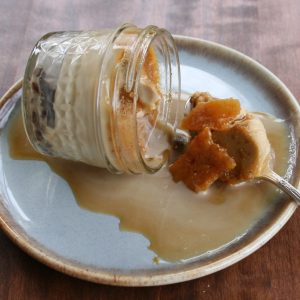
That’s the question I was left with after my first attempt at crème brûlée turned into a drippy, runny mess.
My first inclination? Go to bed and try to forget it ever happened.
The next morning, with a clearer head, I swallowed my pride and assessed my choices. I came up with two: Either admit failure, write this post and move on to my next bake, or try, try again.
I chose the latter. But I decided to take a methodical approach. I wanted to find out why my first batch failed, and, if possible, come up with a foolproof method, so I could share it with you, my devoted readers.
First, I examined my methods. I knew that cooking crème brûlée in a water bath keeps the custard from overcooking, since the water will never go above the boiling point, or 212°F. I knew that, when done properly, crème brûlée should have a slight “wobble,” “jiggle,” or “quiver” in the center, but this was too subjective for me, so I researched ideal temperatures. I discovered that custard sets between 160°F and 180°F and that crème brûlée should be cooked to 176°F, but it should be taken out of the oven between 171°F and 175°F because it will continue cooking even after it’s removed from the heat.
(It did take my crème brûlée longer than I thought it should have to reach that temperature — although the battery on my instant-read thermometer was dying, so that might have been part of the problem — but it didn’t curdle, so I’m pretty sure it wasn’t overcooked.)
Then I examined the ingredients. I had used, as the basis of my recipe, David Lebovitz’s recipe for coffee crème brûlée as published on LeitesCulinaria.com. (I also added mini chocolate chips to the bottom of my ramekins. My goal was to combine my two favorite desserts, crème brûlée and tiramisu.) His ratio of heavy cream to whole or low-fat milk was 2:1, and the recipe called for 4 large egg yolks to 2 cups of cream/milk. Other recipes I looked at were more generous with the egg yolks, however, so I erred on the side of caution and used 5 egg yolks to 2 cups of a 2:1 cream-to-milk mixture.
In addition to the ratios of cream to milk and egg yolks to liquid, a couple other factors could have come into play, and both have to do with differences in ingredients between the U.K. and the U.S. One is the fat content of cream available here in the U.S. versus that sold in the U.K. Many British recipes call for double cream, which has a fat content of 48%, while the cream with the highest fat content found in most U.S. grocery stores, called heavy cream or heavy whipping cream, is more like 36% to 38%. Single cream in the U.K. has a fat content of 20%, while half-and-half in the U.S. ranges from 10.5% to 18%. Alternatively, light cream in the U.S. has a fat content of 18% to 30%, but it is not widely available in most grocery stores.
In Mary Berry’s recipe for crème brûlée, for example, she uses half double cream and half single cream, creating a total fat content of 34% (68% divided by 2), which is closer to our heavy cream. So if I were to make her recipe, it would make sense to substitute both creams with heavy whipping cream.
The other issue, which I’ve addressed before, is the difference in egg sizes. In the U.K., a large egg is closer in size to an extra-large egg in the U.S. For example, to be labeled large in the U.K., an egg must weigh between 63 and 73 grams. In the U.S., a large egg should weigh between 56.7 and 63.7 grams. The yolk weighs about half what the white weighs, so once you subtract the weight of the shell, a large yolk in the U.K. weighs about 20 grams, while a large yolk in the U.S. weighs between 16 and 18 grams.

That may not seem like a huge difference, but I weighed the eggs I used and found pretty drastic differences. For my first batch, I used my local grocery store’s brand of large eggs and found that a whole egg weighed 55 grams (just under the standard). The next time I ordered groceries, I purchased a national brand, and one of its large eggs weighed in at 64 grams (slightly over the standard). When I separated the eggs, the store-brand yolk weighed only 13 grams, while yolks from the national brand varied between 19 and 23 grams. The difference between the largest yolk and the smallest was 10 grams, which means the larger yolk was nearly double the weight of the smaller one — even though both were labeled “large”!
So it’s important to know, first of all, if you are working with an American recipe or a British recipe, and to adjust the size or number of eggs accordingly. You may also need to adjust the dairy products you use, depending on the fat content of the cream the recipe calls for — although that may be difficult if it only calls for double cream. (If you’re working with recipes from countries other than the U.S. or U.K., it would be a good idea to research egg sizes and cream/fat content for those regions.)
So in my quest to perfect my crème brûlée, I decided to try different ratios of cream to milk and egg yolks to liquid until I came up with the ideal combination. The reason my first try failed, I reasoned, was either that I had not used enough egg yolks or that my milk/cream combination did not contain enough fat.
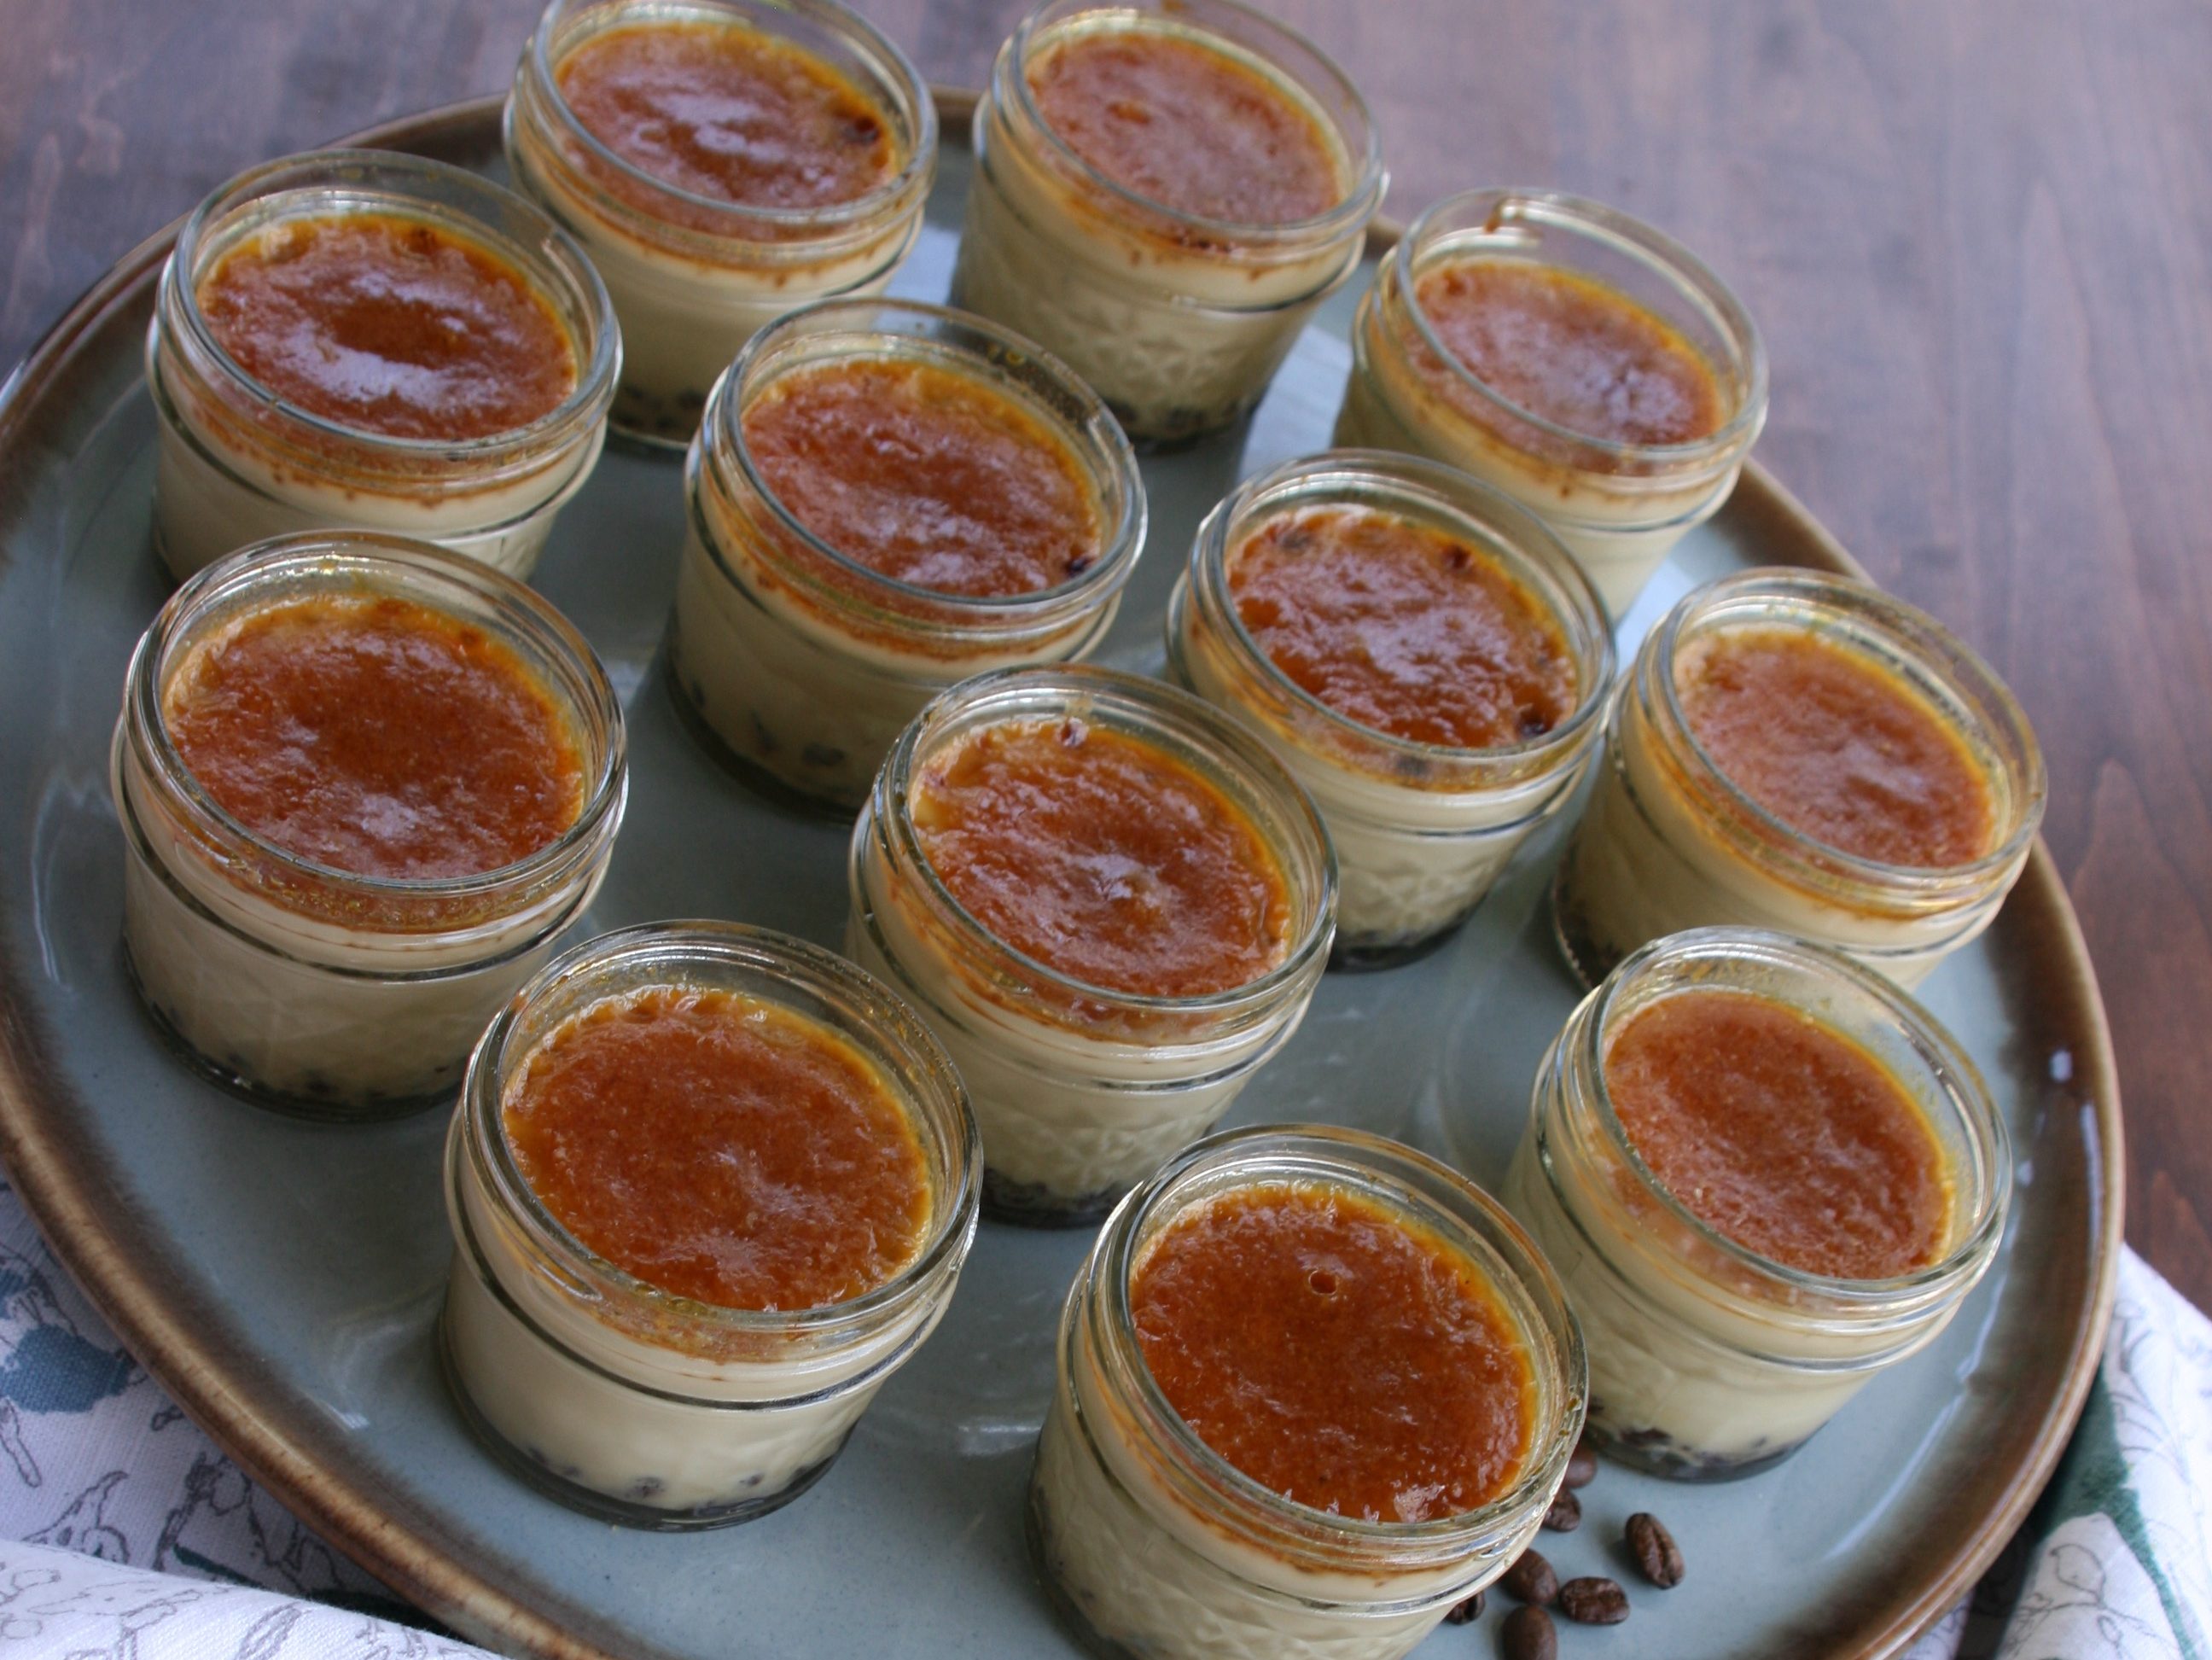
I began by dividing the quantities of my original recipe into fourths. The brief for this signature challenge was to make 12 individual-sized crème brûlées. I reduced that to three. I would make five of these smaller batches, four of which would use the American system of measuring by cups, with varying ratios of eggs to liquid, and some using whole milk and cream while others would use only cream. The fifth batch would follow a similar recipe but measure ingredients by weight rather than volume. I based these measurements on the baker’s percentages found in the textbook Advanced Bread and Pastry: A Professional Approach by Michel Suas. (If you want to know more about baker’s percentages, here’s a good tutorial. While most commonly used for baking bread, they can be applied to any recipe.)
Here are the basic differences in each of my test batches:
- Batch 1: 2/3 cup heavy cream to 1/3 cup whole milk; 2 egg yolks.
- Batch 2: 2/3 cup heavy cream to 1/3 cup whole milk; 3 egg yolks.
- Batch 3: 1 cup heavy cream; 2 egg yolks.
- Batch 4: 1 cup heavy cream; 3 egg yolks.
- Batch 5: 100% cream to 20.4% egg yolks, measured by weight.
In addition to sugar, vanilla bean paste and a pinch of salt, I did add espresso powder and a teaspoon of brandy to each batch, as I wanted all the ingredients to be the same as my original attempt, in case those additions had somehow caused my first batch to fail. All were baked in 4-ounce ramekins (actually ½-cup-sized canning jars) in a water bath at 300°F in a convection oven. I checked the internal temperature of each, beginning at 20 minutes, and they were removed when the internal temperature was between 171°F and 175°F. They were then cooled to room temperature, refrigerated for 24 hours, and brûléed using Mary Berry’s technique.* I then refrigerated them for a few hours before testing the consistency (again, per Mary’s instructions).
Here are my results:
- Batch 1: Still runny.
- Batch 2: More solid but with a soft-set consistency.
- Batch 3: Holds its shape, creamy consistency.
- Batch 4: Somewhat stiff, almost stodgy.
- Batch 5: Similar to batch 4, more like flan than crème brûlée.


I was surprised that the use of just cream, rather than a cream-and-milk mixture, seemed to make more of a difference than the number of yolks. My favorite combination was 1 cup of cream to 2 yolks, although I would preface that by acknowledging that one of those yolks came from the larger of the “large” eggs and one came from the carton of smaller “large” eggs, which is why I still believe that weighing ingredients — even eggs, when they make up such an essential part of the end product as custard — is the best policy.
So there you have it. If, like me, you prefer a crème brûlée that’s slightly creamier than flan but still holds its shape and doesn’t drip off the spoon, don’t adulterate the cream by adding milk. I would also recommend weighing the yolks. I’ve provided the recipe below for my preferred ratios, with the main ingredients measured by weight in grams, since it’s easier to measure grams than deal with fractions of ounces. Most kitchen scales can easily be set to either grams or ounces, but if you feel the need to translate the recipe into ounces, try a conversion calculator like this one.

*Mary’s technique, which is the same method Ian used when making crème brûlée for this challenge, involves melting sugar to make caramel, letting it harden, pulverizing it in a food processor, then sprinkling the powder on top of the chilled crème brûlées and placing them under the broiler for a minute or two until the caramel remelts. It melts much easier than sugar and makes an even, crackly layer of caramel for your spoon to break into. The only difference in my process was that I melted the sugar in the oven, a technique I read about here, instead of on the stove (which has led to crystallization for me in the past). It worked great!


In my effort to be as honest about my bakes as possible, I’m ranking this bake based on my first attempt:

Tiramisu-Flavored Crème Brûlée
Ingredients
- 48 g. egg yolks (2-3 large egg yolks)
- 78 g. granulated sugar
- 312 g. heavy cream
- 1 pinch salt
- ¾ t. vanilla bean paste (or vanilla extract)
- 2 t. instant espresso
- 1 t. brandy (or Kahlúa)
- 2 T. mini chocolate chips
- 100 g. granulated sugar (for burnt sugar topping)
Directions
- In a medium bowl, whisk the egg yolks and sugar together. In a small saucepan over medium heat, warm the cream and salt to just below boiling (180°-185°F). Remove cream from heat and stir in vanilla and instant espresso.
- Place the bowl of egg yolks on a hot pad or folded tea towel to keep it from sliding around. Gently whisk the egg yolks while pouring about one-fourth of the hot cream into the bowl, then pour all of the yolk mixture back into the pan. Over low heat, stir the yolks and cream together until warmed to about 158°F.
- Pour custard through a fine-mesh sieve into a measuring pitcher. Stir in the brandy or liqueur. Let sit for 20 minutes so the bubbles can rise to the surface, then skim off the foam.
- Preheat oven to 325°F (300°F for convection ovens). Put a kettle of water on to boil. Place a tea towel in the bottom of a roasting pan. Divide chocolate chips evenly among four small ramekins or half-cup canning jars.
- Gently pour the warm custard into the ramekins, dividing equally. Place ramekins in the roasting pan. (TIP: If bubbles appear on the surface of the custard, running a kitchen torch over it will burst the bubbles.)
- Place the roasting pan on the middle rack of the oven. Carefully pour boiling water into the pan until the water reaches about two-thirds up the sides of the ramekins. Bake for 20 minutes. Test with an instant-read thermometer and remove from oven when internal temperature is between 170°F and 175°F. The center of the custard should just quiver. (TIP: If temperature is in the low 170°s and the center seems too jiggly, leave ramekins in water bath to cool. If the temperature is higher and you’re worried that the custard is too set, remove from water bath immediately, using tongs or a metal spatula, and place on a rack to cool.) Be careful not to splash water into the ramekins.
- Let custards cool to room temperature, then cover and chill for at least 4 hours or overnight. (TIP: For faster cooling, place room-temperature ramekins into an ice bath.)
- To make the burnt sugar topping: Preheat oven to 400°F. Line a rimmed baking sheet with parchment paper and sprinkle evenly with 150 grams of white granulated sugar. Bake for 10-12 minutes, until all the sugar has melted and turned golden. (Watch carefully so it doesn’t get too dark; you may want to turn the baking sheet 180 degrees at the halfway point.) Remove baking sheet from oven and set aside to cool. When the caramel has hardened, break it into pieces and run it through a food processor until pulverized. (Do this in batches if you only have a small food processor.)
- Sprinkle tops of cold custard with about ½ tablespoon pulverized caramel each, covering surface evenly. (Gently shake the ramekin from side to side to even it out, using the back of a spoon to push it to the edges, if needed.) Place the ramekins on a rimmed baking sheet under the oven’s broiler at its highest setting. Broil for 30-40 seconds until the caramel has melted. Let sit for 2 minutes to harden, then return to refrigerator for a couple hours before serving. Alternatively, use a kitchen torch to melt the caramel topping, leave to harden for a few minutes, then serve immediately.

I appreciate the diligence in testing that went on here! This is one of my favorites desserts!
LikeLiked by 1 person
Thanks!
LikeLike
I always get so excited to see an email from you! You inspire me to cook and bake more. This one is so thorough. Thank you for doing all the hard work so we can make perfect “Crème Brûlée”.
LikeLiked by 1 person
Aww, thank you so much!
LikeLike
What a wonderful lesson! This is very helpful for the next time I make my Creme Brulee. Thanks for all of your research.
LikeLiked by 1 person
Thanks, Deb!
LikeLike