
You spell it pitta, I spell it pita. Any way you slice it, it’s pretty much a flatbread, perhaps with a pocket inside. It’s pretty ingenious, though, when you think about it: A pita can be opened up and filled with meat, cheese and vegetables to contain an entire meal; it can be wrapped around any number of fillings and eaten like a taco; or it can be used as a utensil to dip in hummus, sop up broth or scoop up a saucy stew.
Pita has been around, in some form or another, for at least 4,000 years. It likely originated with a group of semi-nomadic people called the Amorites, who occupied southern Mesopotamia in what is now Syria and Iraq. These bedouins may have traded their newly invented flatbreads for other essentials, and in their travels introduced pita to cultures all across the Middle East and Mediterranean regions.
From these humble beginnings, two branches of this flatbread emerged: the pocket pita, also known as Lebanese, Arabic or Syrian pita bread, which may be served with falafel or baba ganoush; and Greek pita, which is pocketless and is often found wrapped around souvlaki or filled as a gyro. Greek pita is usually baked in a pan on the stove. To achieve a pocket, pitas must be baked in a very hot oven — commercially at 700°F or more — on a preheated pizza stone or baking steel, so the outside of the dough bakes quickly, trapping moisture on the inside, which then evaporates, expanding the dough and creating a pocket of air that, when cooled, collapses; but when the pita is cut open, the pocket remains.
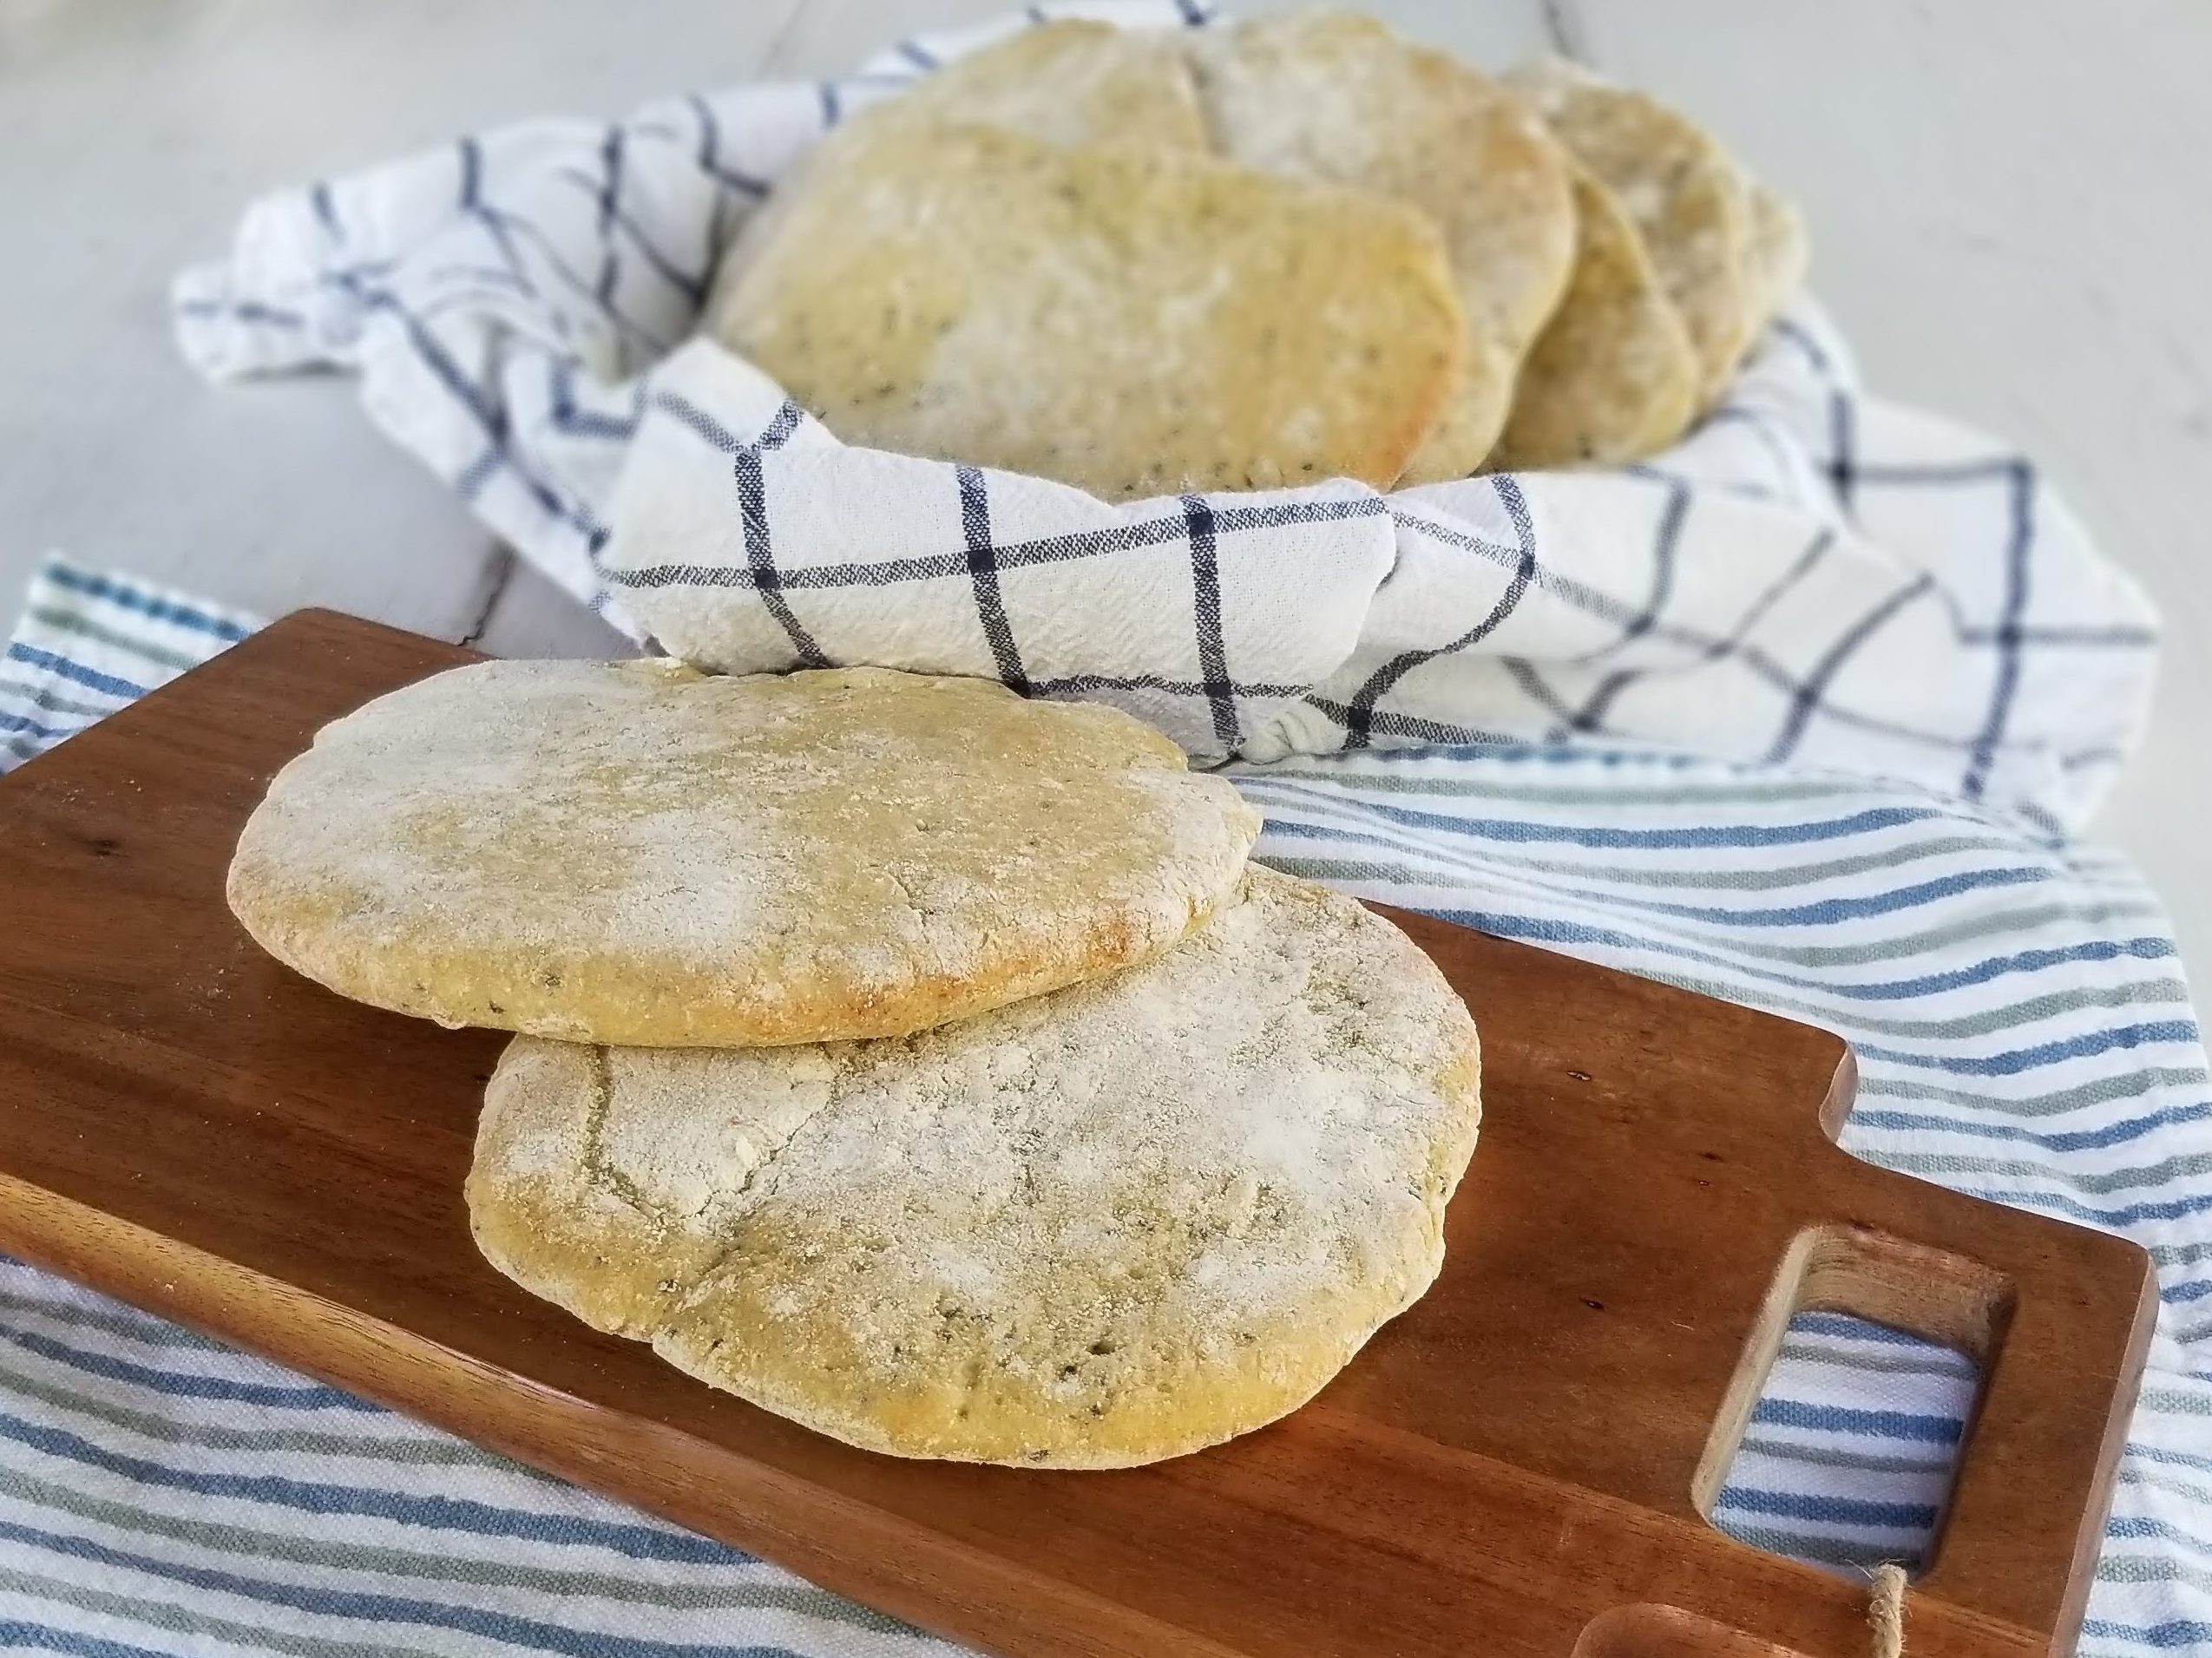
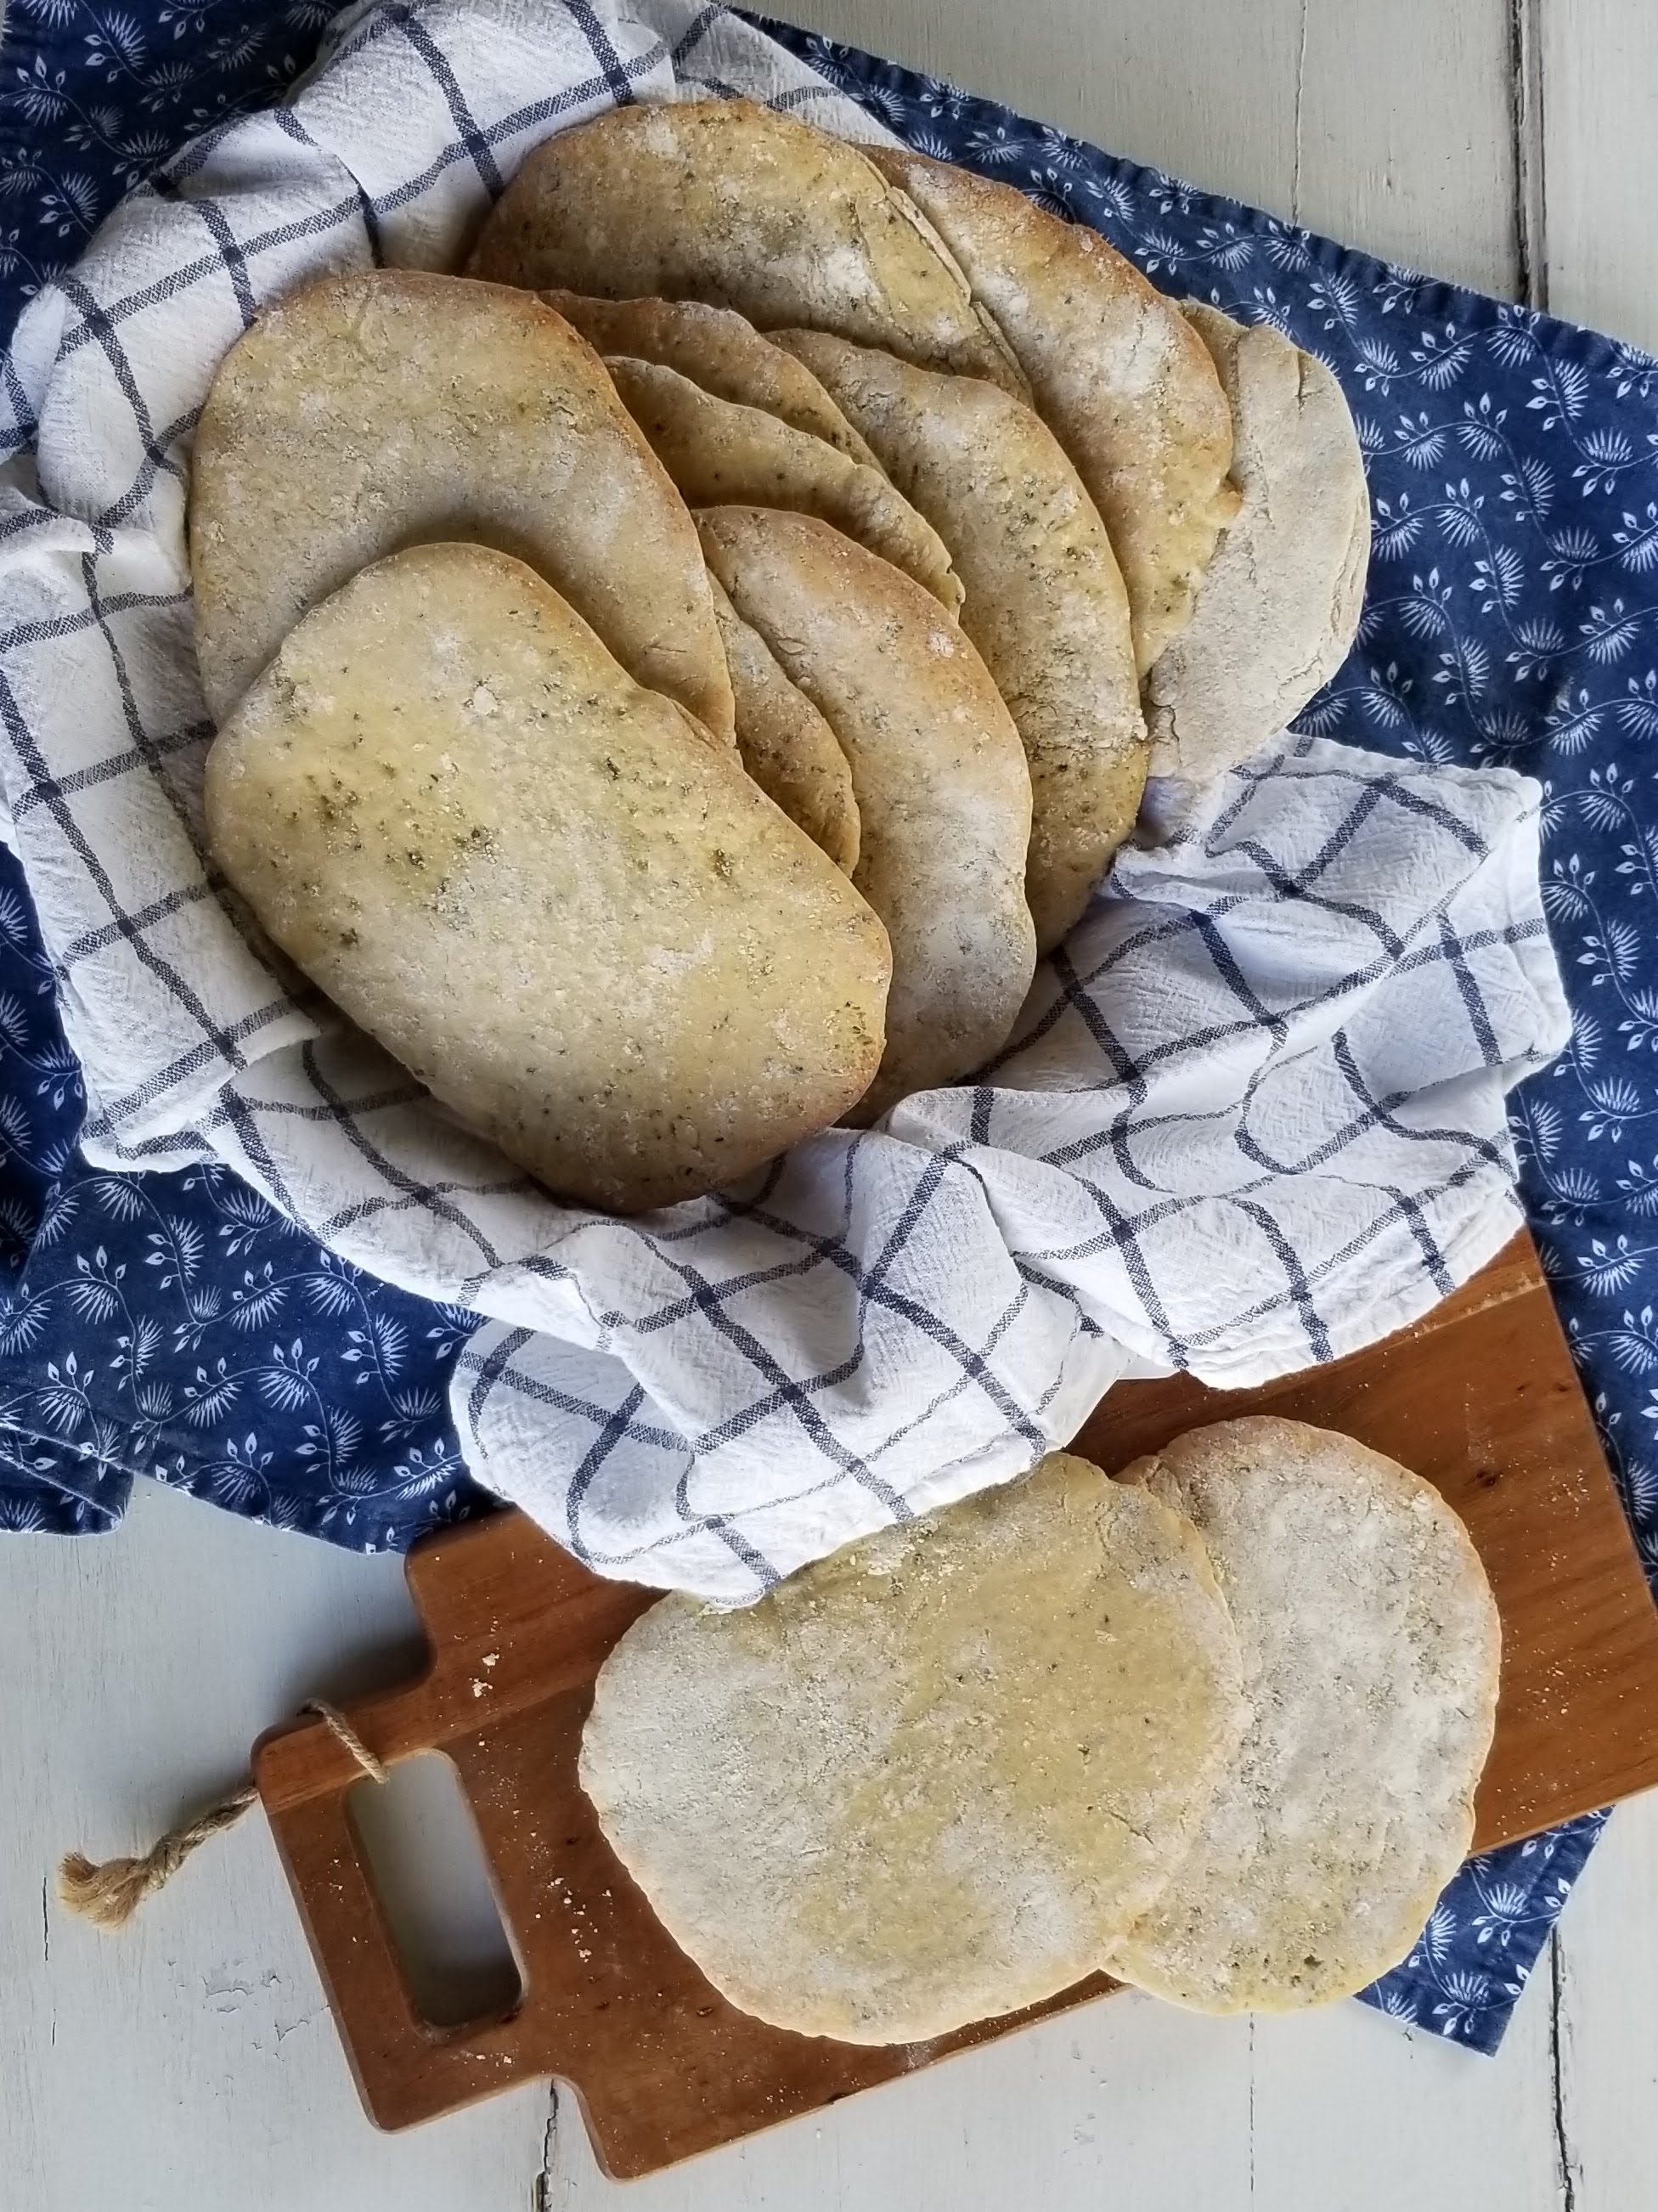
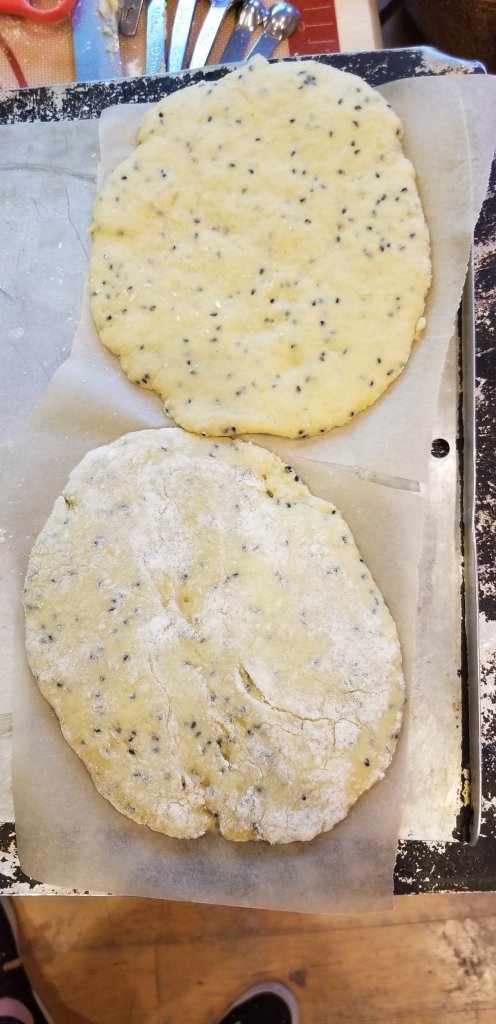
Of course, I learned all this after making Paul Hollywood’s recipe for gluten-free pitta (ahem, pita) bread. Other than instructing the baker to preheat the oven to 425°F and place baking sheets in the oven to preheat as well, his recipe says nothing about how the pita gets its pocket. (Although, in hindsight, my experience with making laminated dough should have taught me a thing or two.) While my pitas came out tender and well-baked, with just the right amount of chewiness, none of them had a pocket. They were more like Greek pitas than pita pockets.
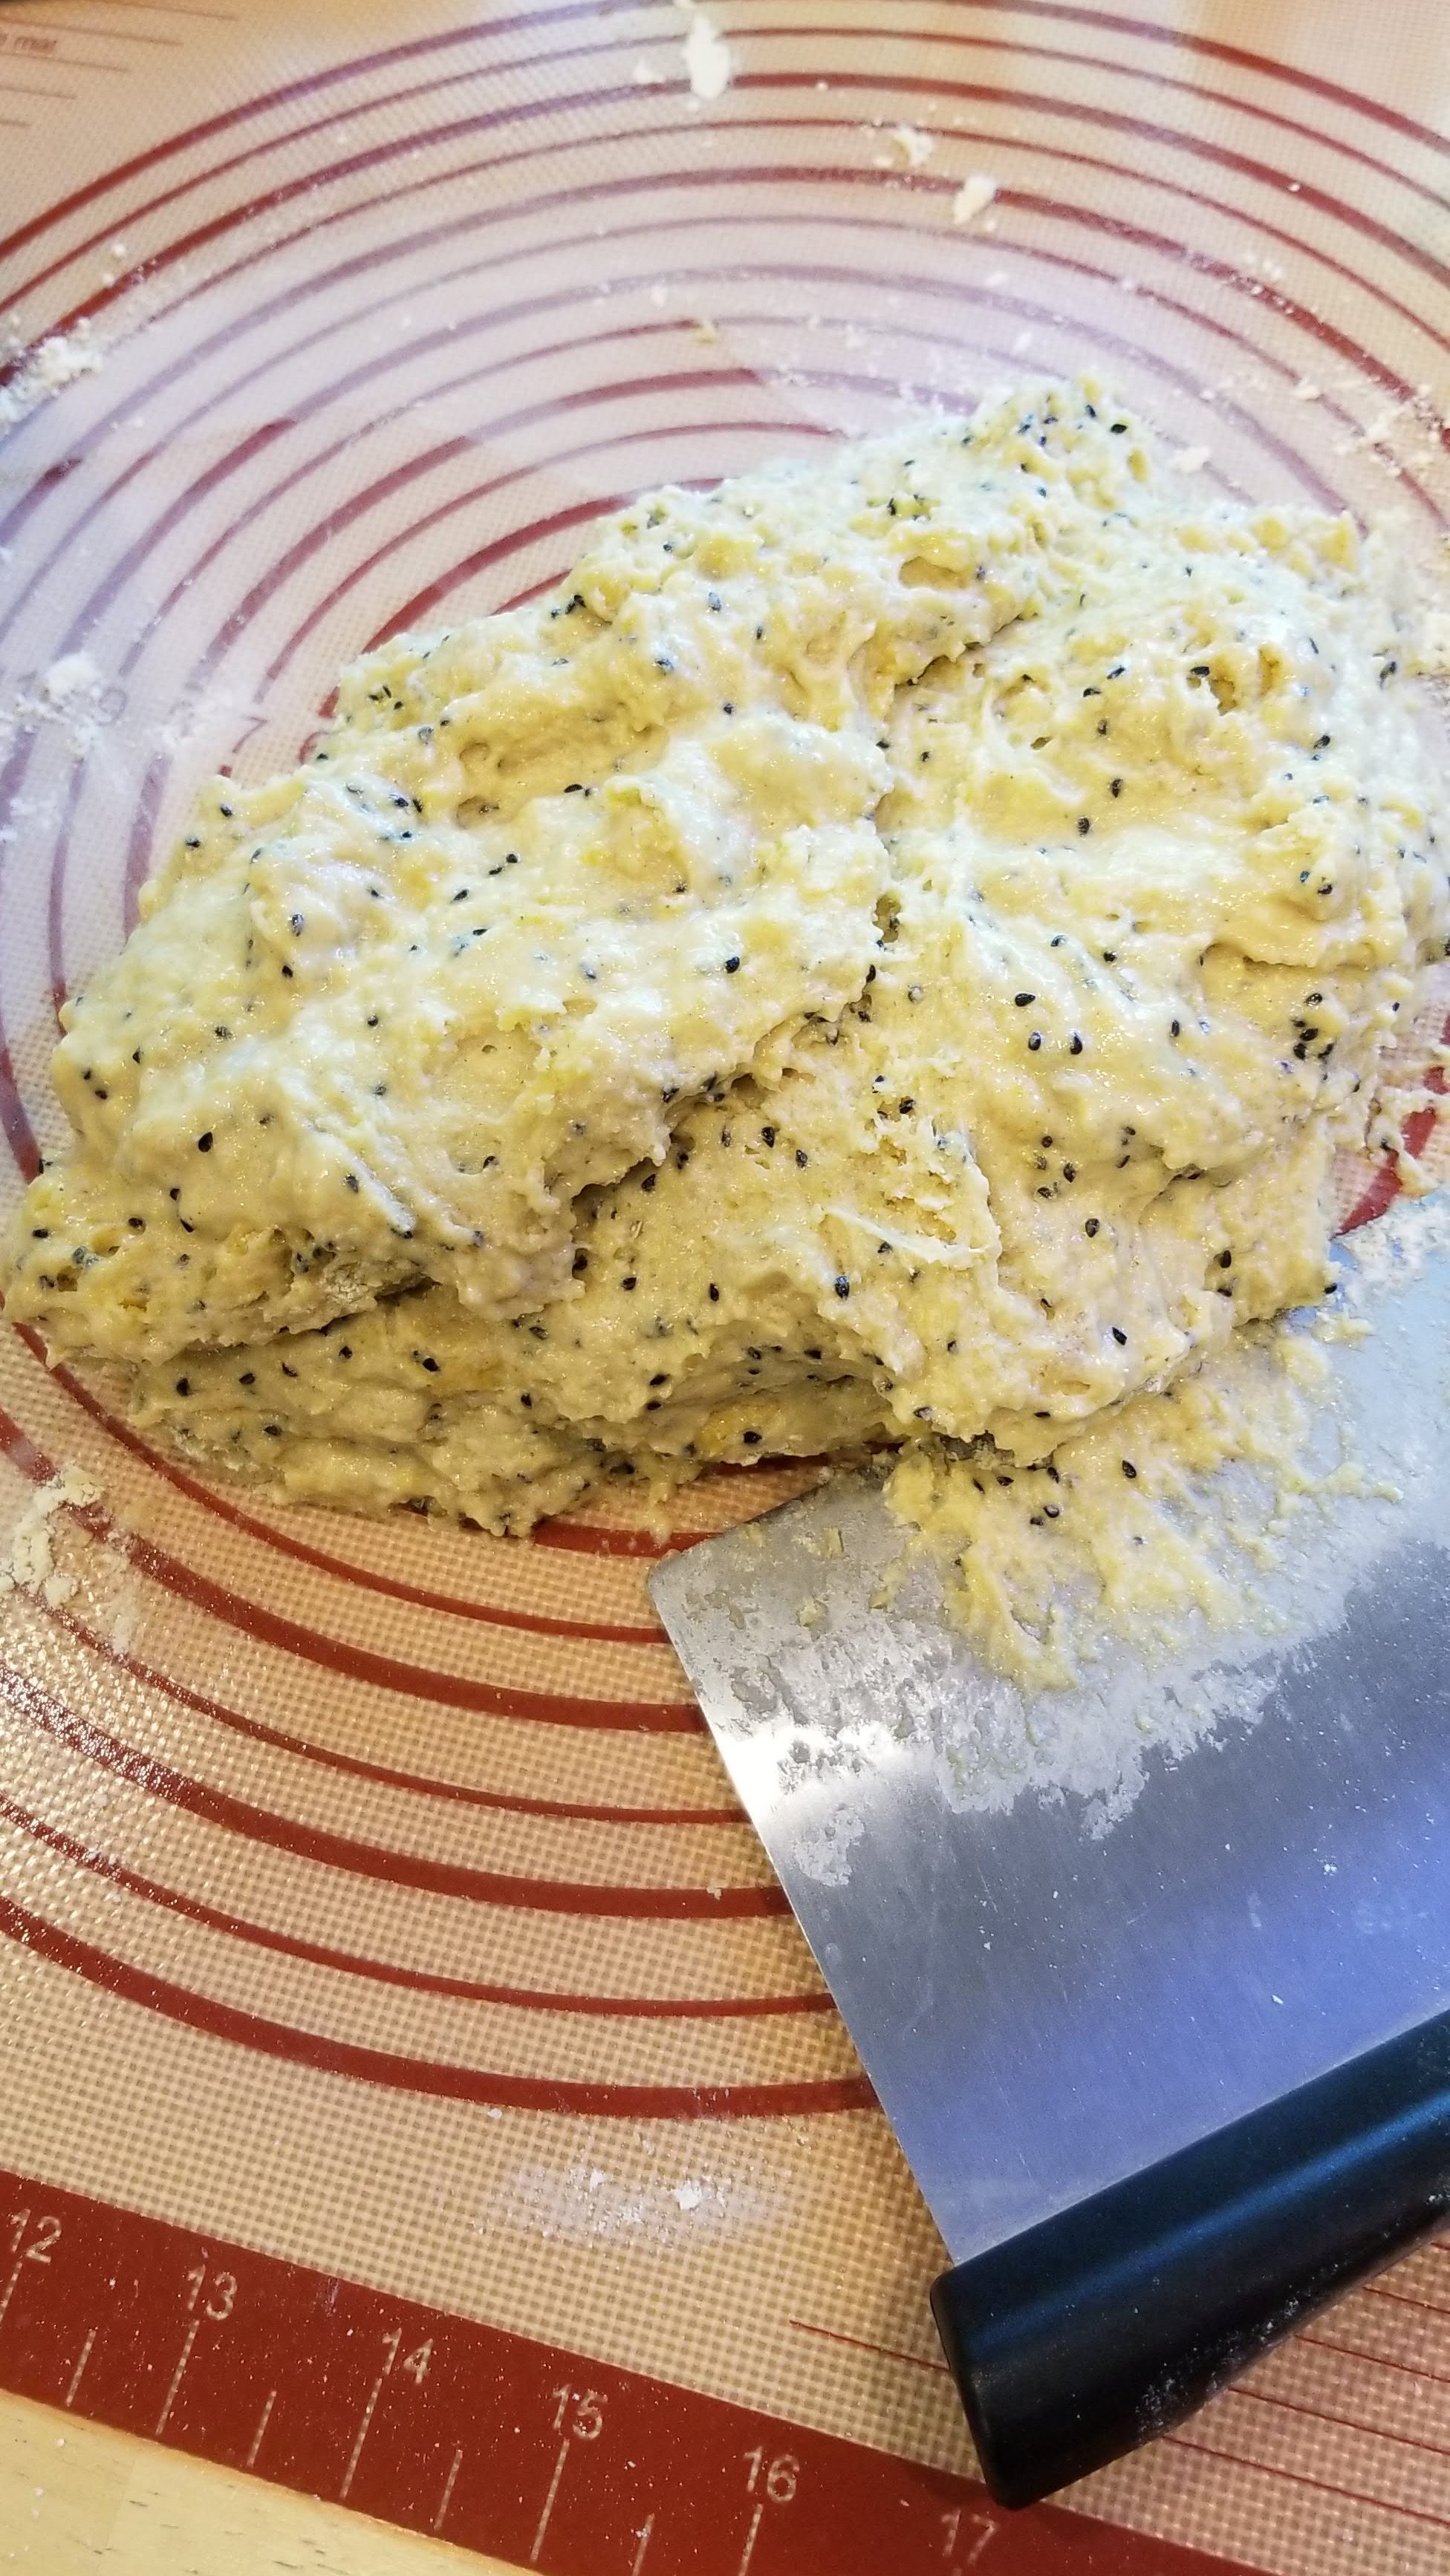
Also, this was a very sticky dough, perhaps because of the gluten-free flour. (I don’t have a lot of experience with gluten-free baking, so if any of you out there have some insight, please leave it in the comments below.) You’ll need to generously flour your work surface and baking sheets to prevent the dough from sticking. The difficulty I had was, after I formed the individual flatbreads, I had no place to put them until I was ready to place them on the baking sheets (which were already in the oven, preheating), so I laid them on parchment paper while I formed the rest. Little did I know that they would stick to the parchment, and I would have to peel them off the paper before I could transfer them to the hot baking sheets. This might be another reason my pitas didn’t form pockets.
That being said, they had a good flavor and texture and were still quite suitable for scooping up hummus, or you could split them open with a knife to make pocket sandwiches, or cut them into wedges and toast them to a crisp to make yummy pita chips.

You can find Paul’s original recipe here, but I have adapted it for American bakers below.

Paul Hollywood’s Gluten-Free Pita Bread
(Adapted for American bakers)
Ingredients
- 3 T. psyllium husk powder (available from health food or nutrition stores)
- 2½ c. (20 oz.) water, divided
- 5½ c. gluten-free bread flour blend, plus extra for flouring work surface and baking sheets (I used Bob’s Red Mill Gluten-Free All-Purpose Baking Flour)
- 3 T. nigella seeds (also known as charnushka seeds, kalonji, black cumin or black caraway)
- 1 T. sugar
- 1 T. salt
- 7 t. (three 1/4-oz. packets) instant yeast
- 3 large eggs
- 1 T. white wine vinegar
- 6 T. olive oil
Directions
- Mix the psyllium powder with 10 ounces of the water. Set aside to allow the mixture to thicken.
- Put the flour and nigella seeds into a large mixing bowl. Add the sugar and salt on one side of the bowl and the yeast on the other. Crack the eggs into the center of the bowl, then add the vinegar, olive oil and psyllium mixture. Stir until the mixture is well-combined. Gradually add about 10 ounces of water, a little at a time — you may not need it all — until the dough is soft and slightly sticky.
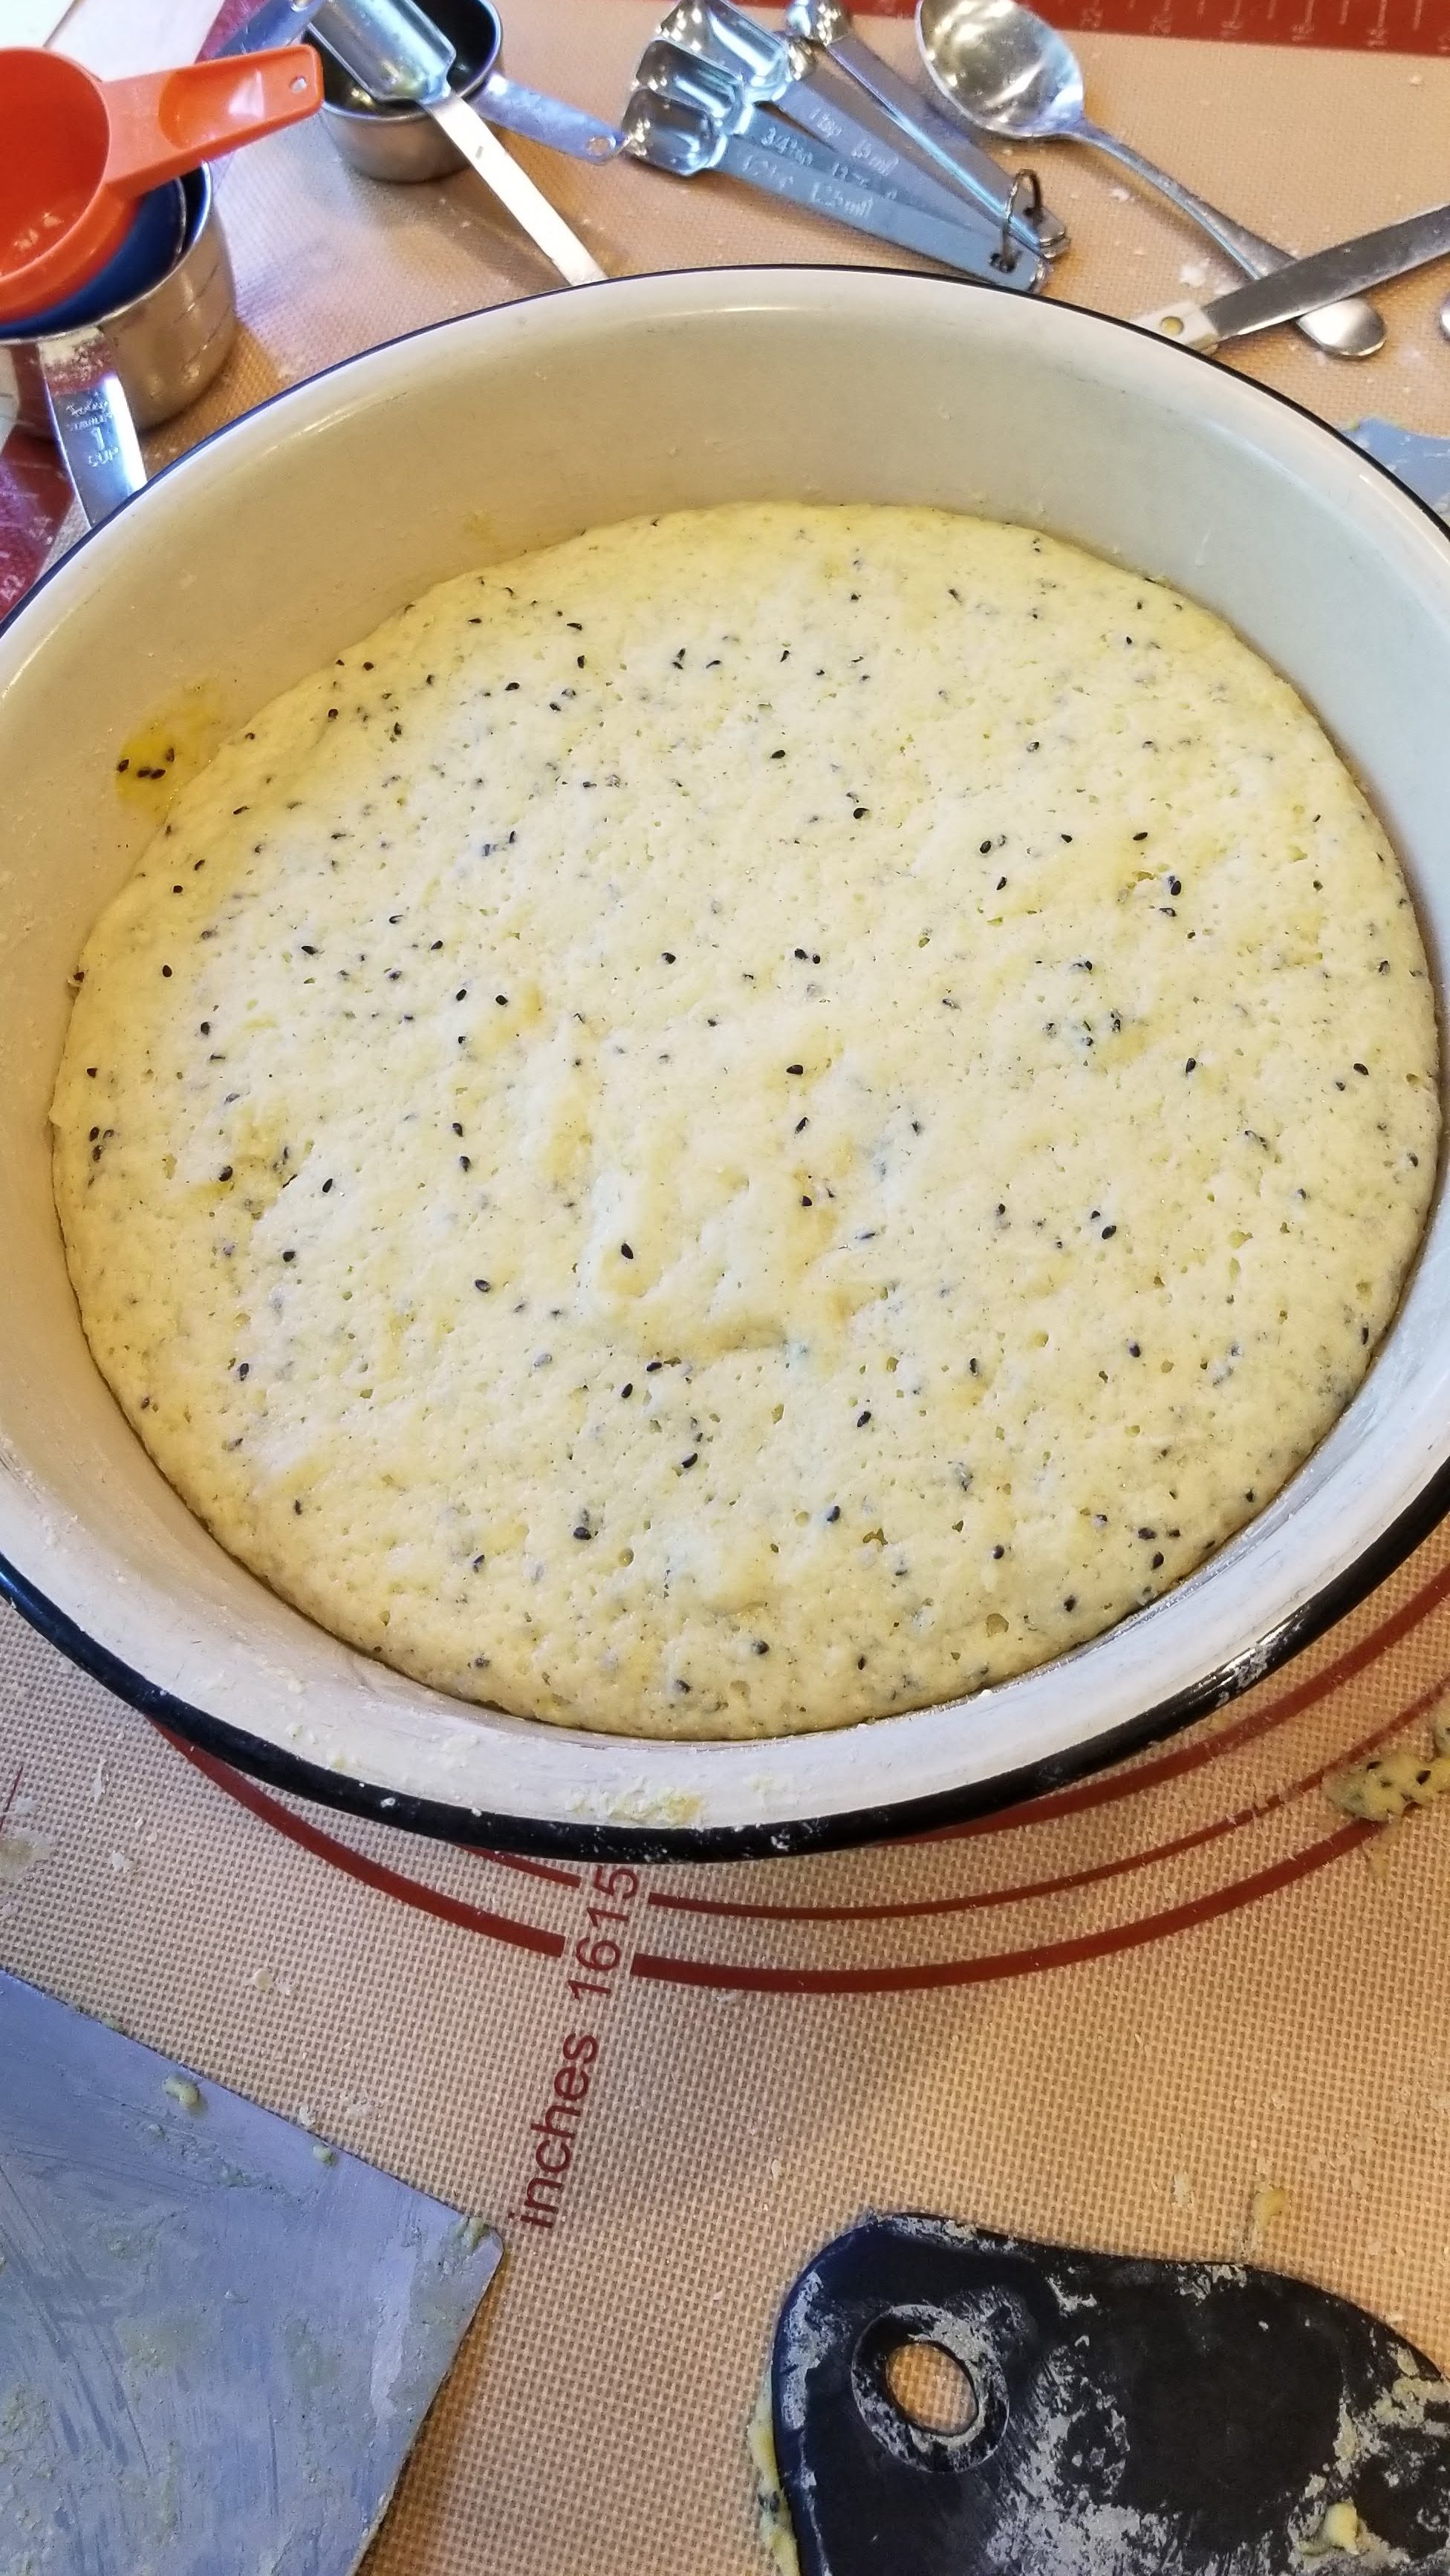
- Transfer to a floured surface and knead to form a smooth dough. (NOTE: I didn’t observe much of a change here, except that, after about 10 minutes of kneading, the dough was slightly less sticky.) Place dough back in the bowl, cover and leave to rest for 1½ hours or until doubled in size.
- Heat the oven to 425°F and place three heavy baking trays in the oven to heat up. (TIP: If you have a pizza stone or baking steel, I recommend using them.)
- Dust the work surface with flour. Divide the dough into 12 equal pieces and shape each into a ball. (TIP: Either work in batches, forming and baking three or four pitas at a time, or make sure you have enough work space to lay out all 12 pitas on a well-floured surface until you are ready to bake them all at once.) Roll or press the pieces into oval shapes about 4mm thick.
- Remove a baking sheet from the oven and dust it with flour. Lay four pitas on each tray and bake for 10-12 minutes or until they are puffed up and cooked through. Repeat with the other baking sheets. When done, the pitas should be slightly browned. After removing them from the oven, wrap them in a clean tea towel — this helps to keep them soft.
- Once cooled, pitas will keep for two days at room temperature in an airtight container, or you can wrap several in aluminum foil, place them in a ziplock bag and freeze for up to a month.
Up Next: A Dairy-Free Ice Cream Roll
Discover more from Here's the Dish
Subscribe to get the latest posts sent to your email.
